")
")
")
")
3D Printing for repair or substitution of missing parts or creating new objects.
![]() I am still working on this article, please be patient some more.
I am still working on this article, please be patient some more.
3D Equipment in use
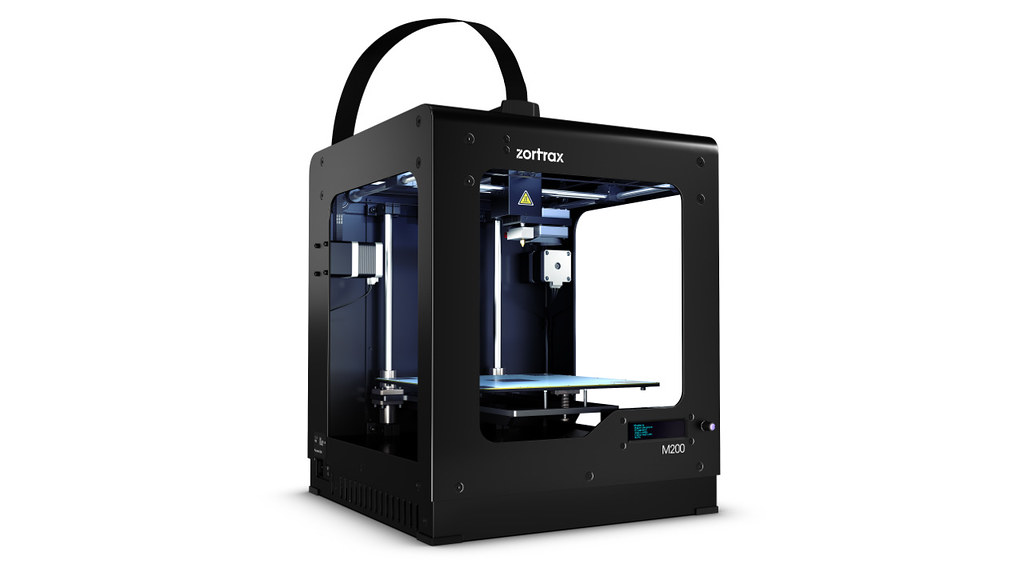
At the Makerfaire in Friedrichshafen in 2015, I happened to see the Zortrax M200 model in action. Very robust design and (for that time) extraordinary printing quality. It operates at a lower speed than most of the other brands but it will result in better quality of the final product.
Zortrax has a vast variety of dedicated materials but also supports foreign materials from other manufacturers.
Even transparent and flexible materials are available now Zortrax-Z-Glass & Zortrax-Z_Flex.
Zortrax Suite is a dedicated software to design, slice, and export projects. It uses a proprietary code and is therefore not compatible with other printers. You can import STL, and DXF, from other CAD programs.
To design my objects I use Solidworks 2004, somewhat old but it suits the case as you may see hereafter.
Everybody knows that old-fashioned telex equipment 1945 - 1990 is mostly in a bad state or there are some missing parts. The idea to 3D print some parts was born as I received in 2015 an Olivetti TE550e telex with CRT, Floppy drive, and memory. All was in perfect working condition but at the keyboard, the "enter" key was missing. I measured the available space at the keyboard and I made a hand drawing as an initial approach. I decided to try to print one in Z-Ultrat filament.
The initial design was made in Solidworks 2004 and saved as an STL file for further use in the slicer program from Zortrax (Z-Suite 1.8.1) which generates the so-called dedicated Z-code for the M200 3D printer.
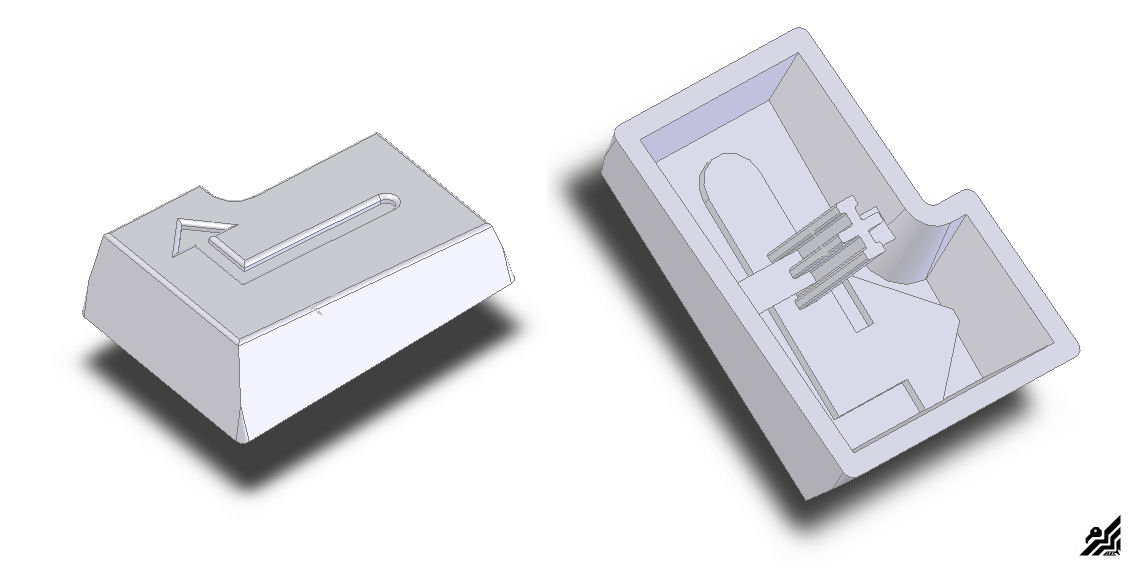
If one is designing parts for 3D printing some "rules" should be observed. In the first place, you must take care that you avoid parts that require supports because they may protrude too much or the vertical slope is less than 45 degrees. In my case, all the protruding parts have a less than 45° slope so no external support was necessary.
3D Printing Answer-back device
In my case in a T37g from Siemens, the answer back device was completely missing. In the past, I did have one functioning, and lucky enough I made a complete drawing from it.
As I'm planning to use both my Siemens Telex T37g as secondary teleprinters, they should have an answer-back device, some kind of unique identification of the Telex itself. If the caller presses the "Who Is" button, the answer-back device on the other side (My Teleprinter) will send the Teleprinter ID, so the caller can read it and be sure he is connected to the correct Telex or extension.
Usually, the i-Telex will use a number (the i-Telex number if possible) and the name (The i-Telex Member if possible) if any characters are left, the Member country. In most other cases, members want to keep the "original" answer-back settings.
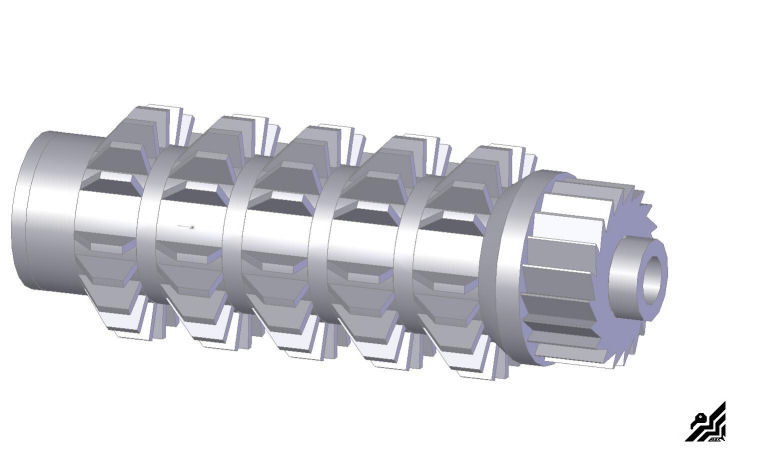
First attempt to create the cam-holder
There are some characters used by the i-Telex for special functions. The picture above shows you how to break out the tabs for the "Who Is" function described earlier.
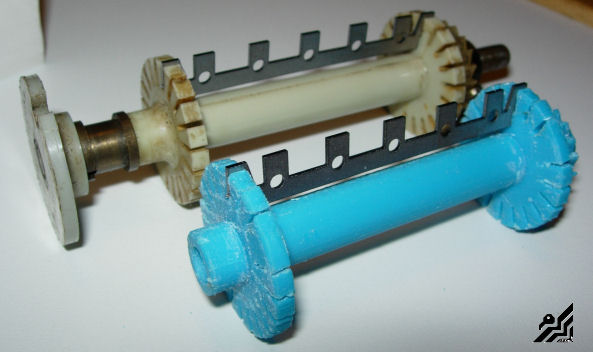
The first T37g has a fully assembled answerback device. The second T37g Teleprinter had only the shaft, bearings, and sprocket, the ID Cams weren't provided, so I drew an example in 3D to make some on my own. I've put the drawing and the 3D rendering here below if someone wants to make their own cams too.
The dimensions are from my own Telex, be sure to check yours before start making them, as there could be some small differences.
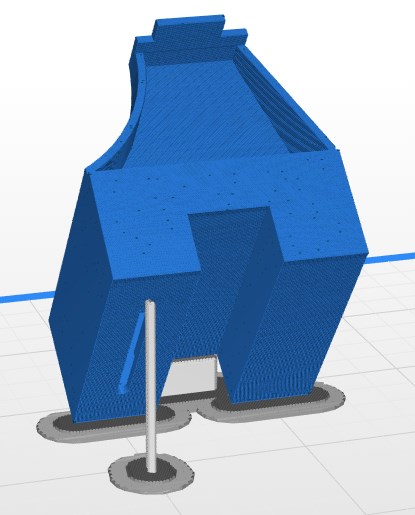
3D Printing a punch tape waste box for the Siemens T68 teleprinter.
My teleprinter, the T68d from Siemens, the box to catch the paper waste from the puncher was missing. Not even the "Y" shaped conveyor in aluminum was there. The first approach was, to use paper, scissors, and glue, which worked, but it looked awfully. Someone from the i-Telex Forum, Andreas made a similar box from plexiglass, so I asked for the correct dimensions for my project, and he kindly provided them.
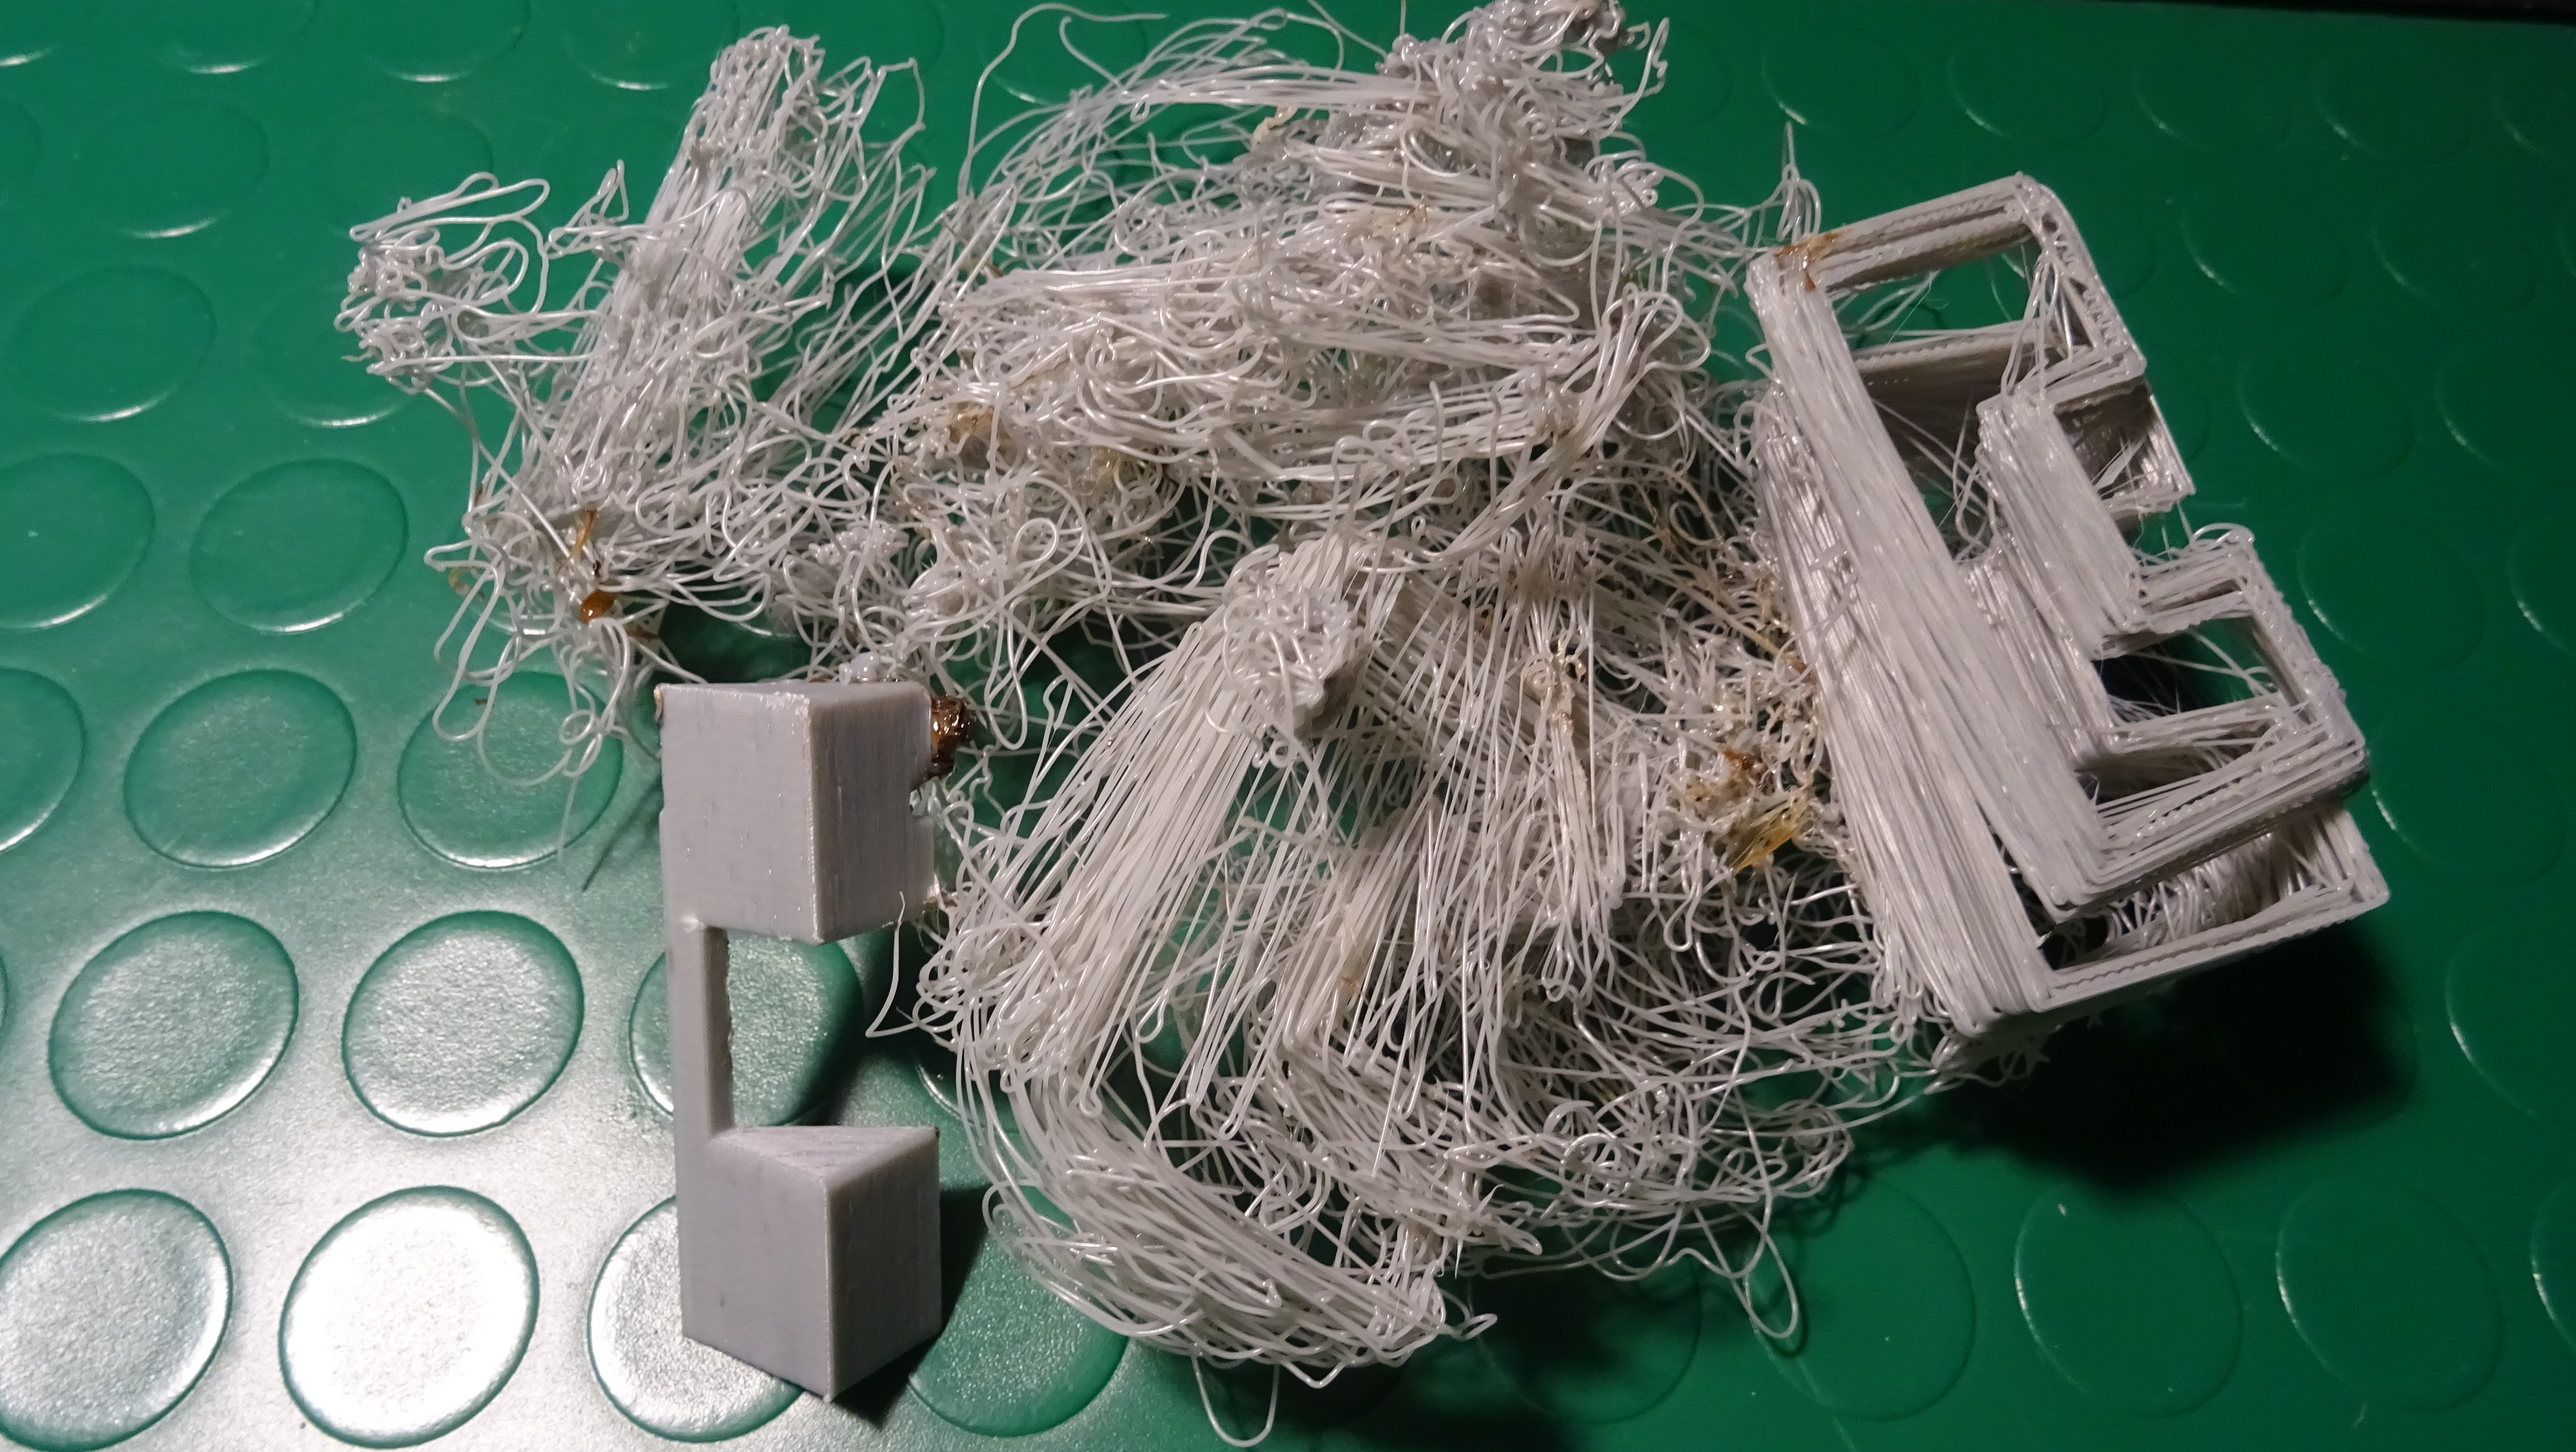
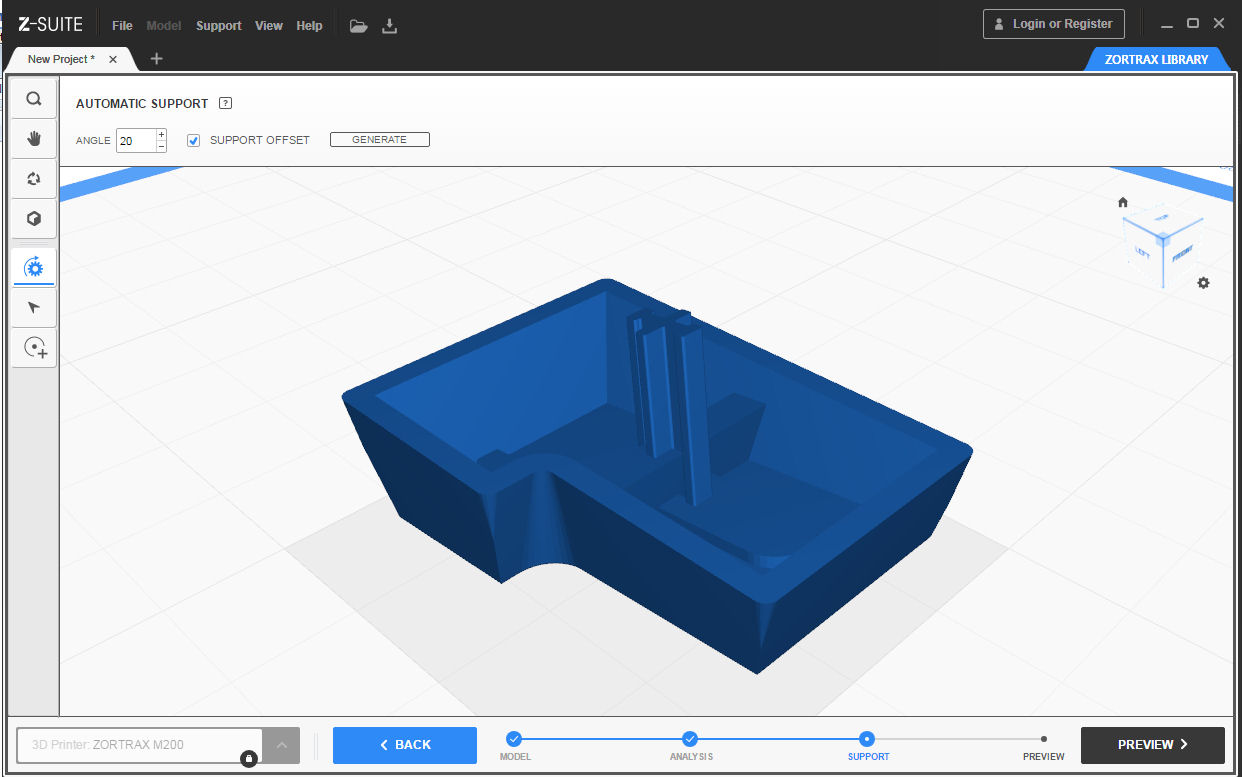
Designing from scratch was pretty easy, and importing the STL file into the Zortrax Suite was quickly done. The challenge was to get the object positioned so that it would not require any support structures, which may increase printing time and a waste of material.

Usually, the Zortrax M200 produces objects with quite a nice quality finish, using the material Zortrax-Z-Hips the quality even improved so that no after-cleaning must be done.
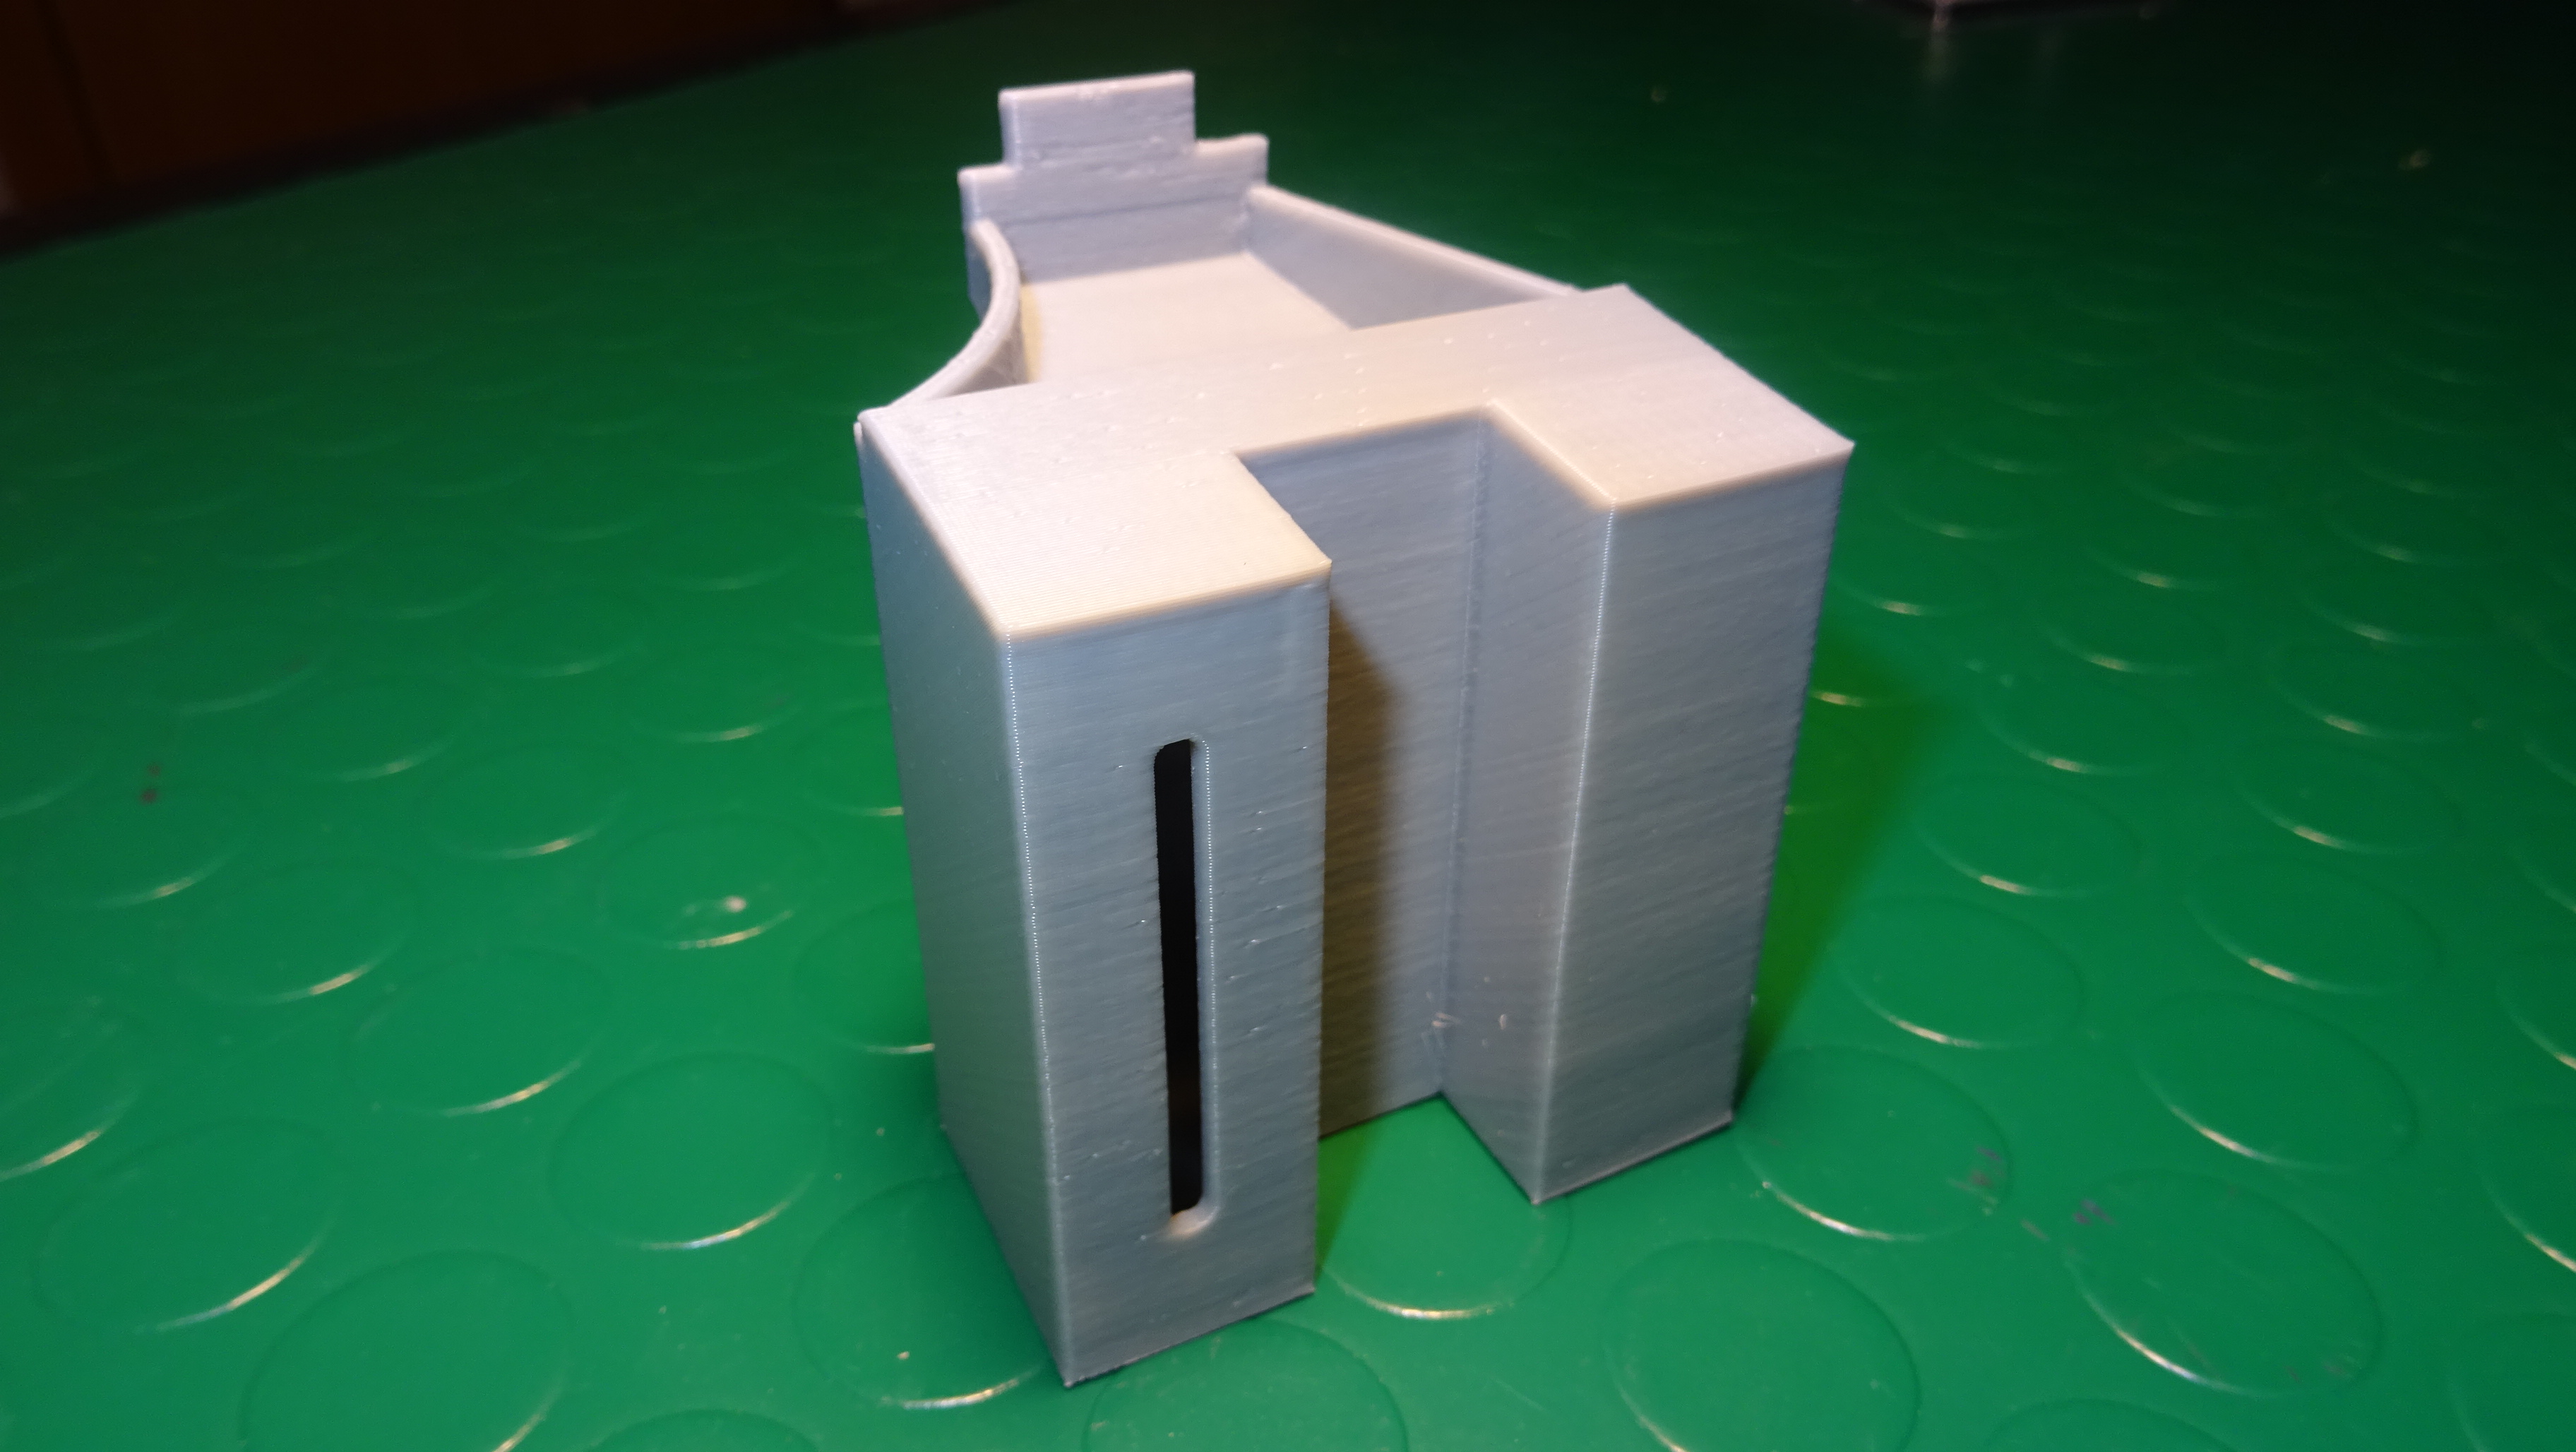
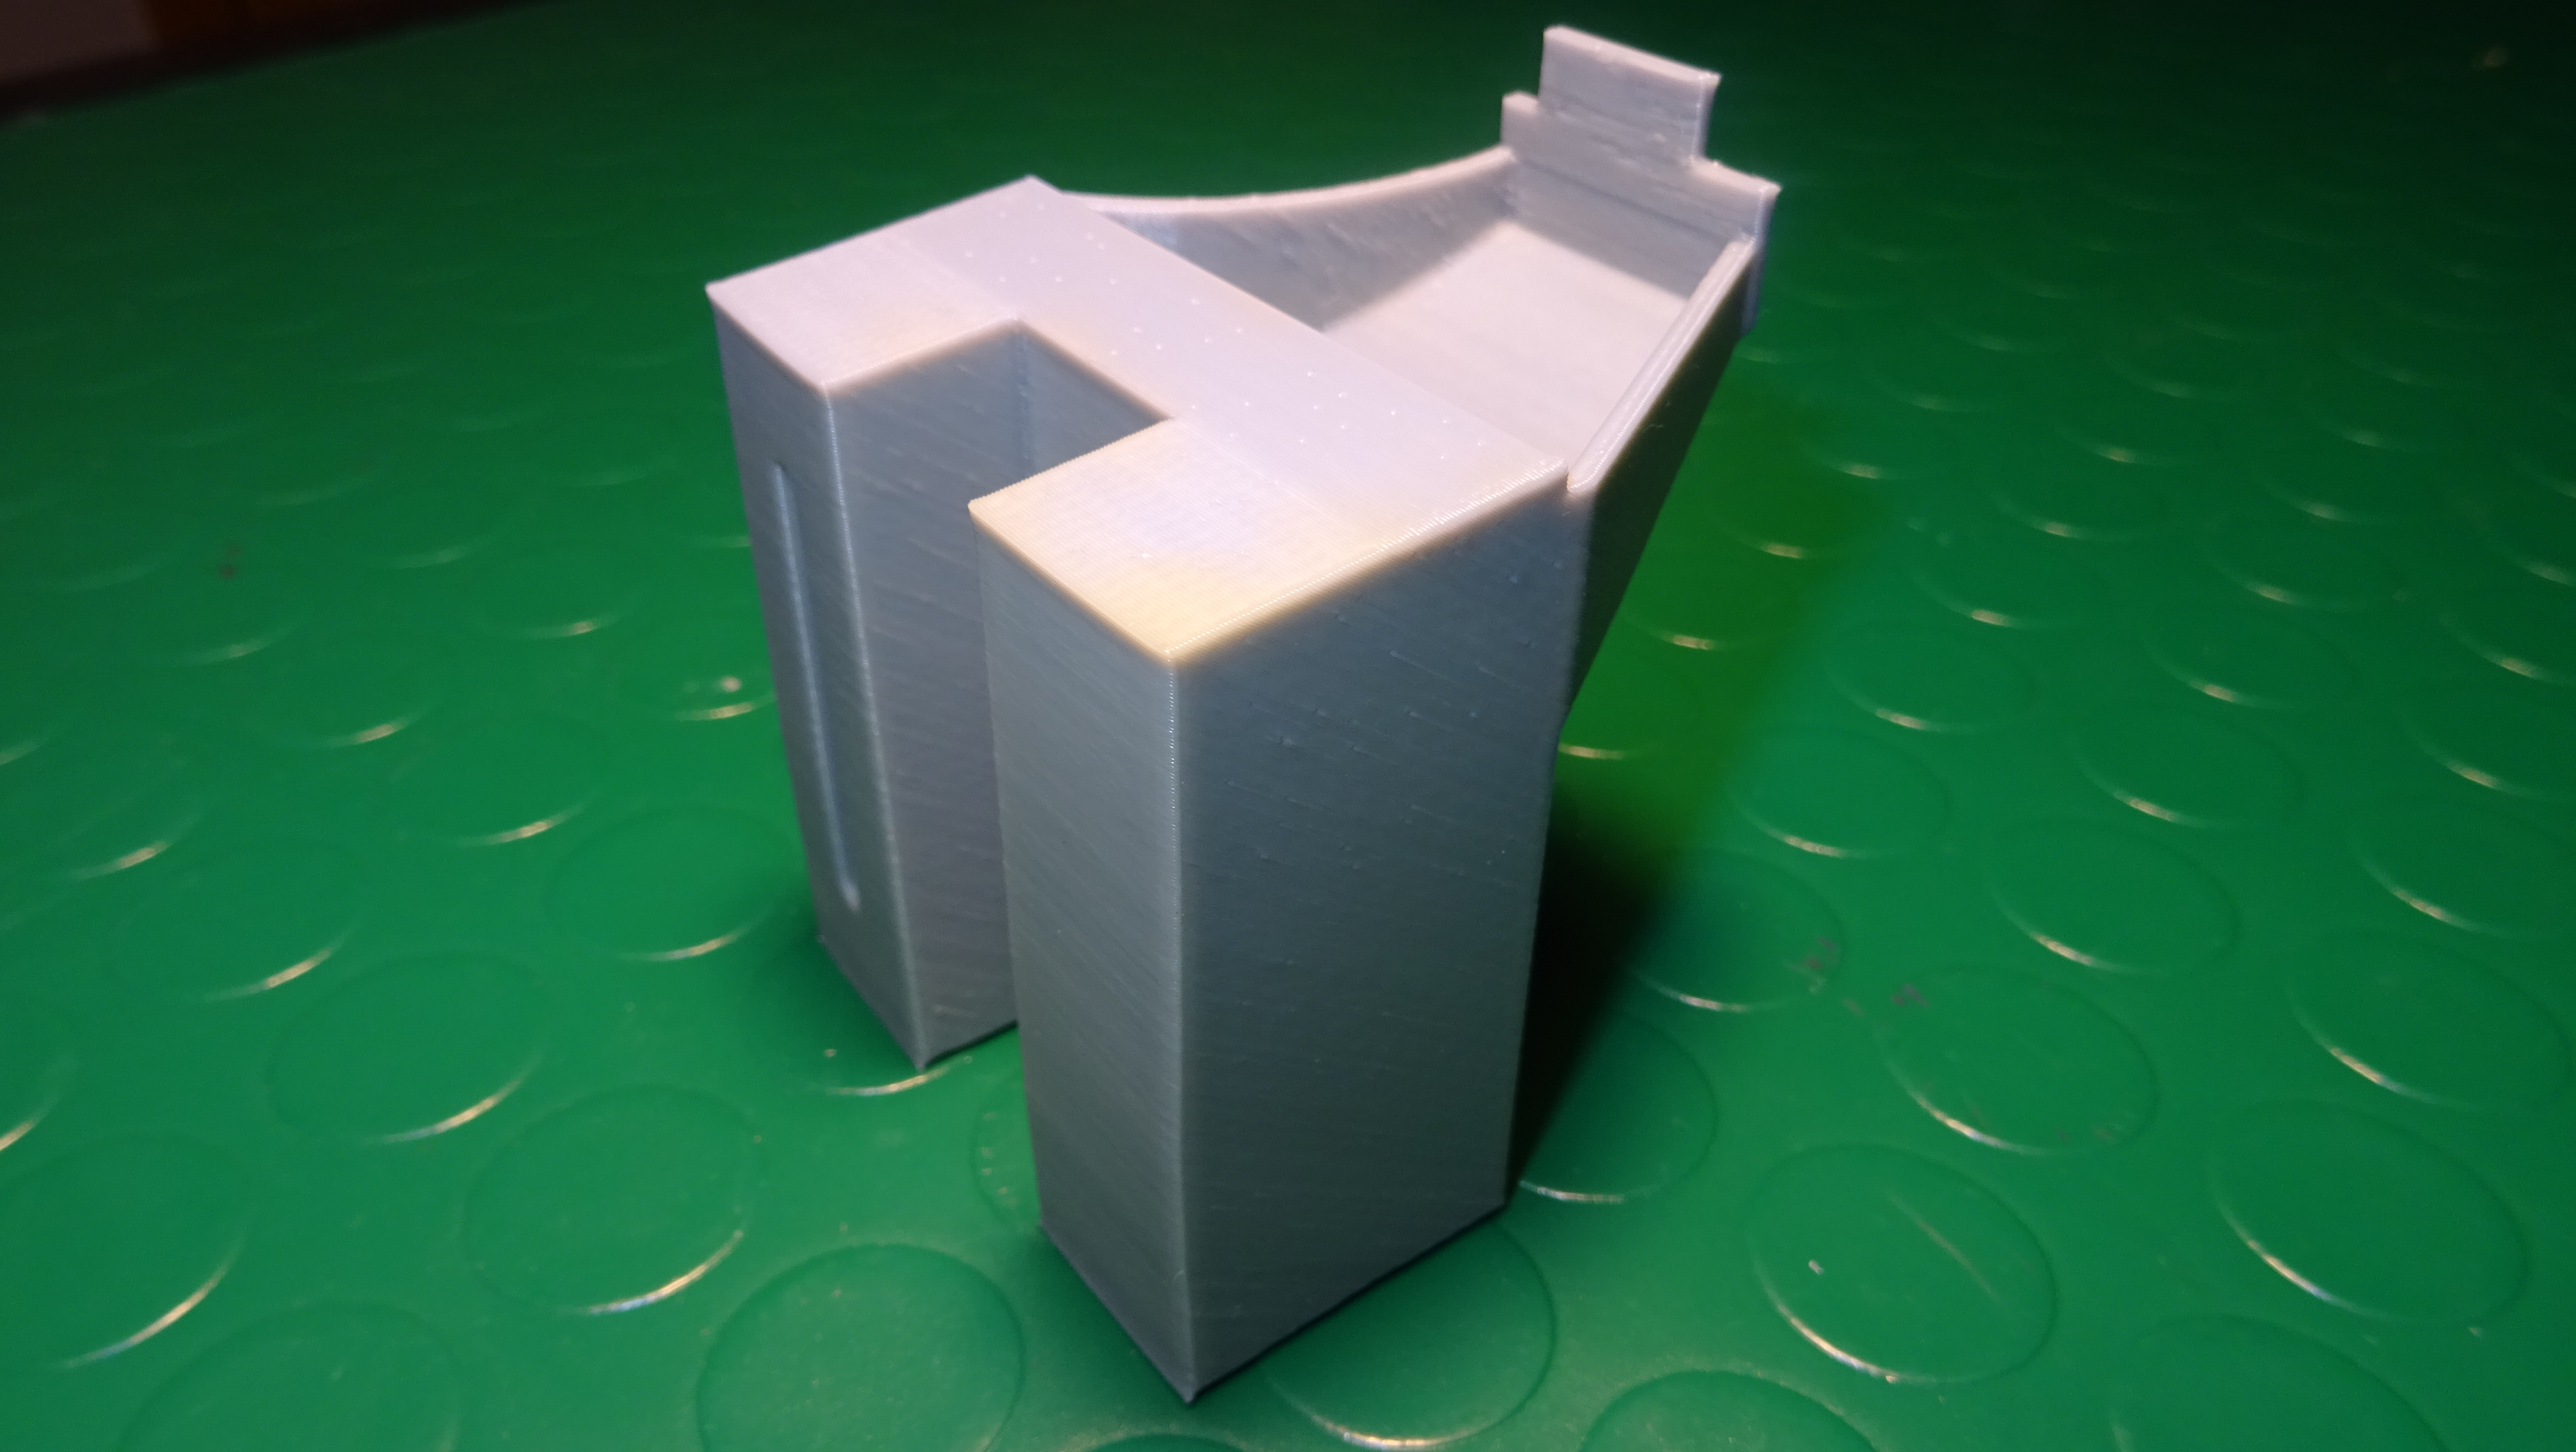
There is a sight window that acts as a plenishment gauge. To create this window I used a transparent acrylic A4 sheet and cut out a small piece to fit in front of the opening. Then I used UV Resin to fill up the space and cured it with a UV torch. On the right You see the results when something goes wrong, yes now and then it happens too.