")
")
")
")
The Tape Recorder
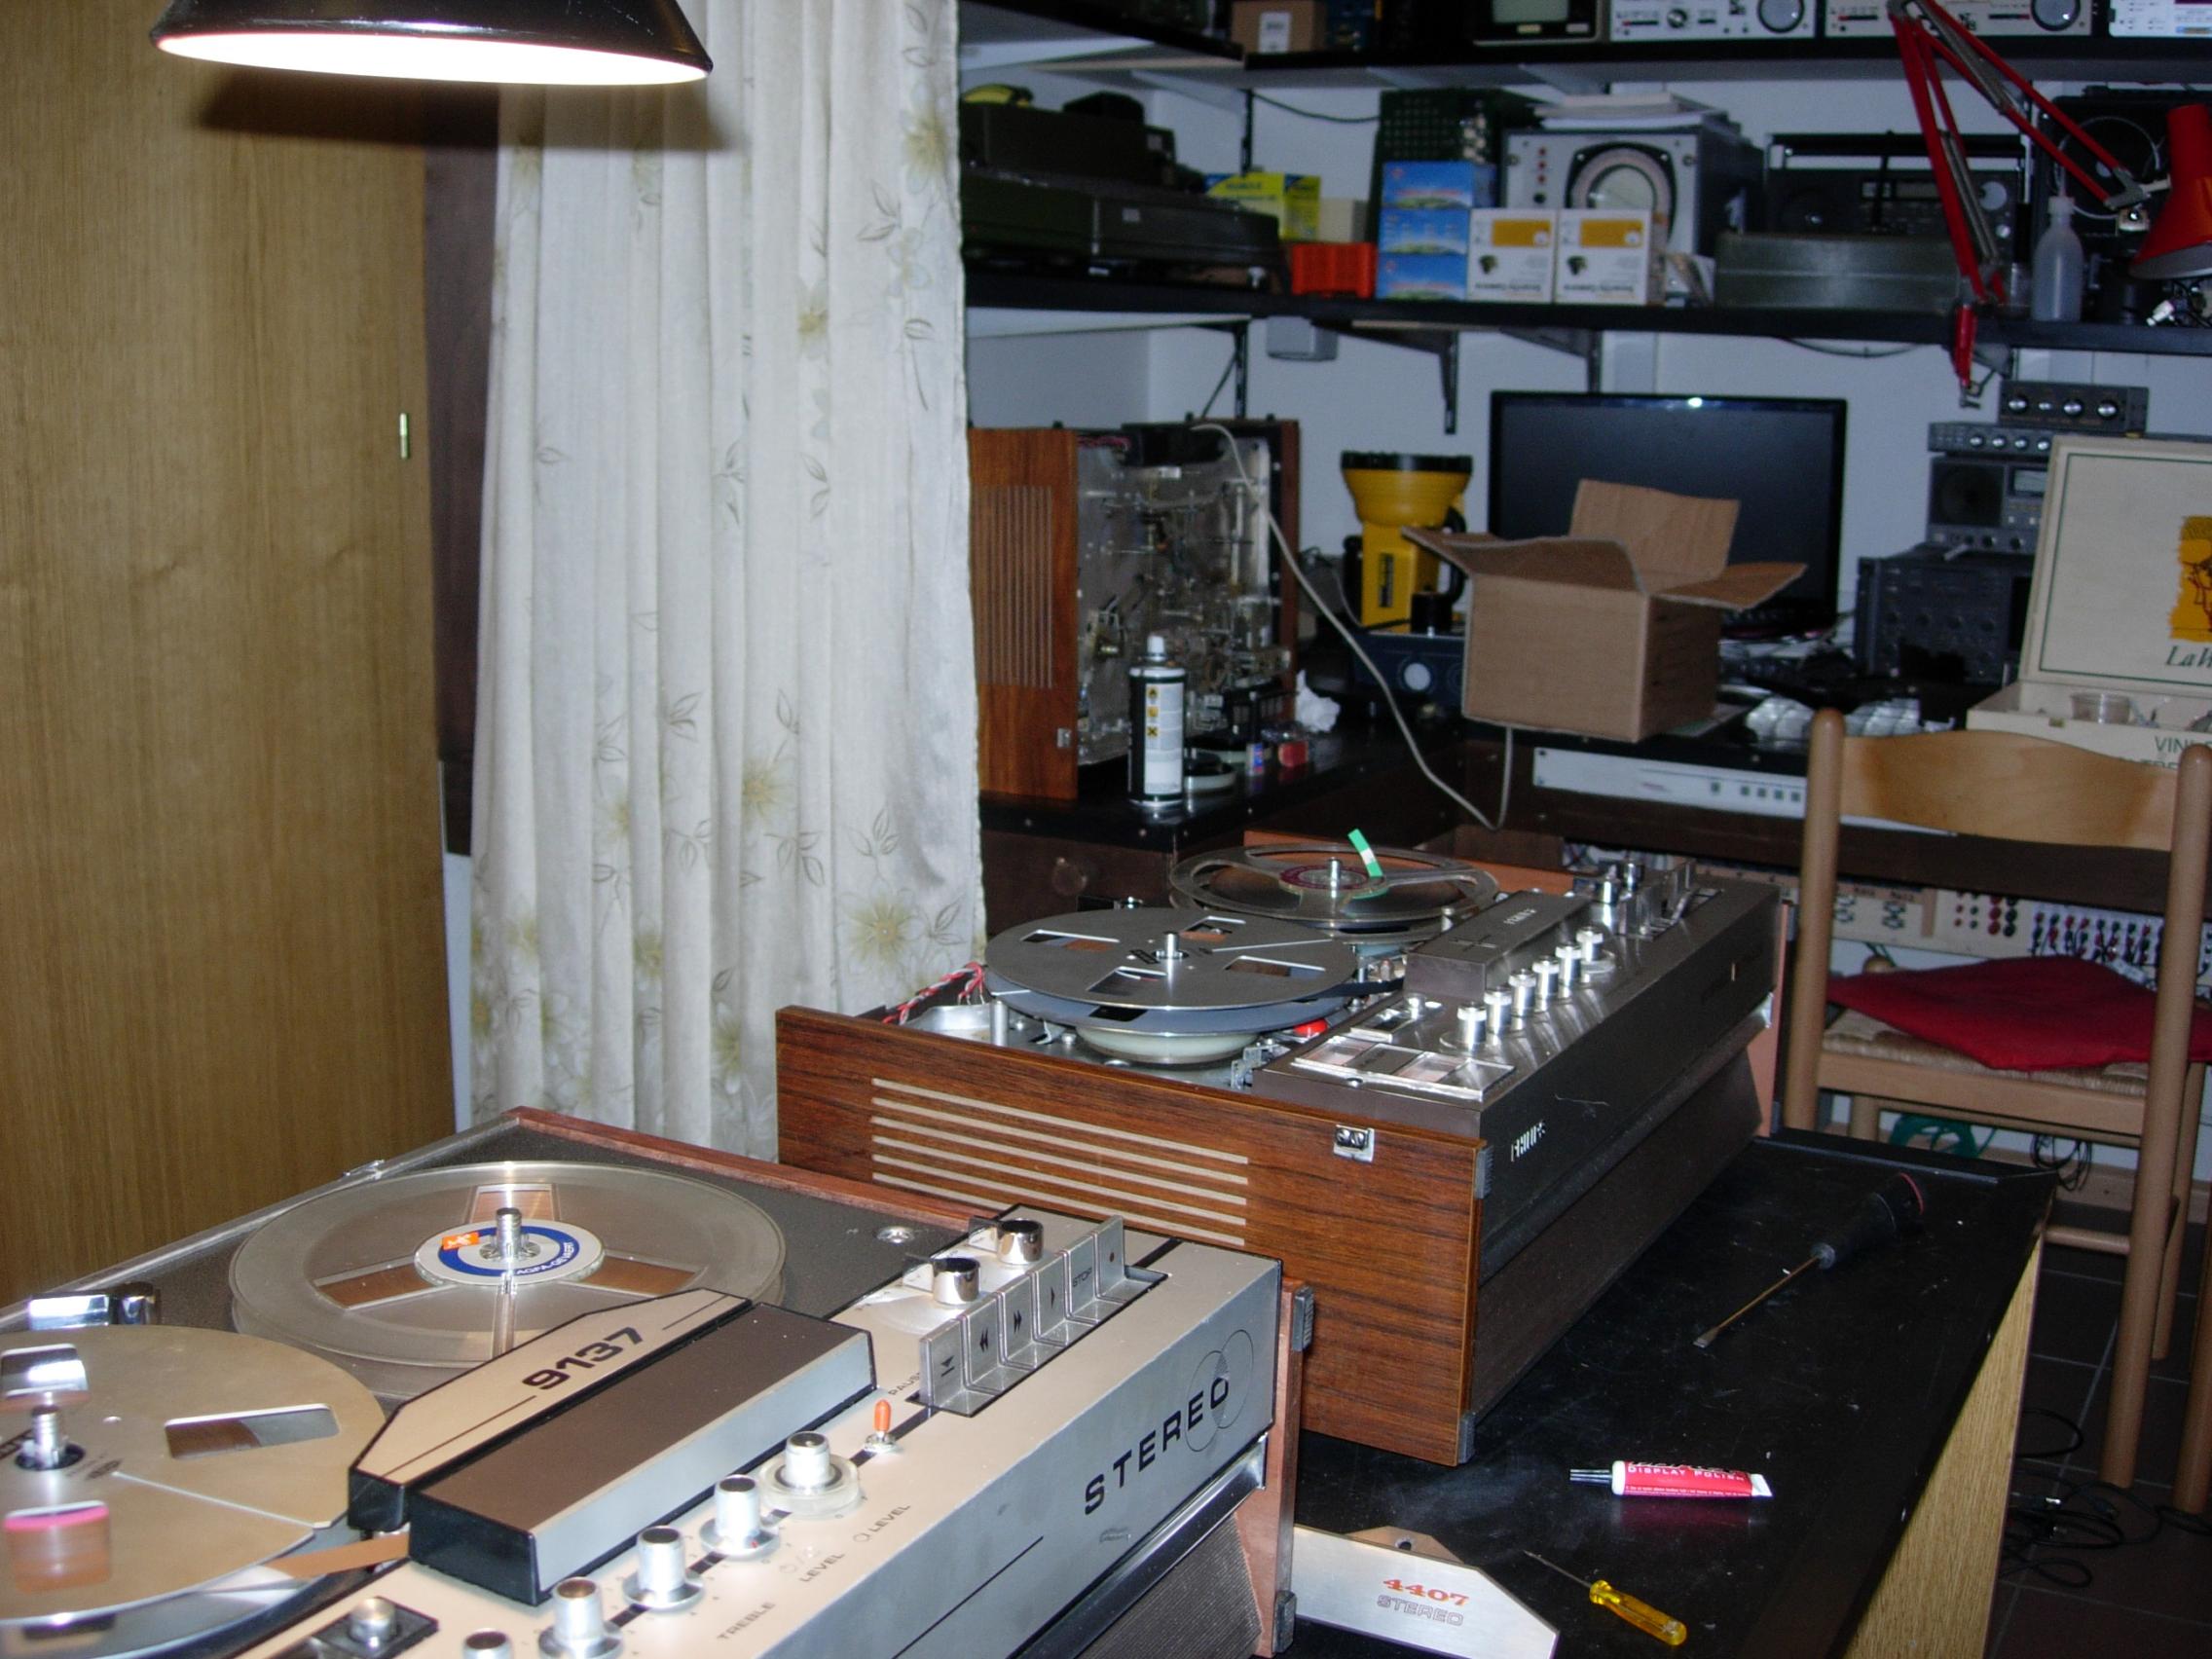
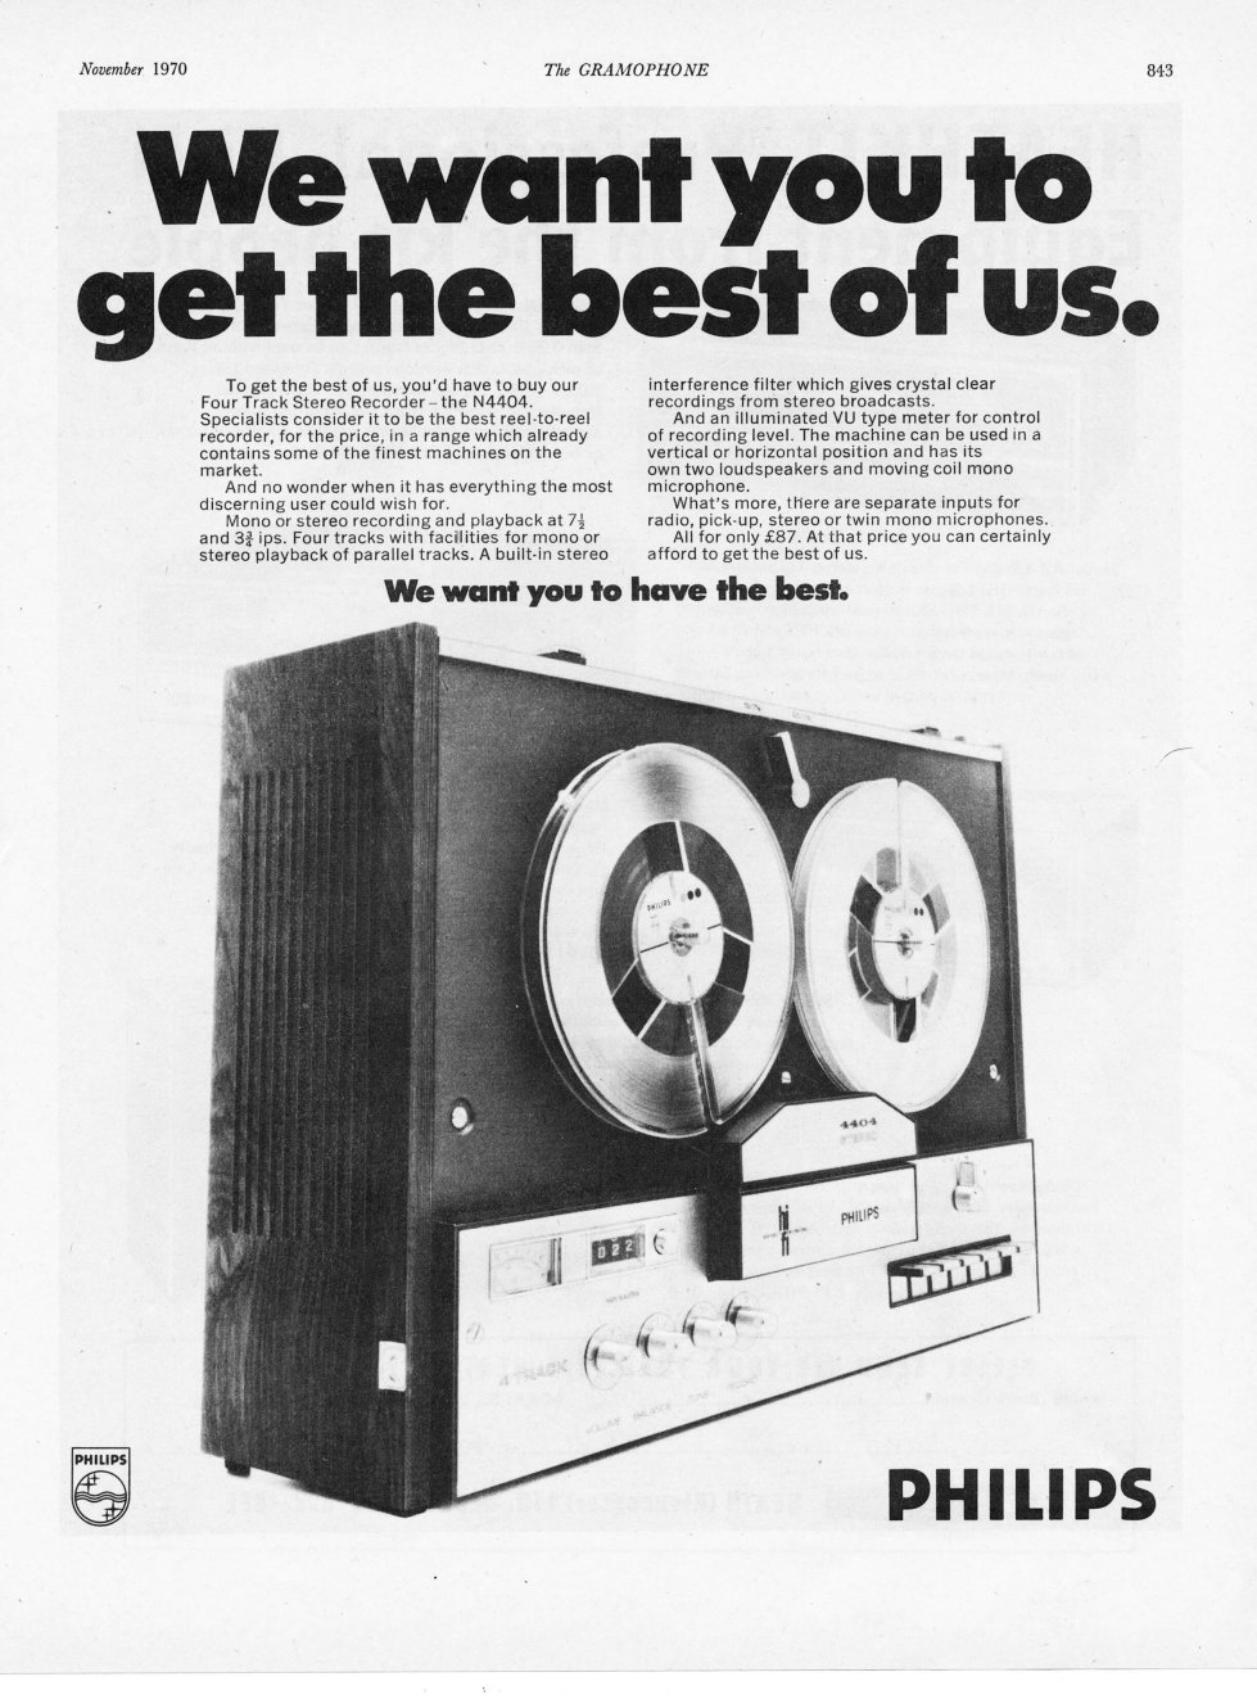
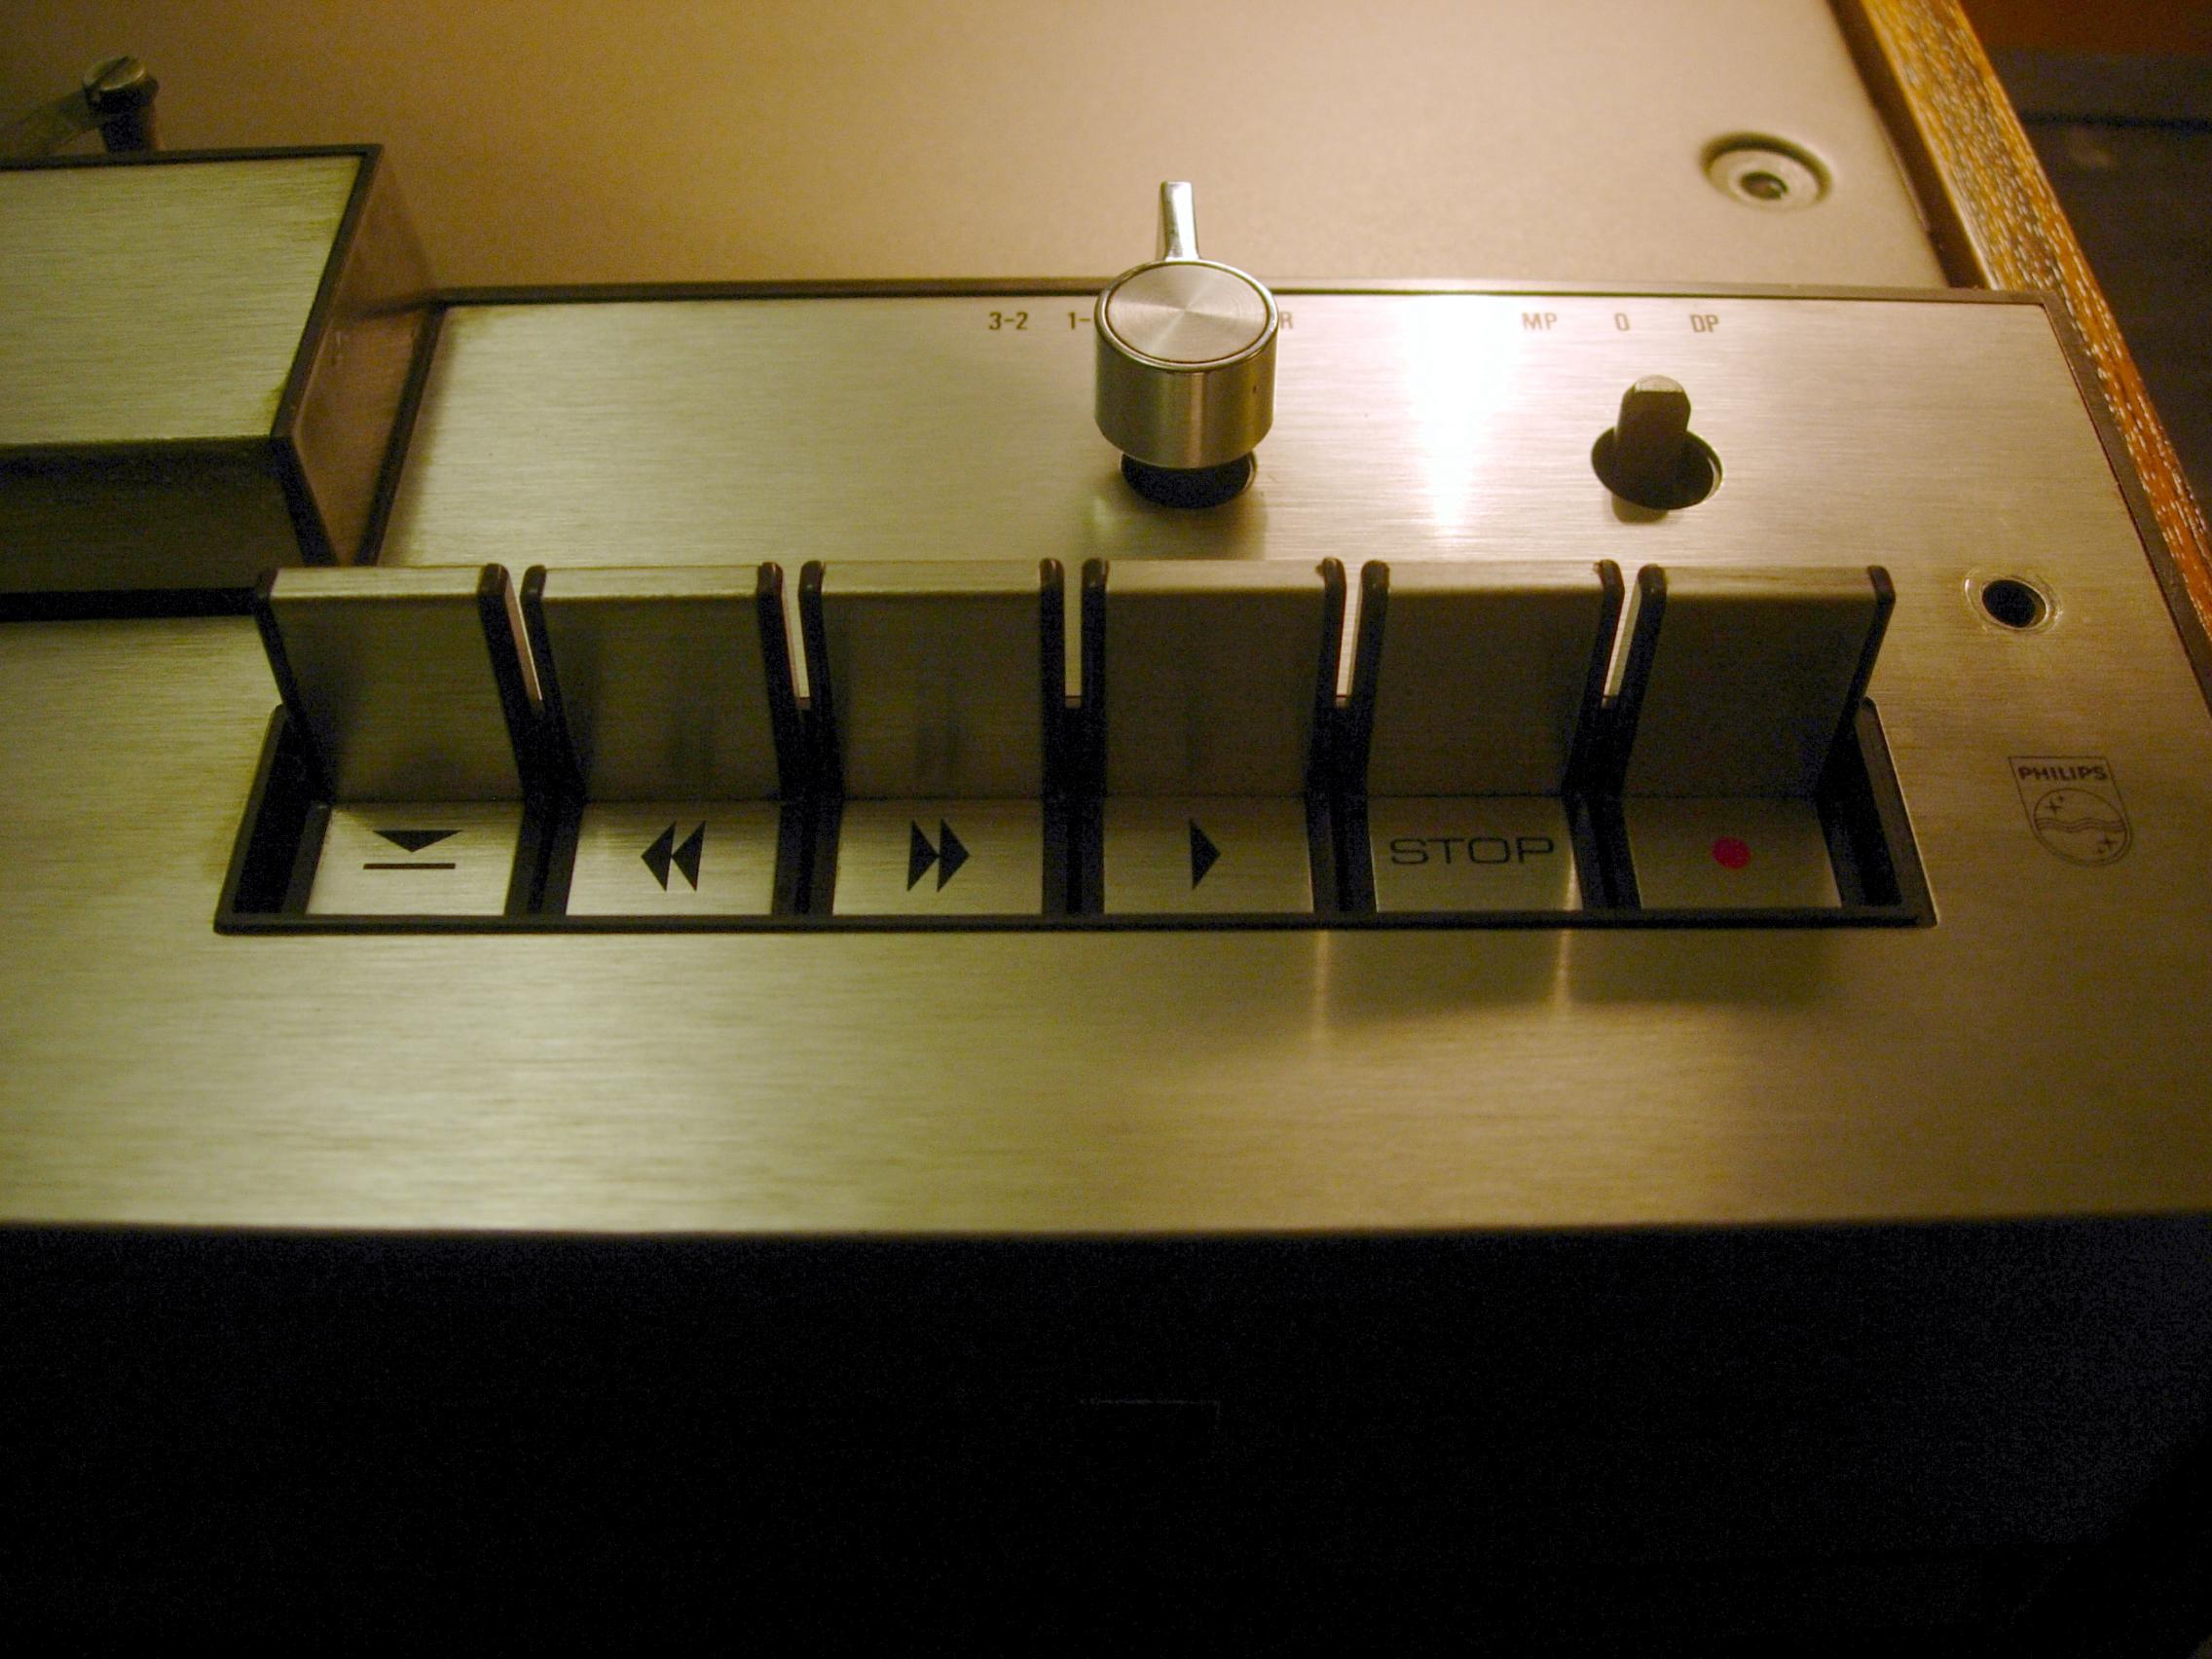
In the year 1969 I've bought my first ever tape recorder, an Aristona model 9137 (a sub brand from Philips, Eindhoven, NL), using my student savings (i was just 18 years old) It was allways a pleasure in all these years. When i emigrated to Italy in the year 1975, obviously i took the recorder with me. Because of my work and several other circumstances, the taperecorder was stored into a cabinet for allmost 15 years without using it.
One day i was surfing the internet, when i saw the website from Frits Bolsenbroek, a real taperecorder freak, but only from the Philips brand.! As i was looking arround on his site, suddenly i saw my OWN tape recorder. Only at this moment i learned that the Aristona 9137 and the Philips N4407 where identically. It was known now that the Aristona 9137 was more noted as the Philips N4407.

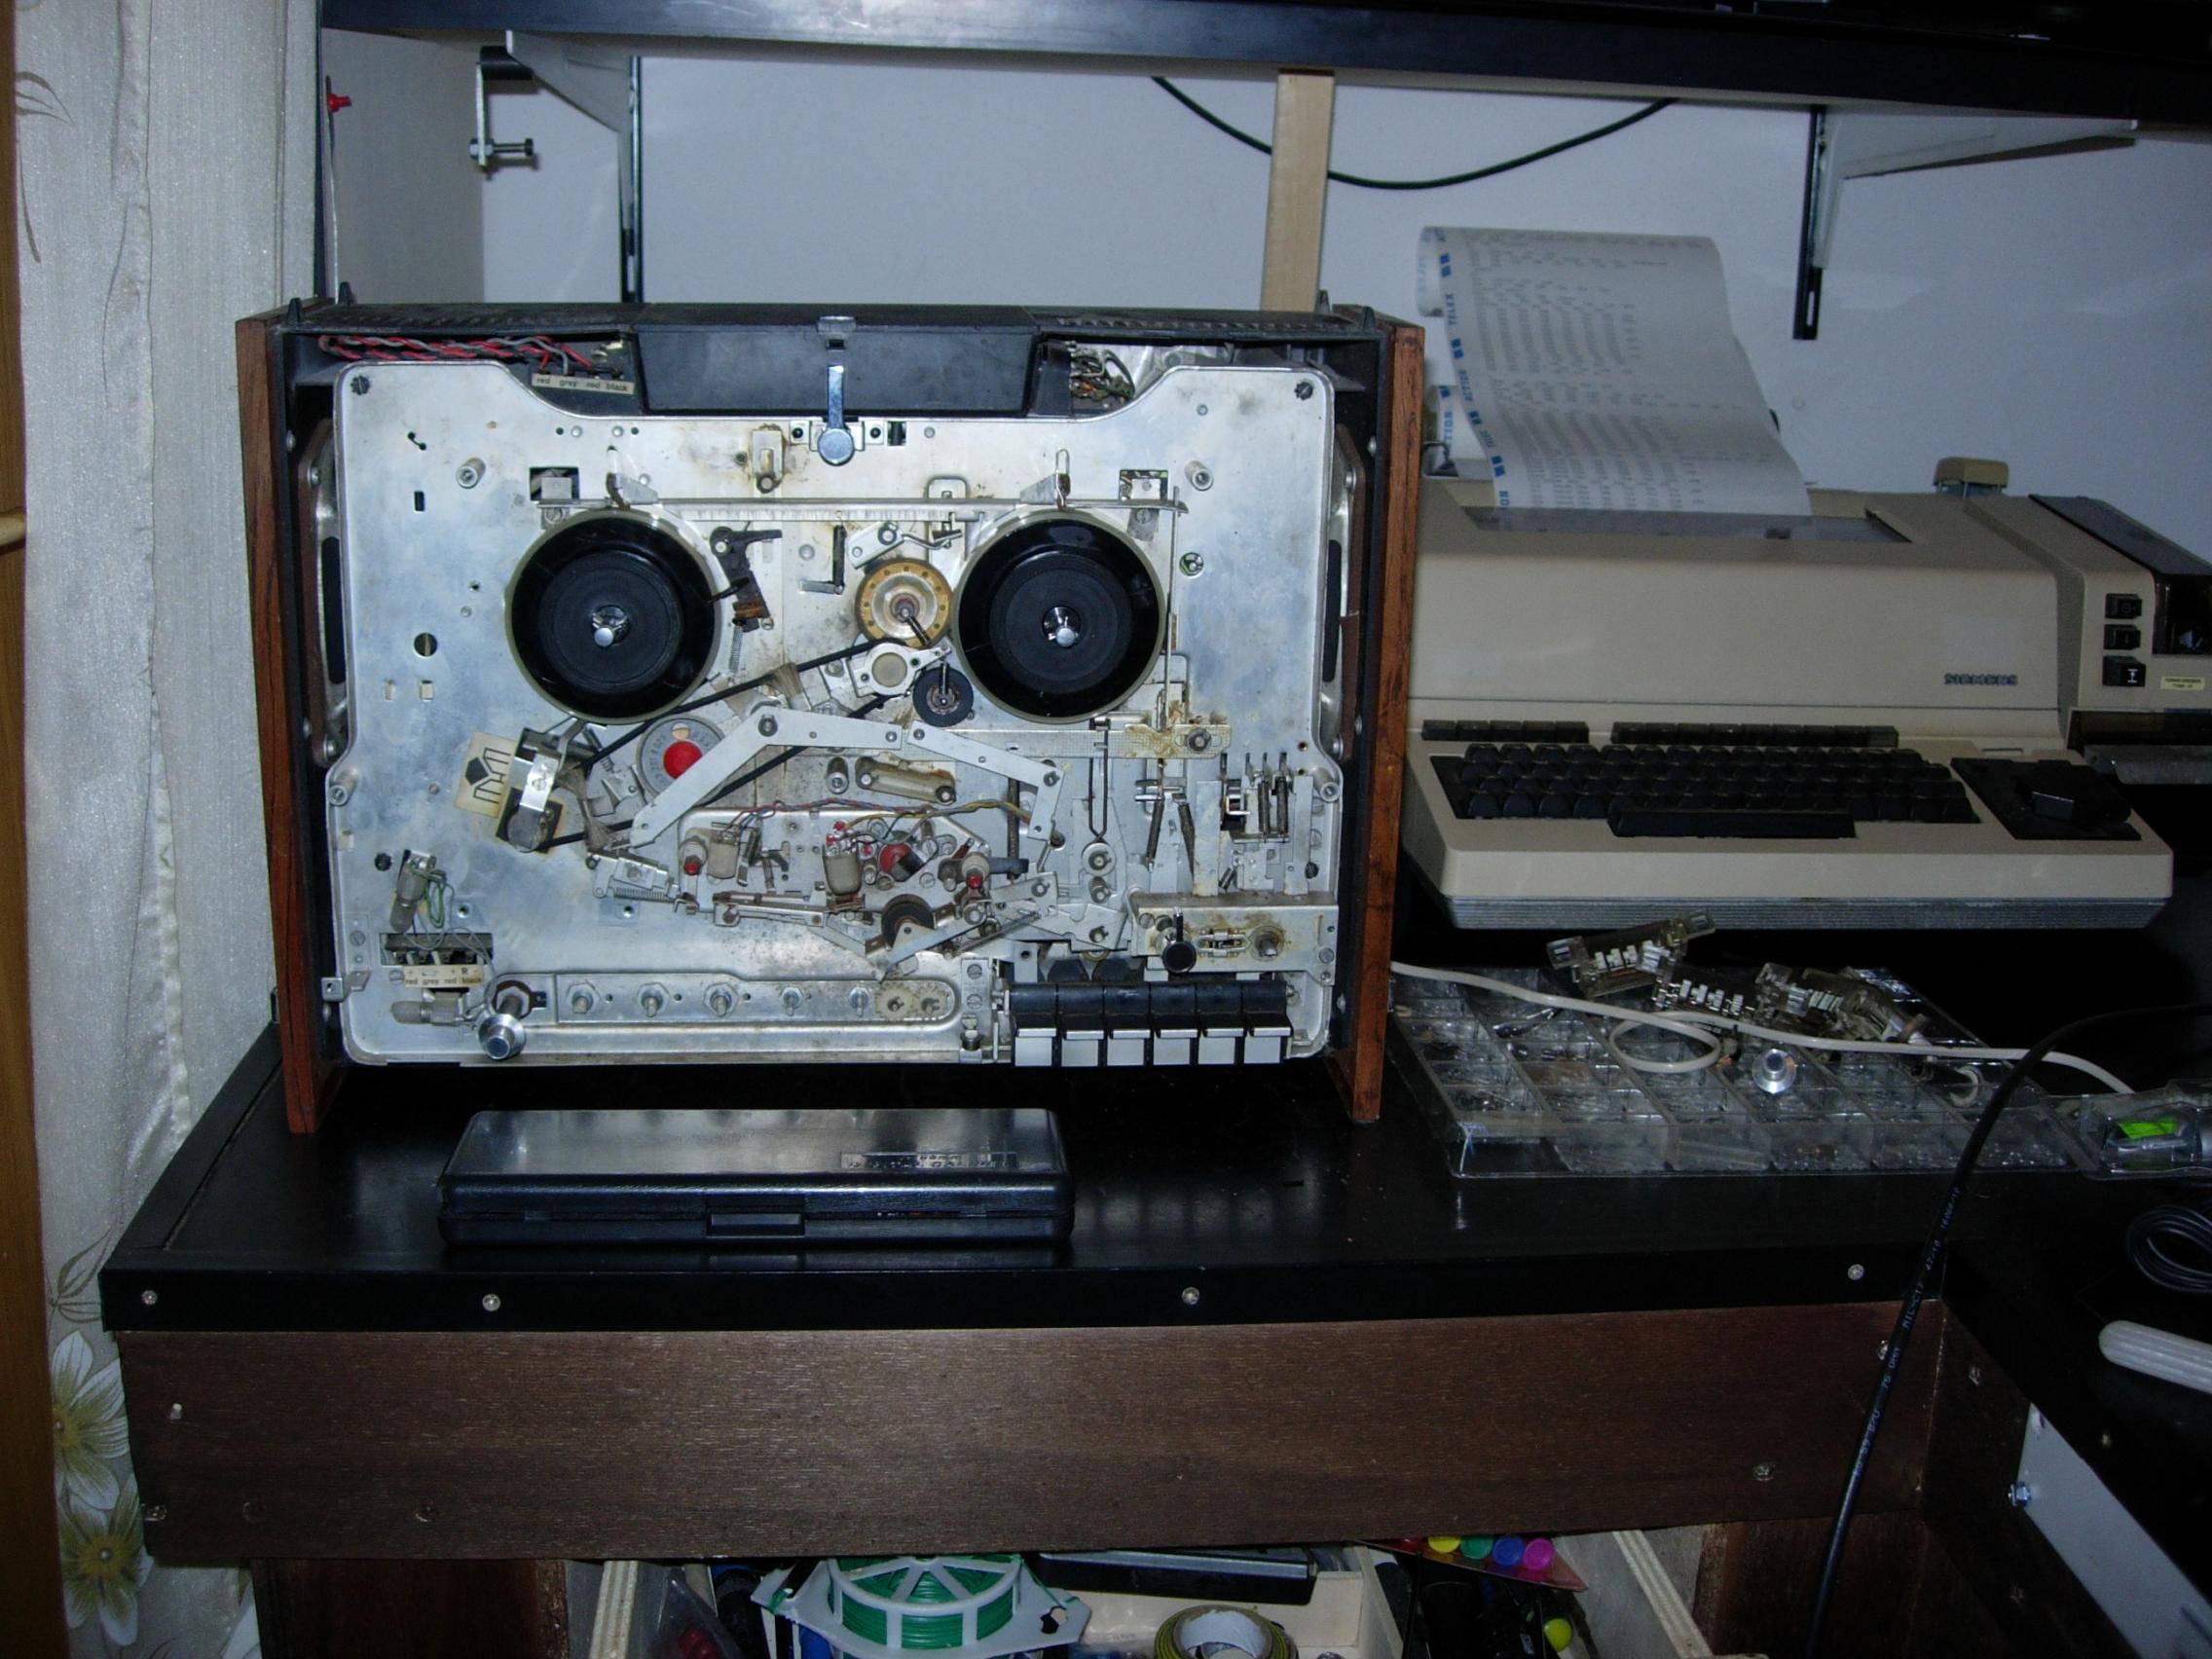
II was immediately curious again whether my own recorder was still working, so open the closed, tape recorder out, on the table, plug in the socket and ................ NOTHING!
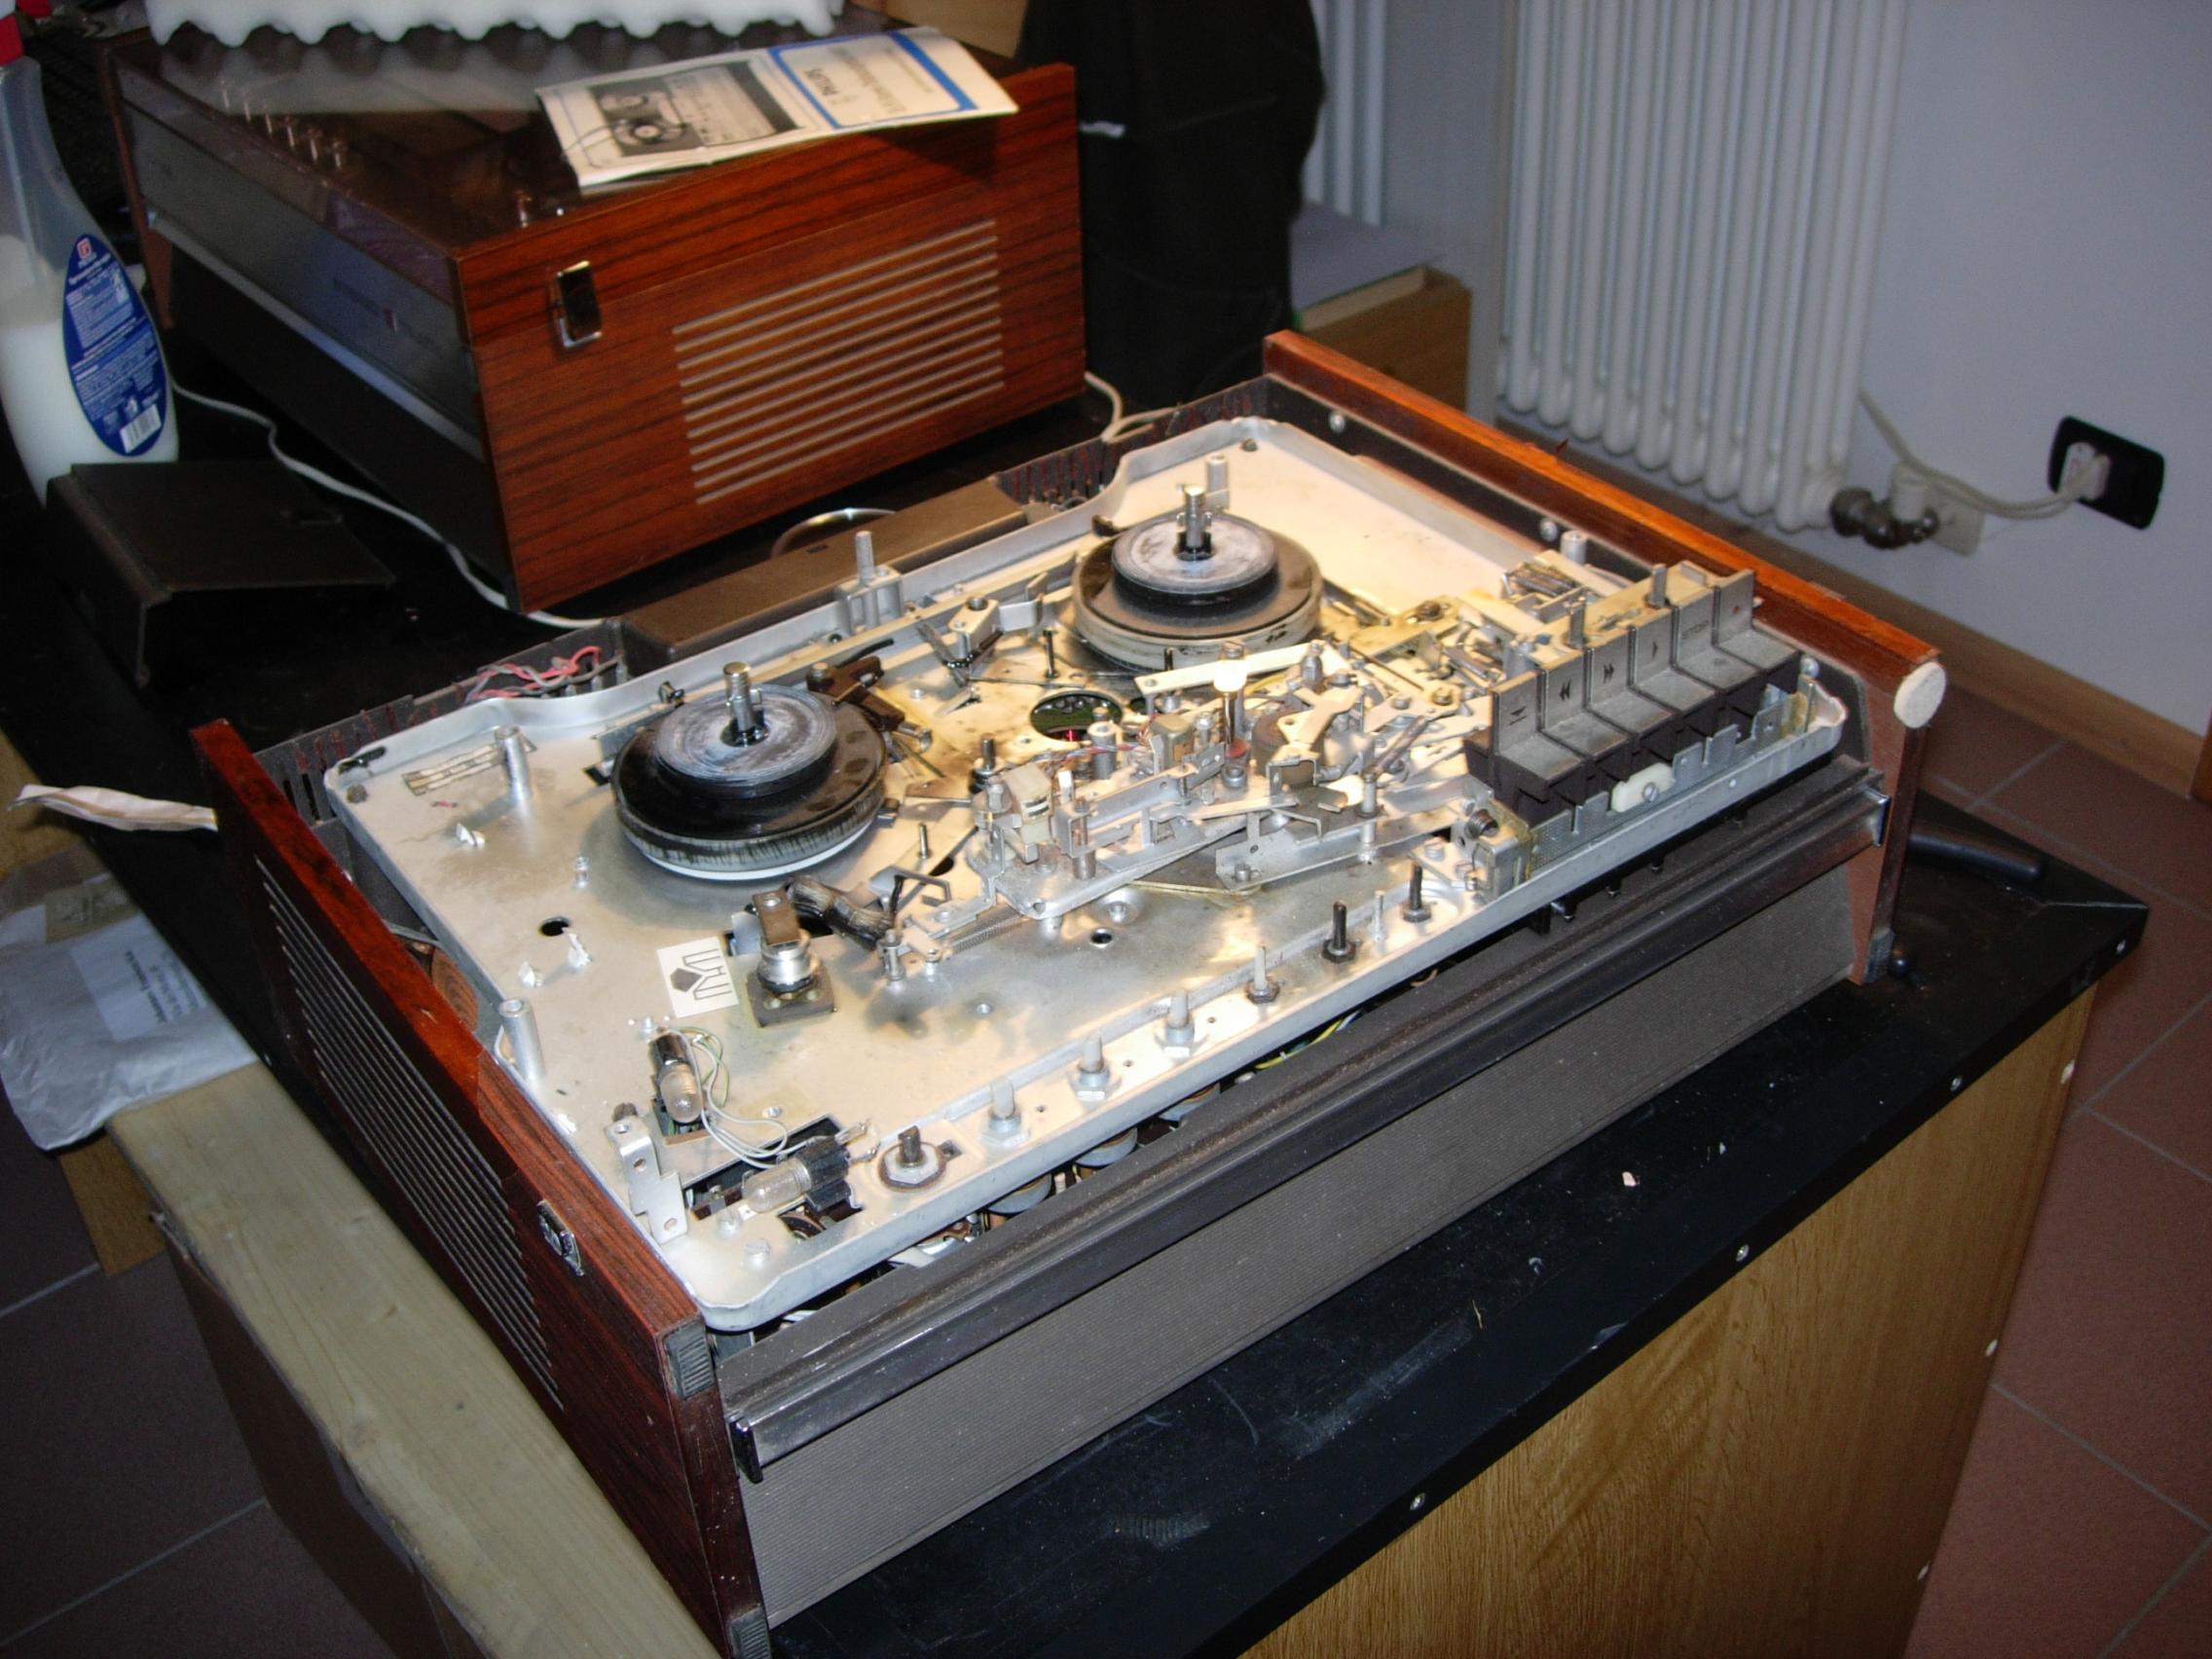
After a closer investigation it turned out that a lot of rubber parts had completely dissolved or better said had turned into a black sticky mire. I contacted Frits Bolsenbroek because he writes on his website that he repairs a few things himself, so maybe he also had parts for sale. I was able to buy the strings, a pressure wheel, brakes and the intermediate wheel from him.
As soon as the parts were there, I immediately set to work to get my recorder, an Aristona 9137, up and running again. It was more difficult to clean that thing than to repair it, what a dirty mess that rubber is! After installing the strings (round instead of square) the recorder was functional again.
I also found out that the bobbin-holders were broken, i.e. the little "wings" that hold the bobbins in place were broken. Also the gears of the belt counter had crumbled and therefore no longer worked. I bought some old Philips N4407 recorders on eBay for a few $$ to see if I could use some parts of them. (The Aristona 9137 could not be found). I was able to use one of the three N4407 recorders, with all the others the gears were in grit. I also transferred two spool dishes, so now I had a working Aristona 9137, my own recorder, working again!
In the end, I chose to repair all the recorders instead of letting one or two of them "die" for donor parts. I couldn't get it over my heart to demolish them altogether. So I had one working Aristona 9137 and three broken (half demolished) Philips N4407 recorders. So I rolled up my sleeves and started working. Below is a small description of what I was able to make myself. In the process you find out that things can be done differently, maybe simpler or better, but the first result I achieved is not bad after all.
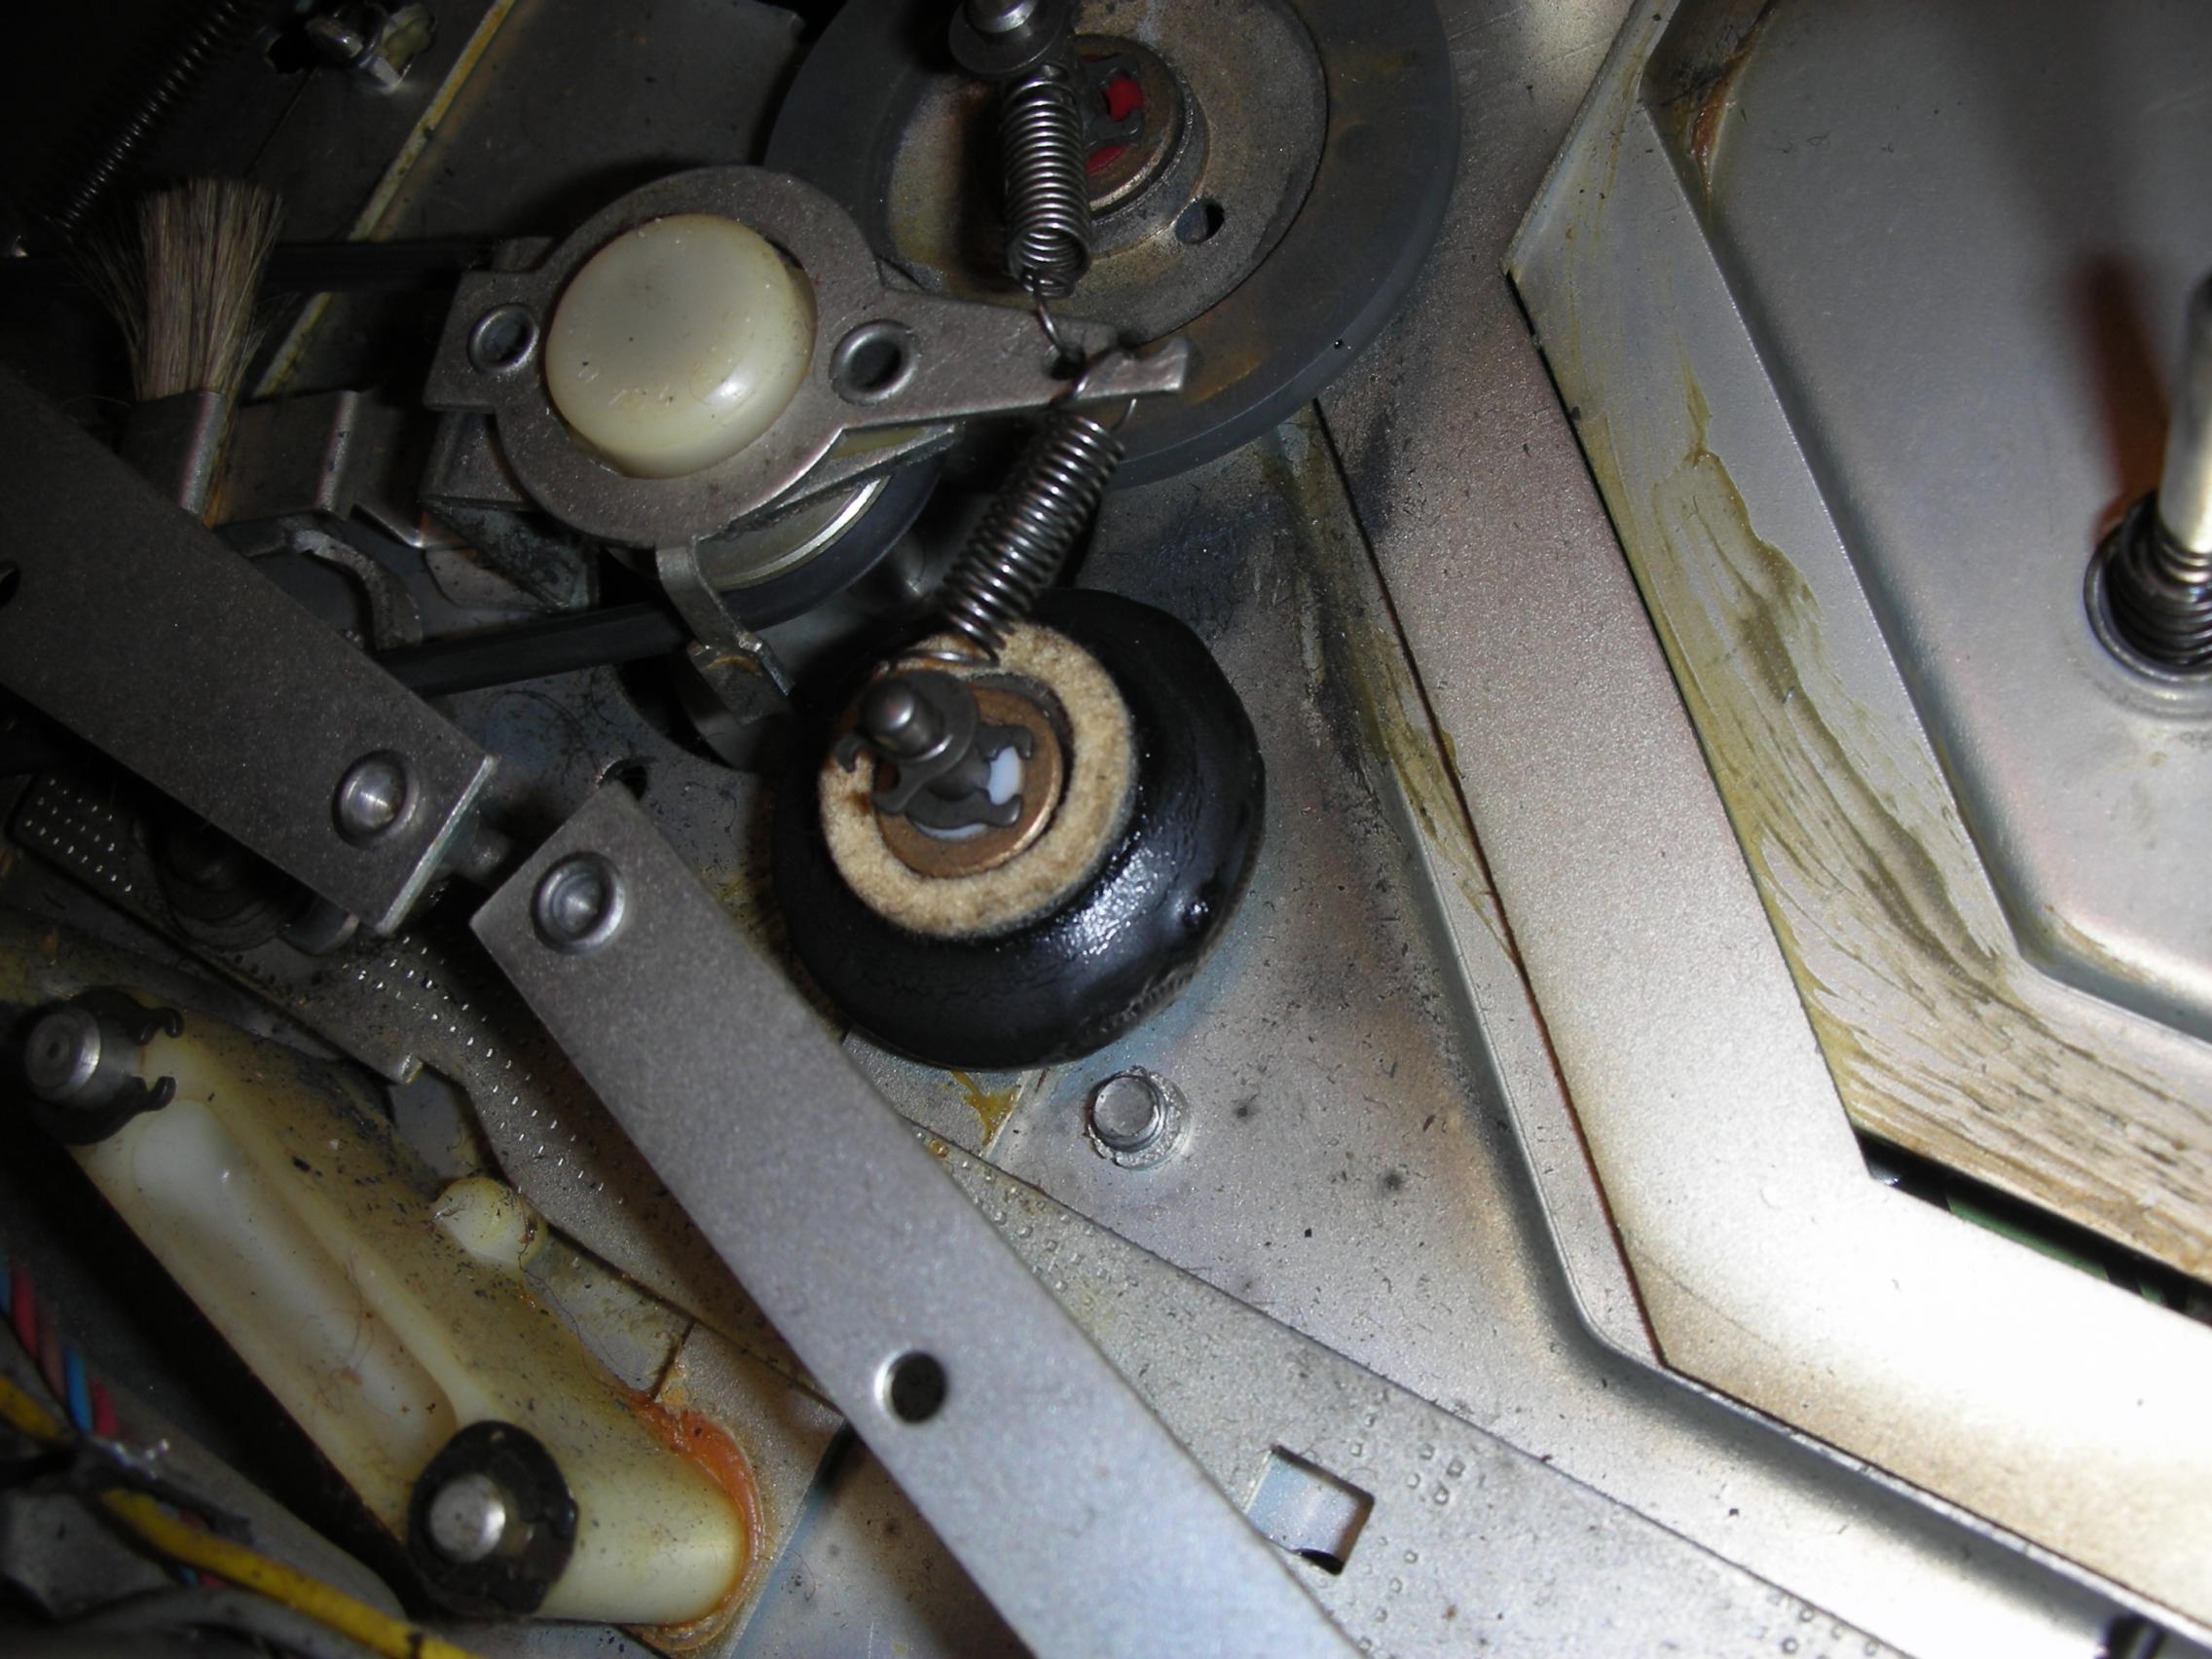
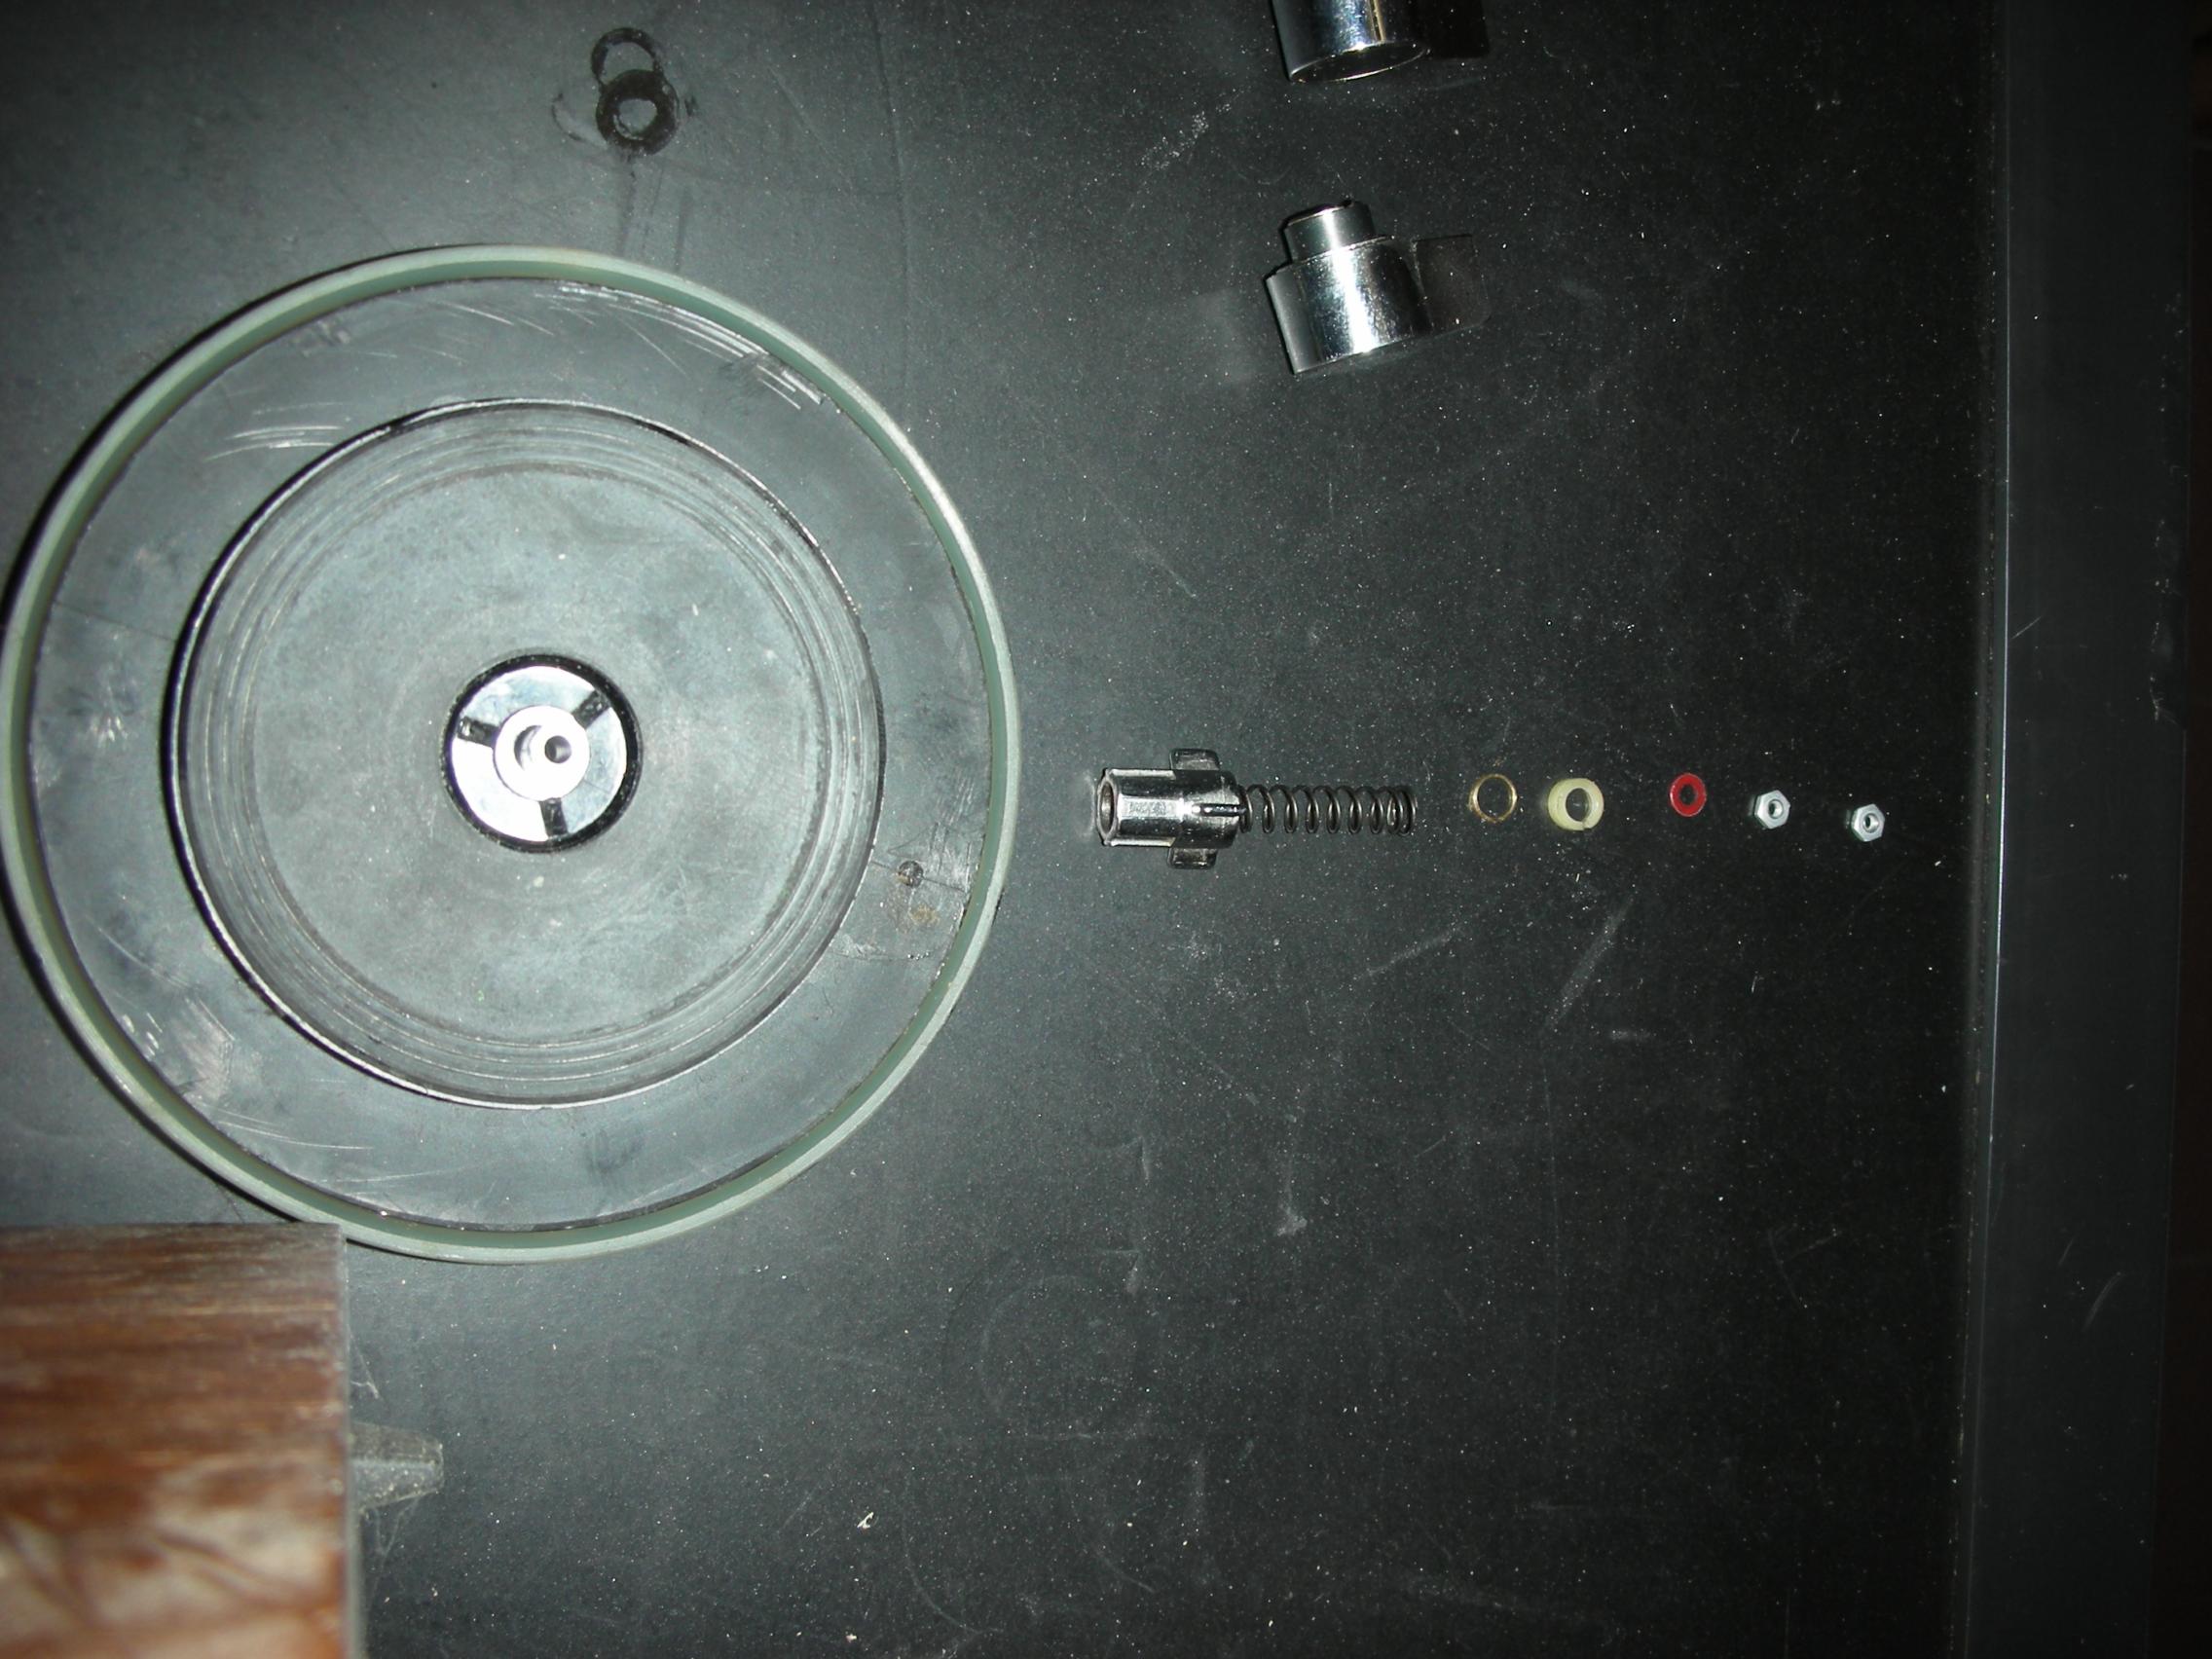
If you no longer have an intermediate wheel because the original rubber has completely decayed and/or dissolved, buy one on eBay, as an alternative you can easily make one yourself. You do have to clean and re-use the metal core of the old intermediate wheel. I took an 8 mm thick piece of rubber which is used as a conveyor belt for sand or pebbles, there are two layers of textile in it but that doesn't matter.
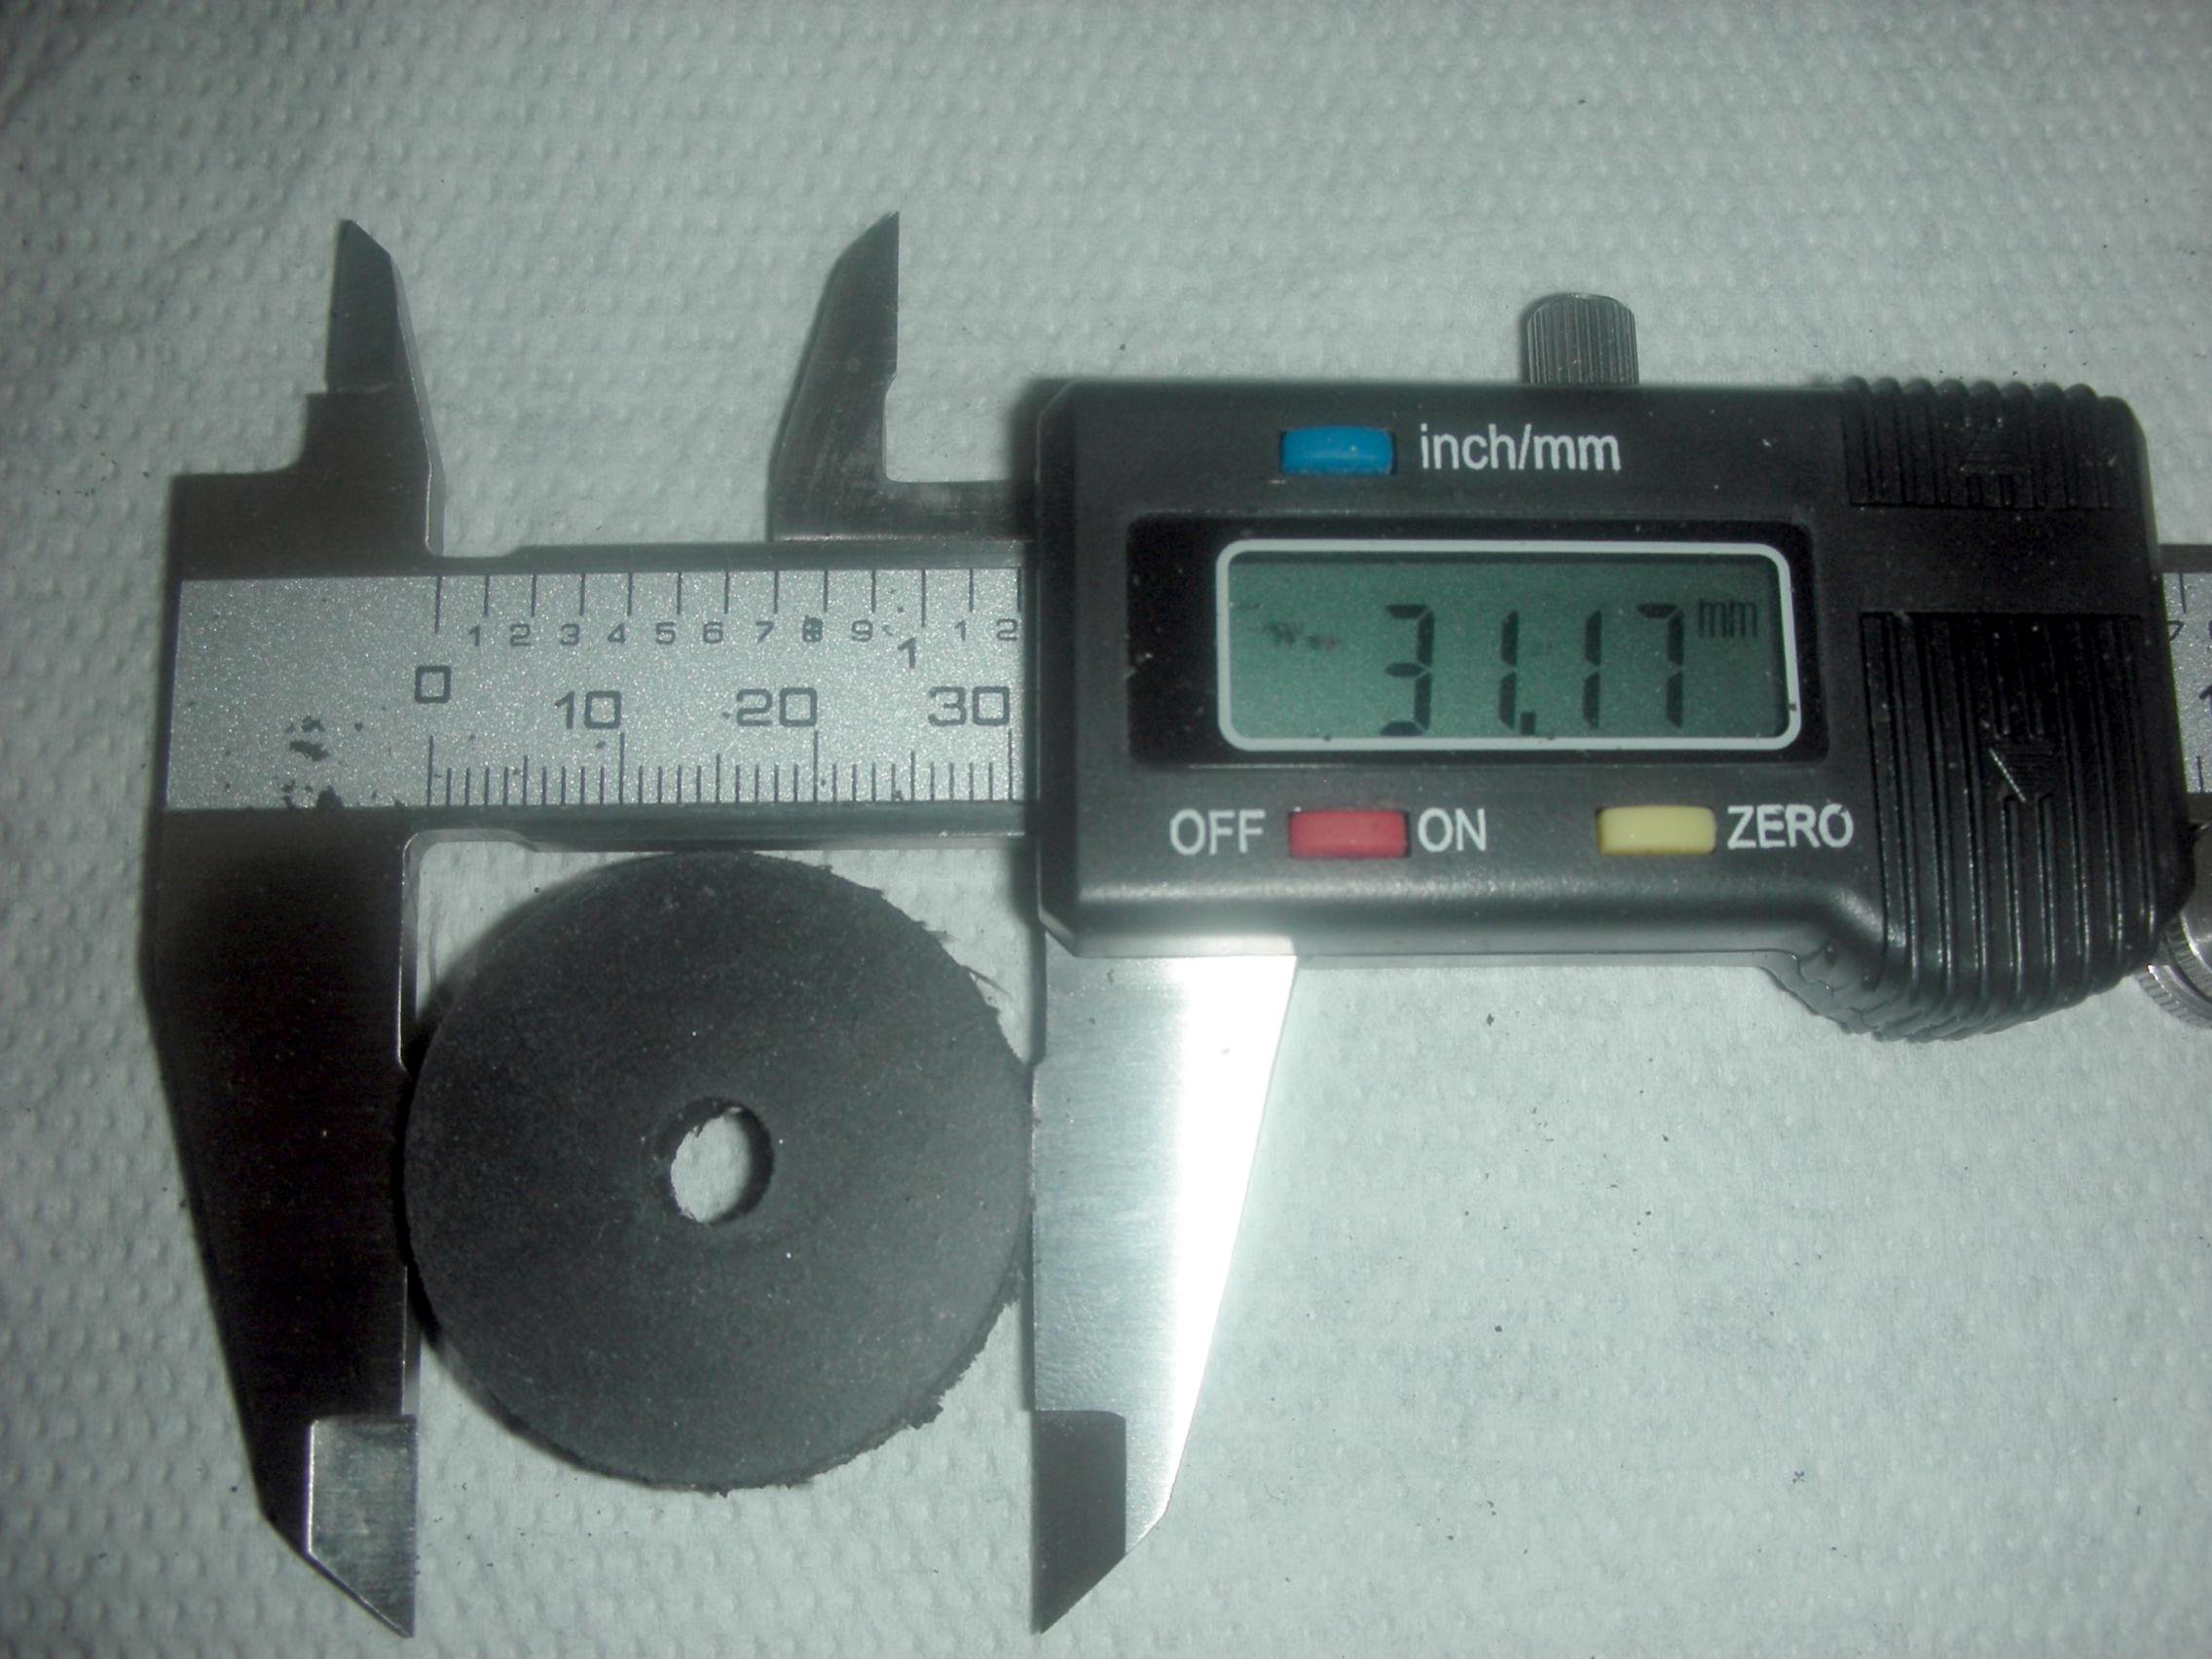
With a 35 mm hole cutter I made a couple of slices with a 5 mm hole, that's because of the centre drill. The discs are then about 31 mm in diameter. Then you put the disc on a 6 mm screw with counter nut and then you place the screw in a drilling tool. With some coarse sandpaper (100) you sand the disc until you are almost at 25 mm. Now you have to enlarge the hole to the size of the original metal core. I have seen that not all metal cores are the same size. I had two of 12 mm and one of 15 mm. I took a wood grater for this, this tool leaves a somewhat rough surface which will be useful when gluing.
With a 35 mm hole cutter I made a couple of slices with a 5 mm hole, that's because of the centre drill. The discs are then about 31 mm in diameter. Then you put the disc on a 6 mm screw with counter nut and then you place the screw in a drilling tool. With some coarse sandpaper (100) you sand the disc until you are almost at 25 mm. Now you have to enlarge the hole to the size of the original metal core. I have seen that not all metal cores are the same size. I had two of 12 mm and one of 15 mm. I took a wood grater for this, this tool leaves a somewhat rough surface which will be useful when gluing.

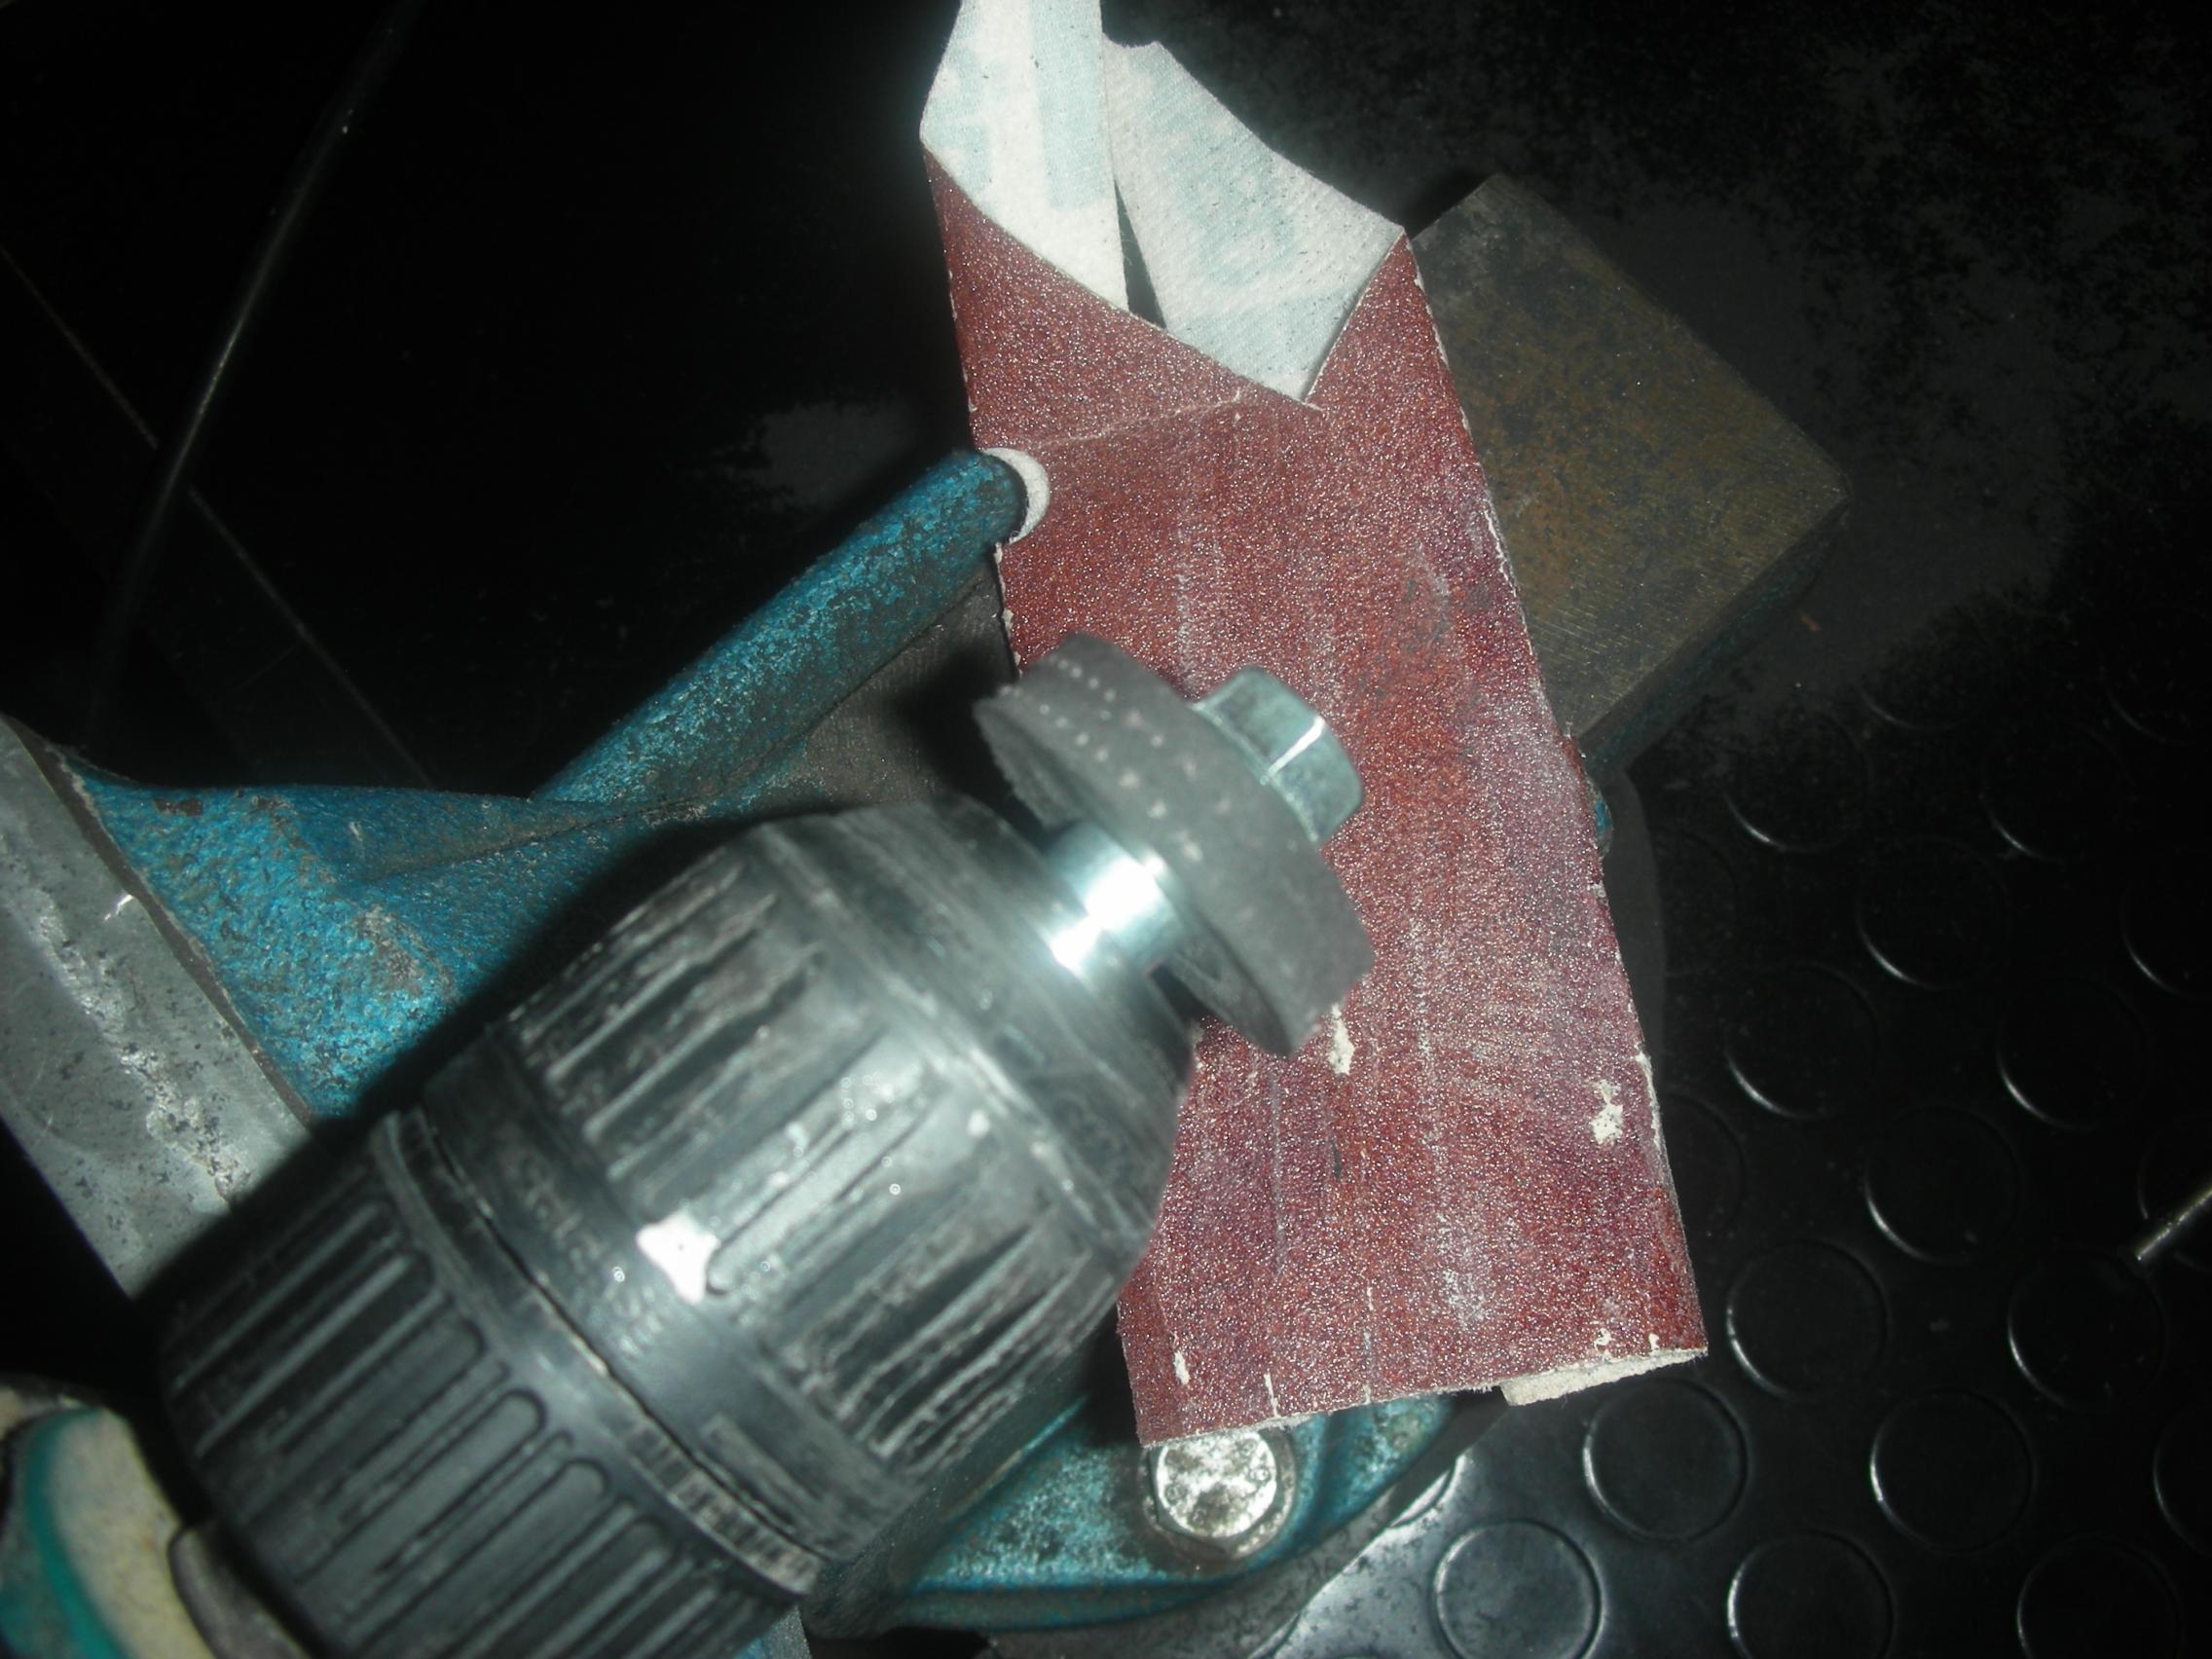
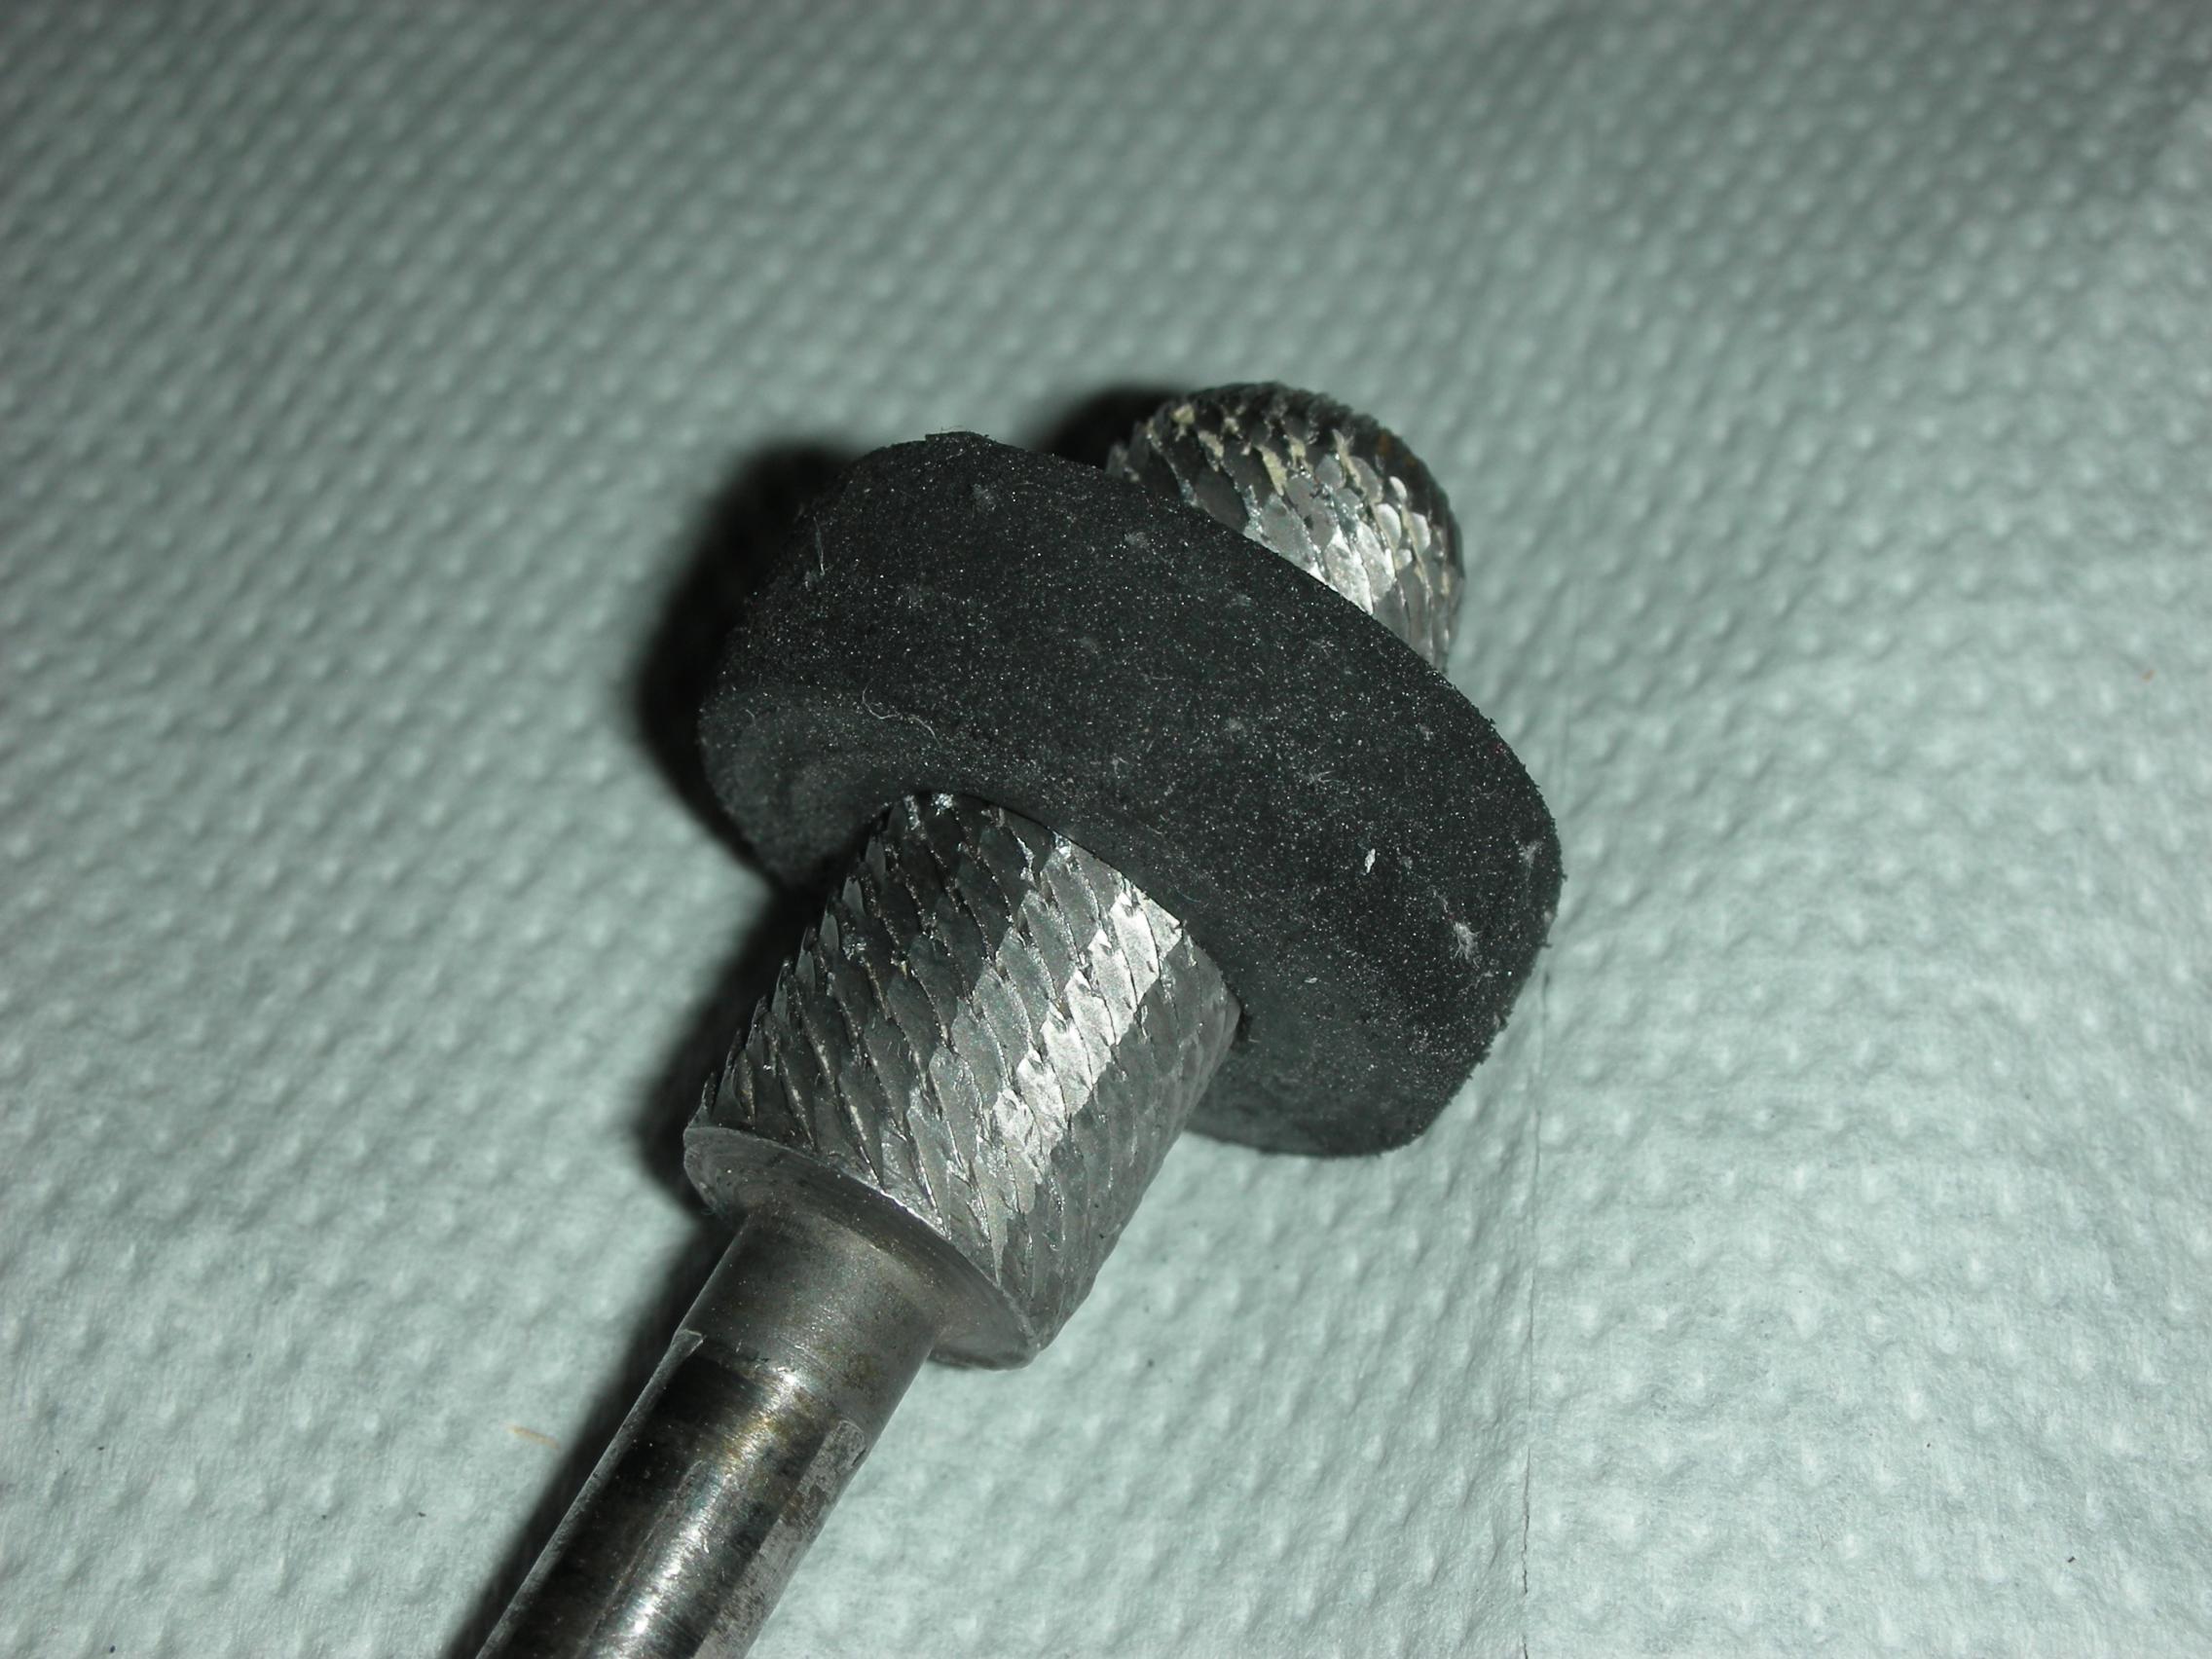
If the disc is still around the grater it is also more convenient to reach the final diameter of 25 mm with fine sanding paper (800). Let the derrick rotate at high speed and sand as fine as possible to obtain a smooth surface, because the smoother the wheel, the less chatter during fast forwarding.
When the disc is mechanically ready, without dust and grease, you can glue the disc around the metal core. I have used Loctite 401 structural adhesive. This glue is strong and only needs a very thin layer to be effective. Make sure that the disc is exactly flat at the same time, this glue is a quick-dryer. After 5 seconds the intermediate wheel is ready for installation.
When the disc is mechanically ready, without dust and grease, you can glue the disc around the metal core. I have used Loctite 401 structural adhesive. This glue is strong and only needs a very thin layer to be effective. Make sure that the disc is exactly flat at the same time, this glue is a quick-dryer. After 5 seconds the intermediate wheel is ready for installation.

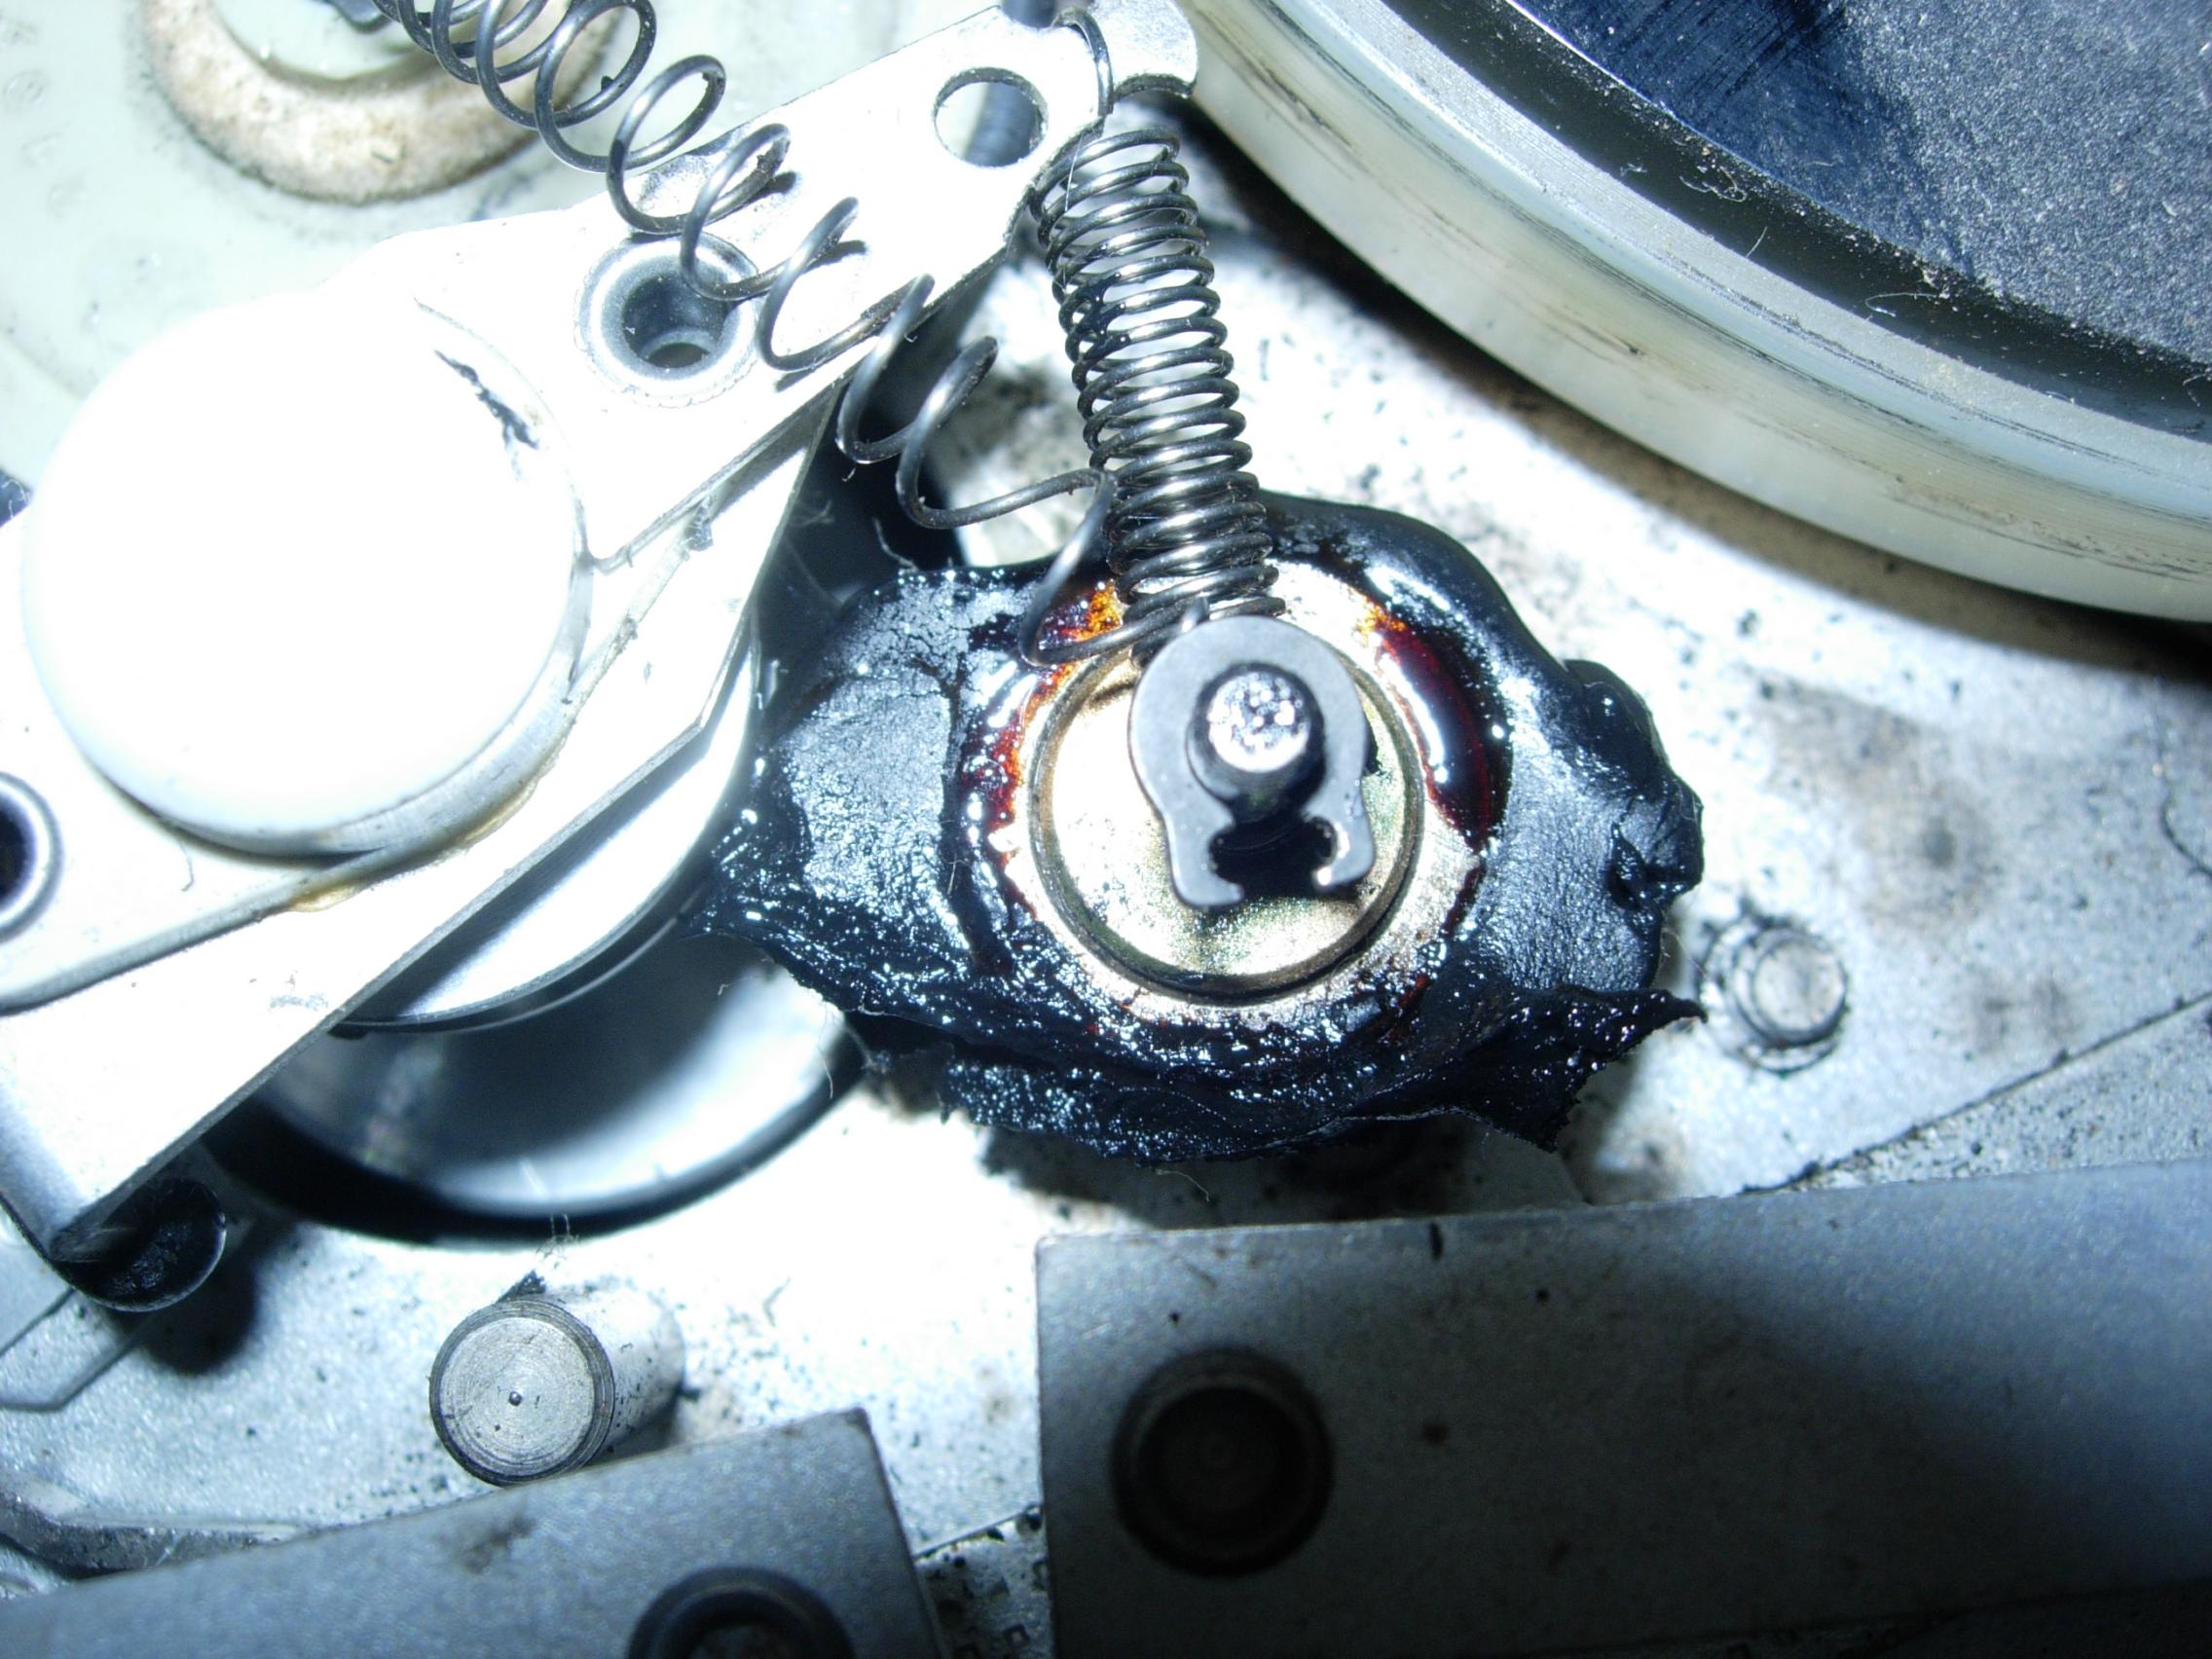
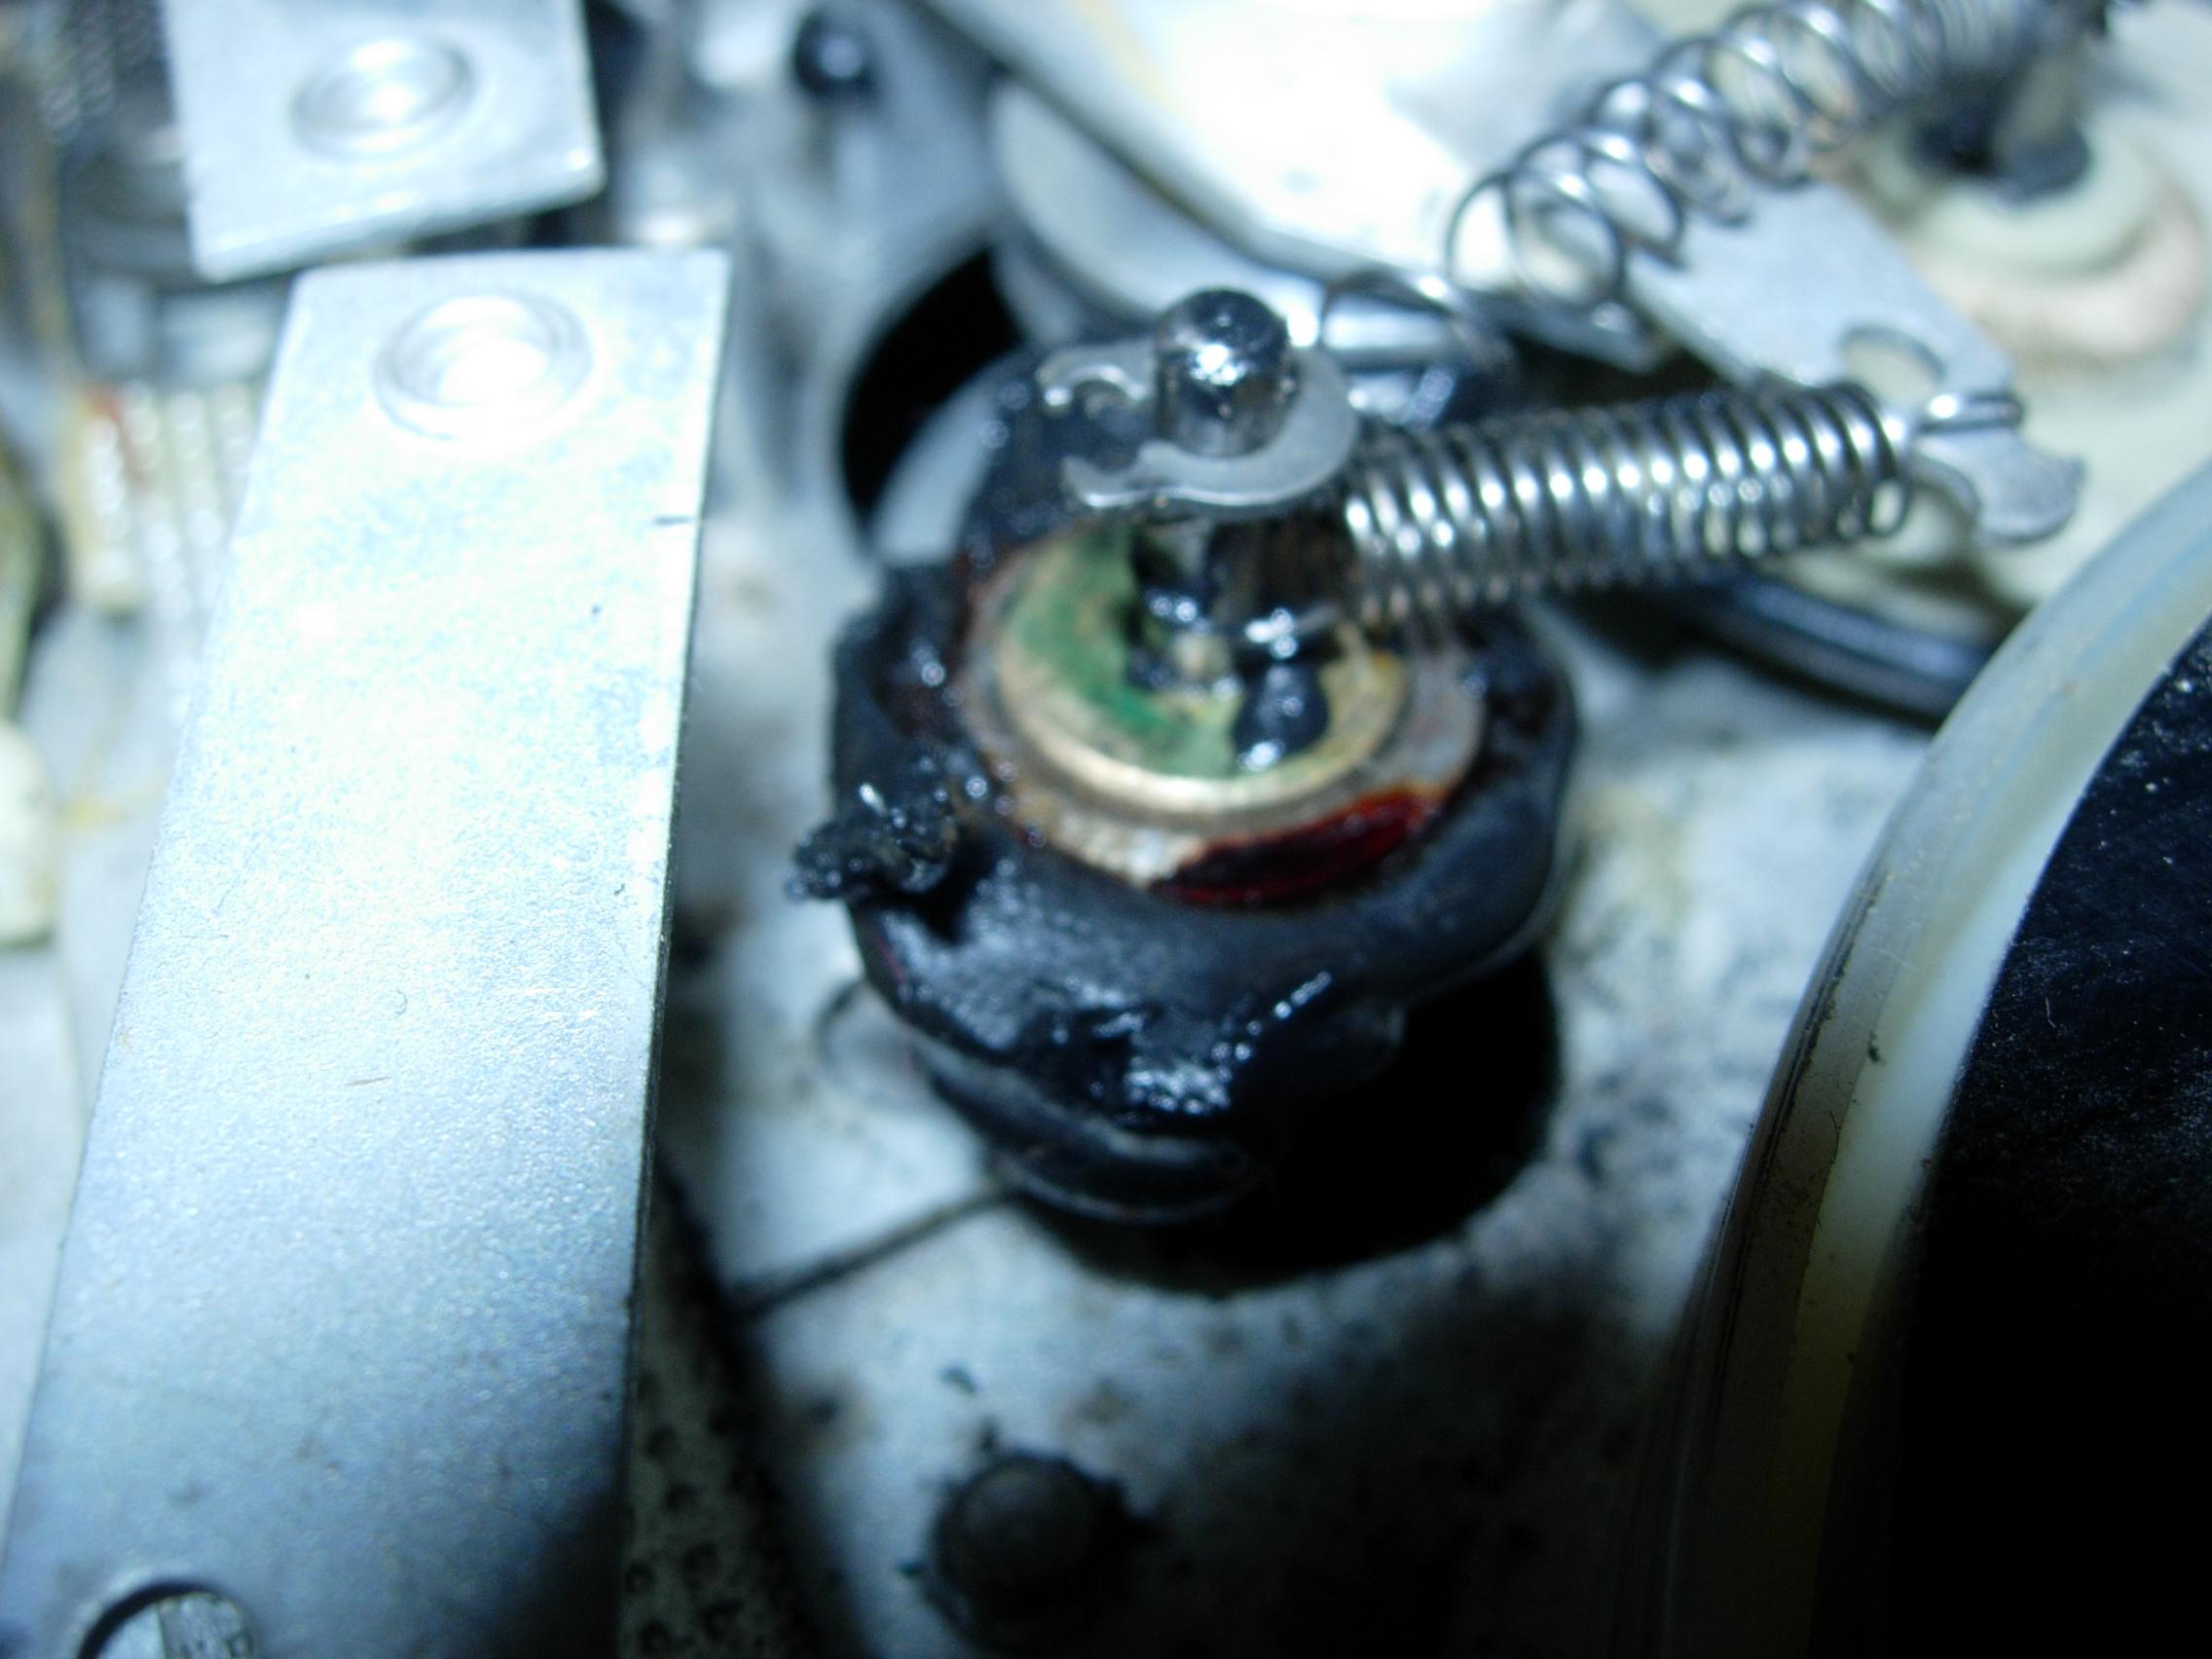
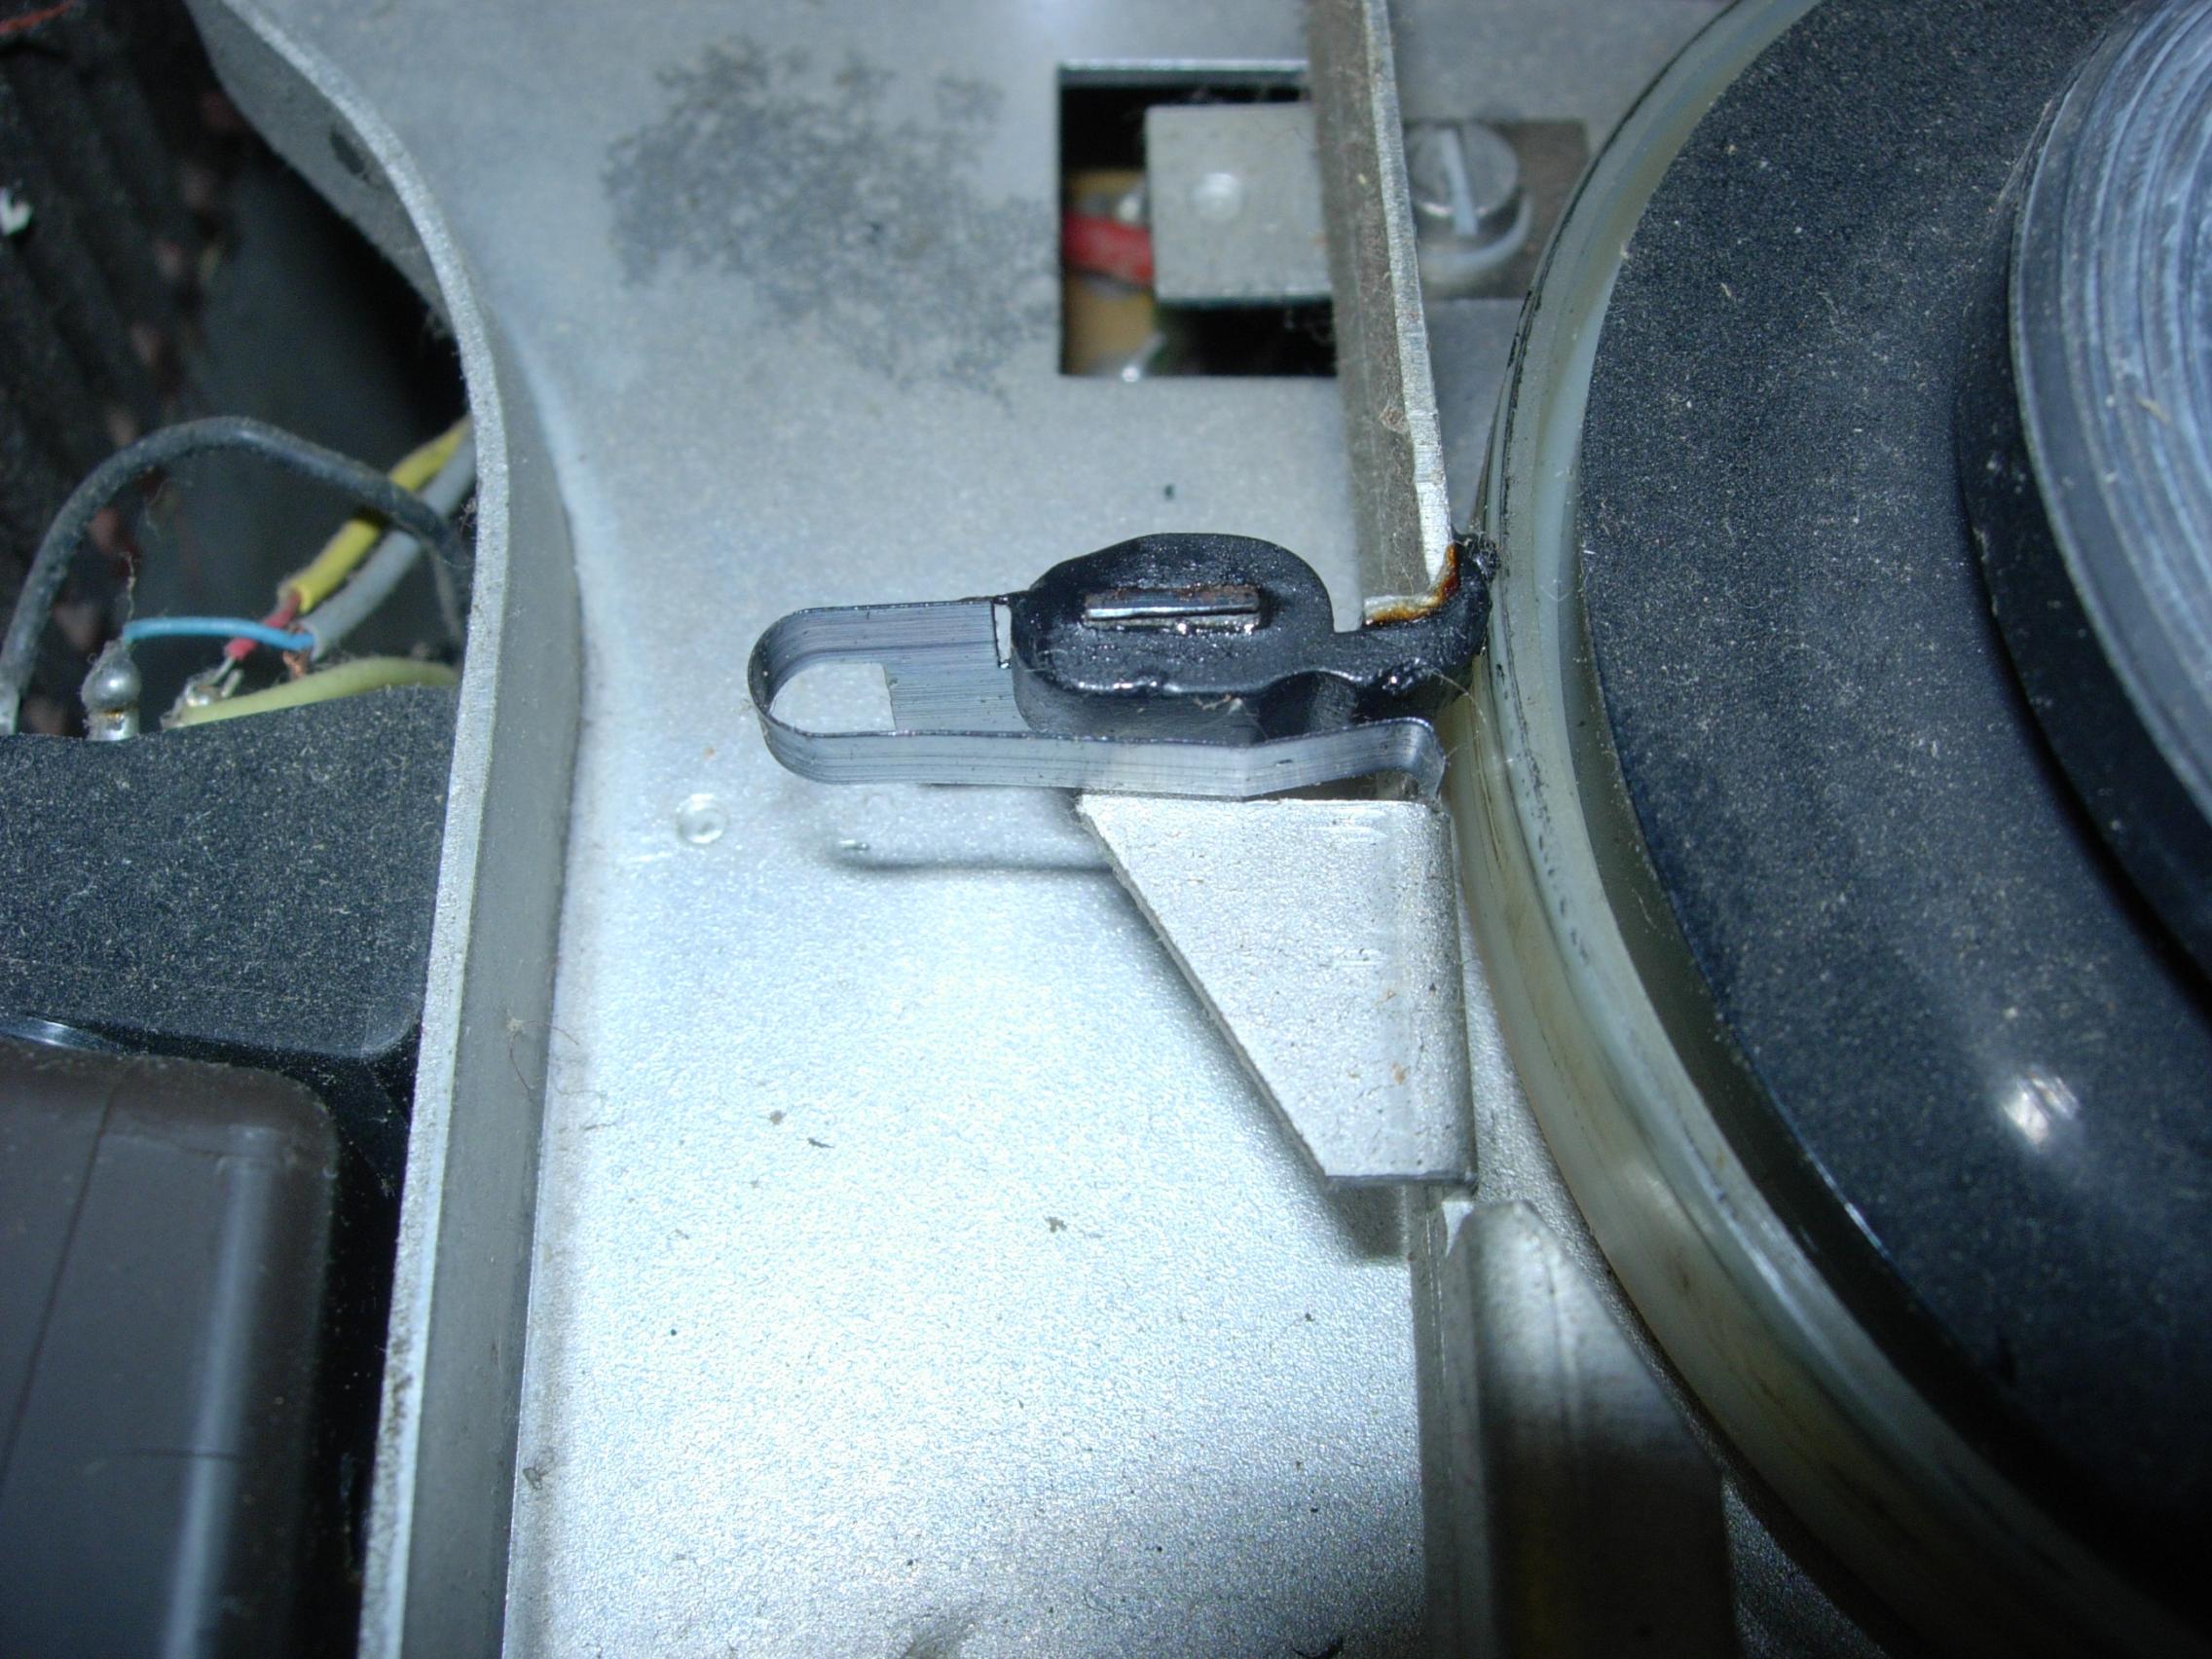
An important part of the tape recorder are the spool-dish brakes, if these do not work it becomes a big mess of "bandalat" as it is called in Germany. The brakes are made of a rubber profile and this material is quite soft. On my tape recorder (eBay) there were no more brakes on it, but what was worse, the corresponding brake springs were also worn off.
I assume that the previous owner opened the recorder and was shocked by the "Rubber plague". Unfortunately he did want to clean it a bit but he didn't put the springs back. On eBay there are plenty of people offering intermediate wheels, strings and brakes.
The cost of this is actually a bit high for me, but to get a recorder back in top shape is necessary! I have found an alternative that works quite well and only costs a few cents.
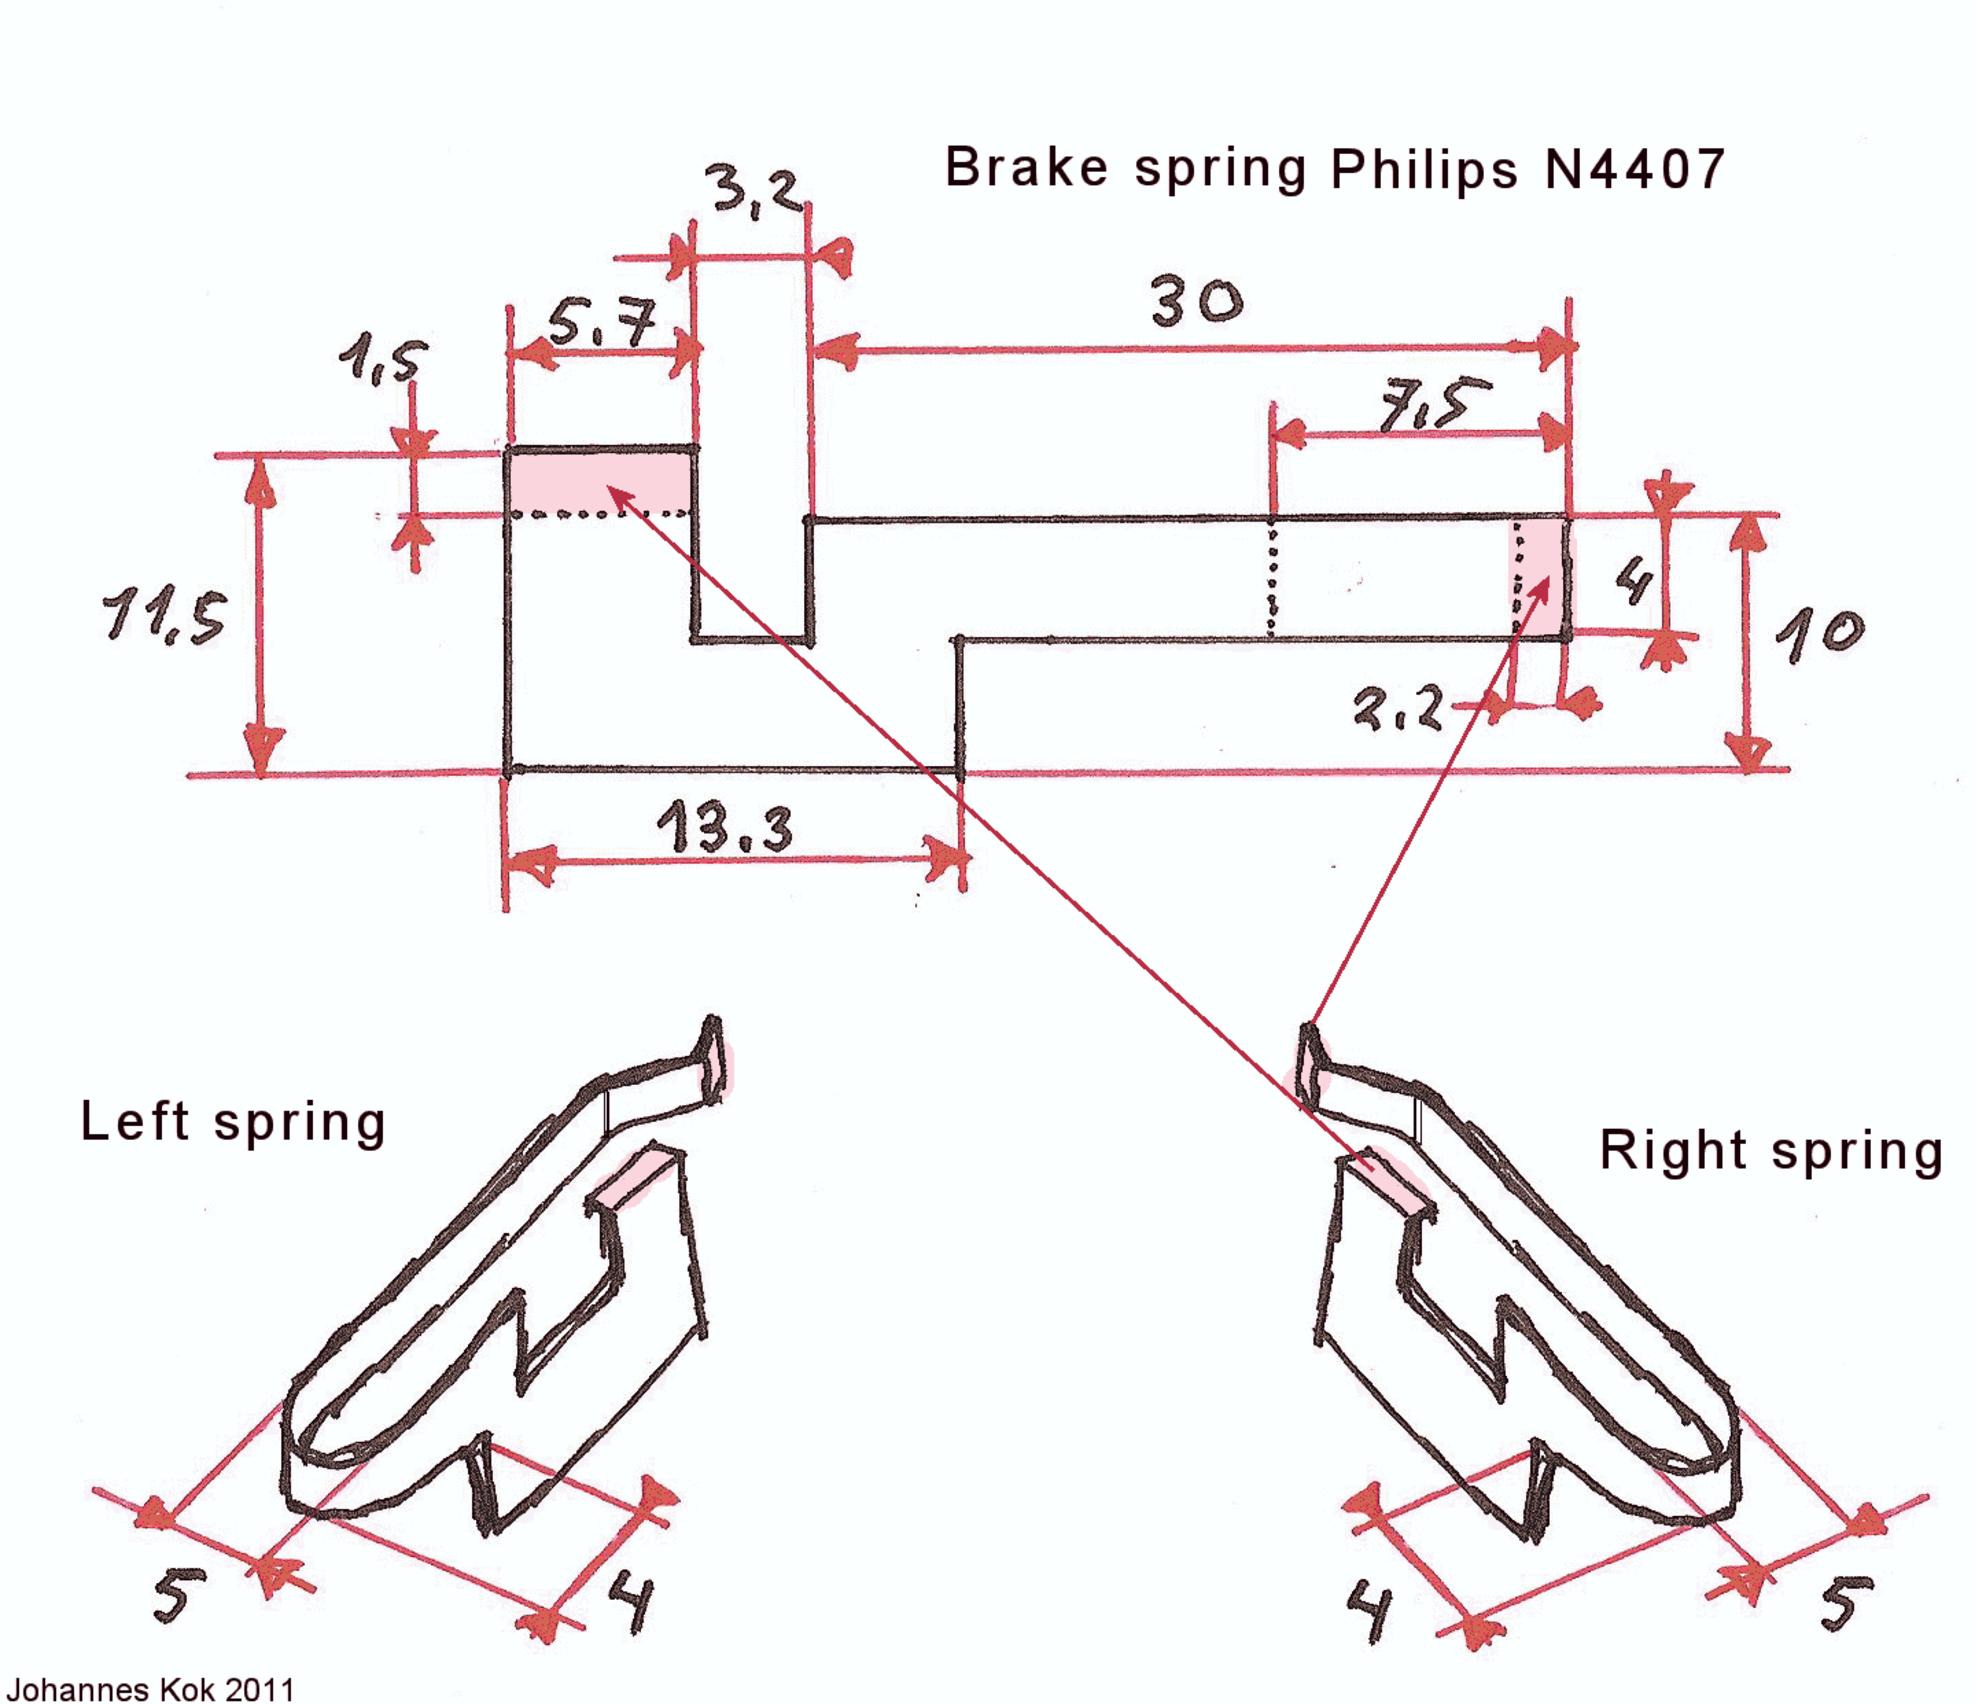
Drawing with measures for the break springs
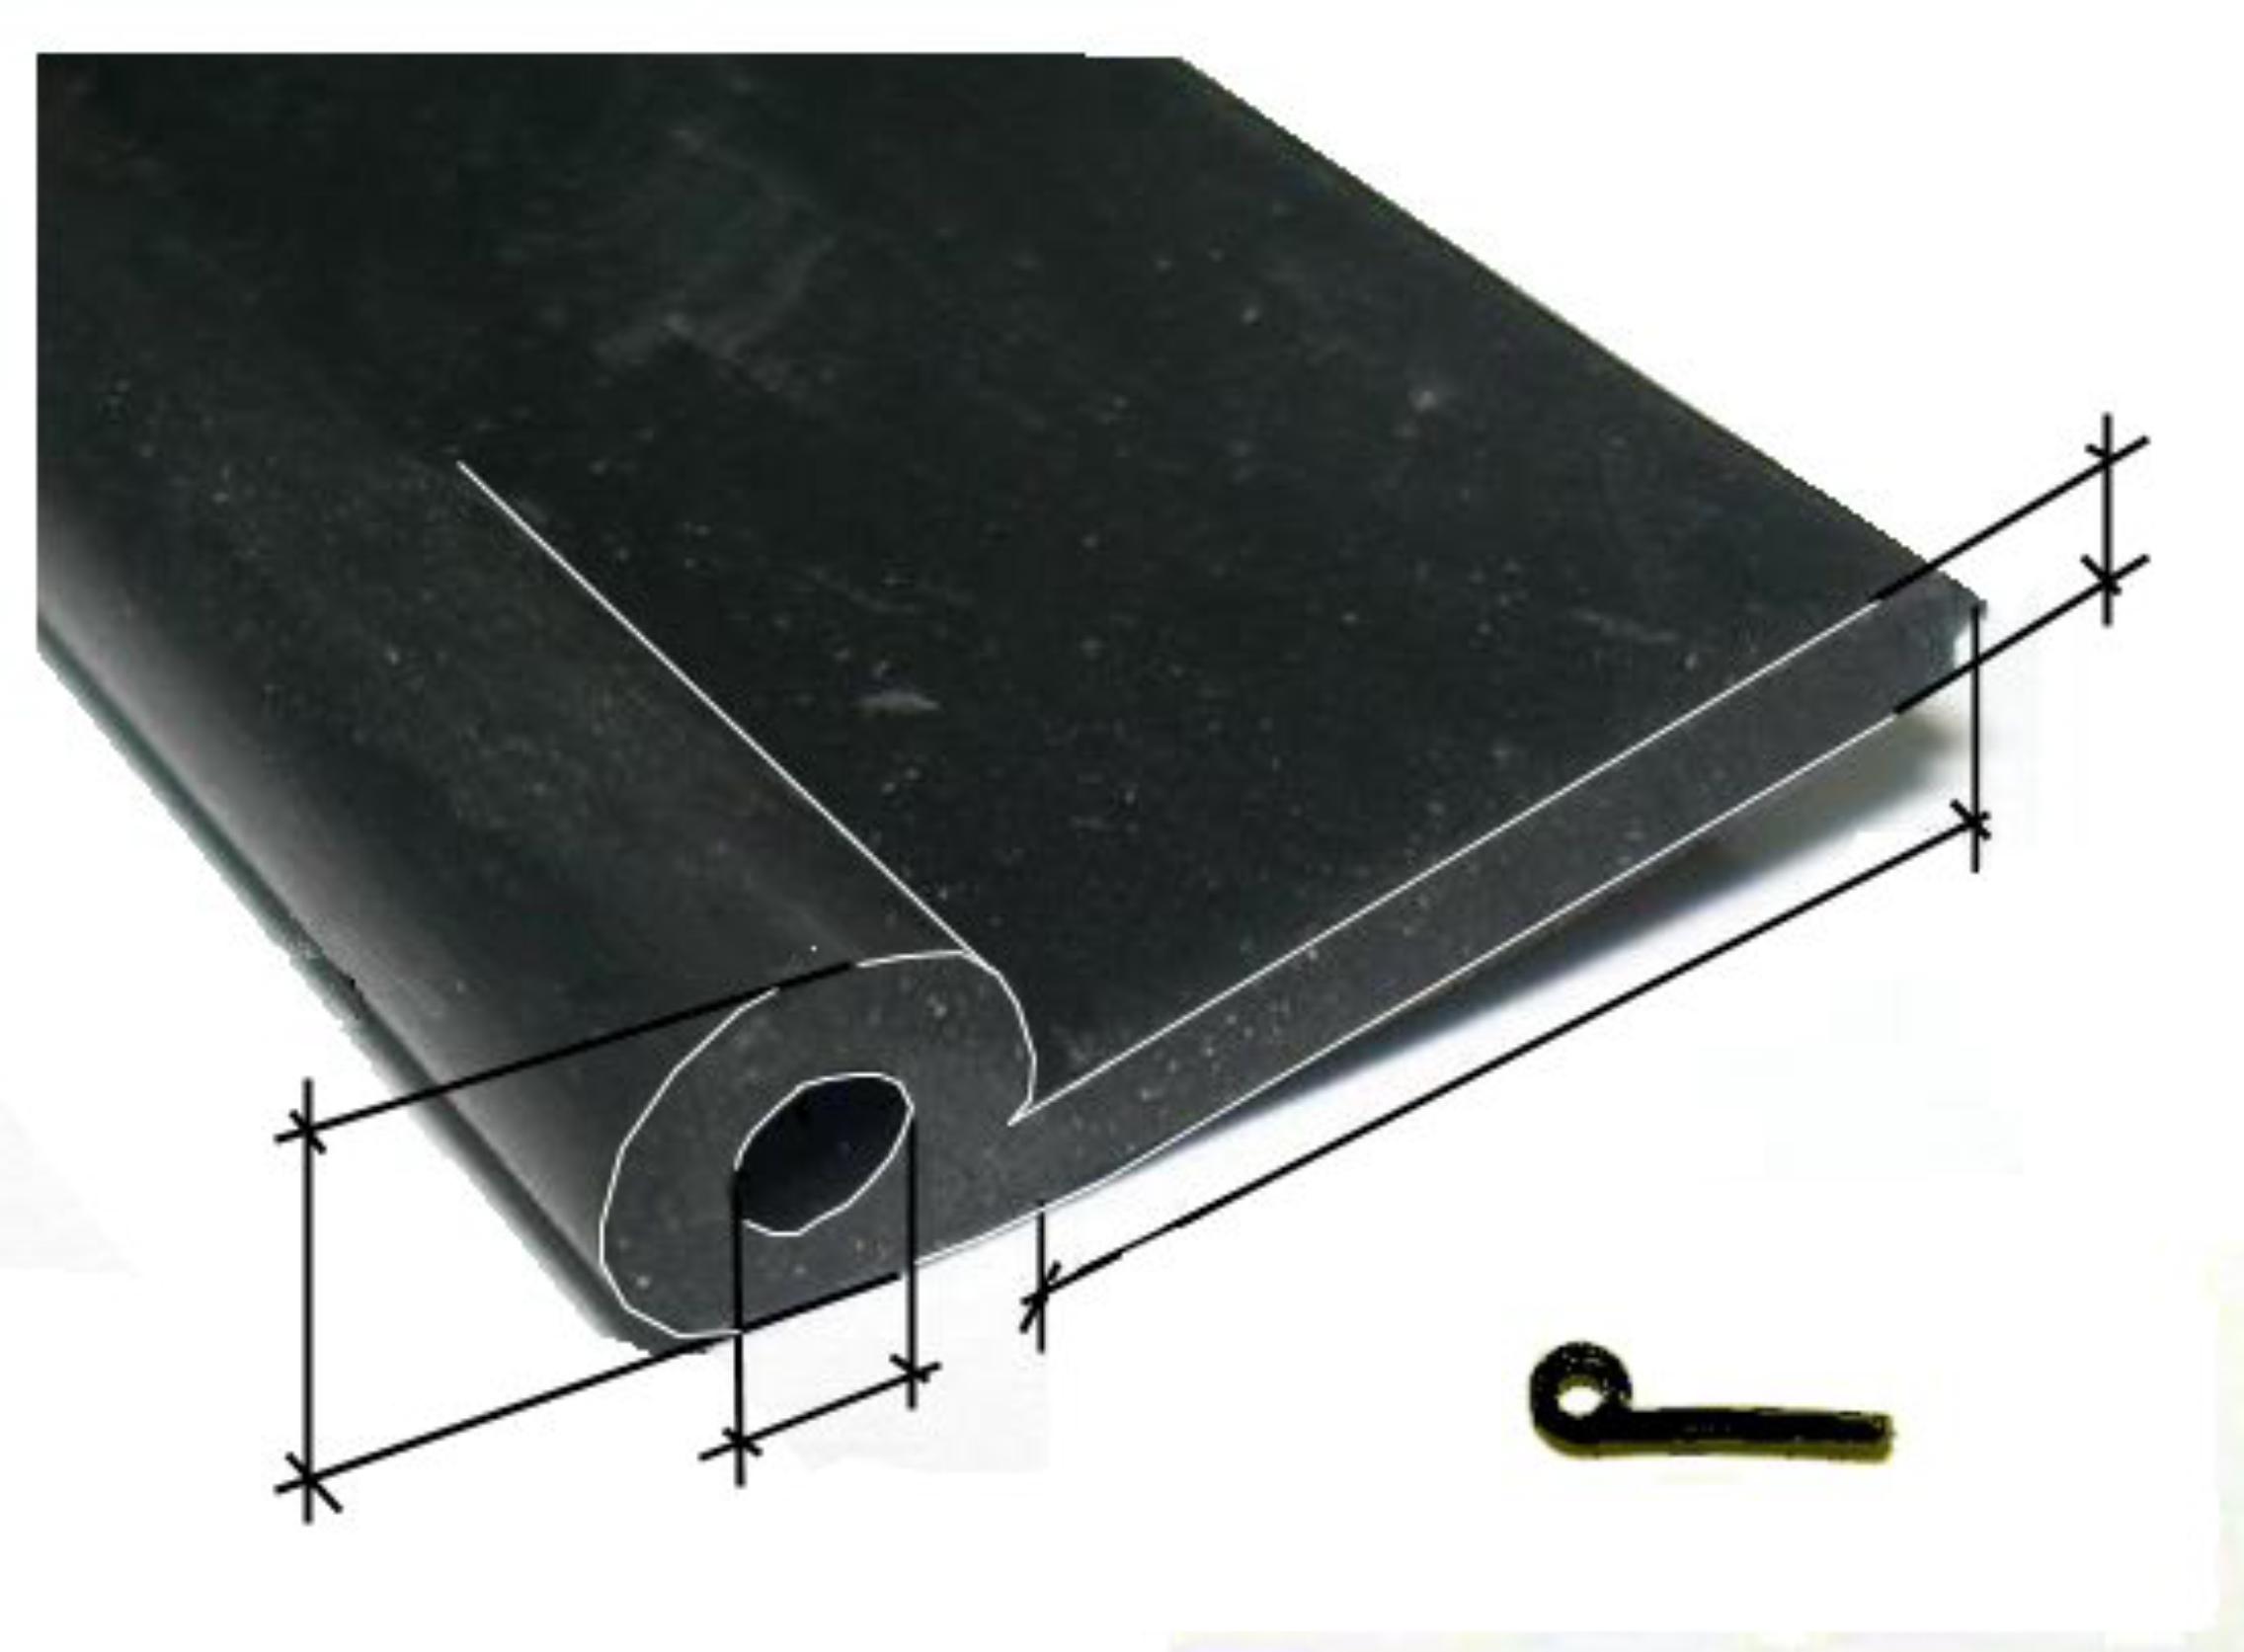
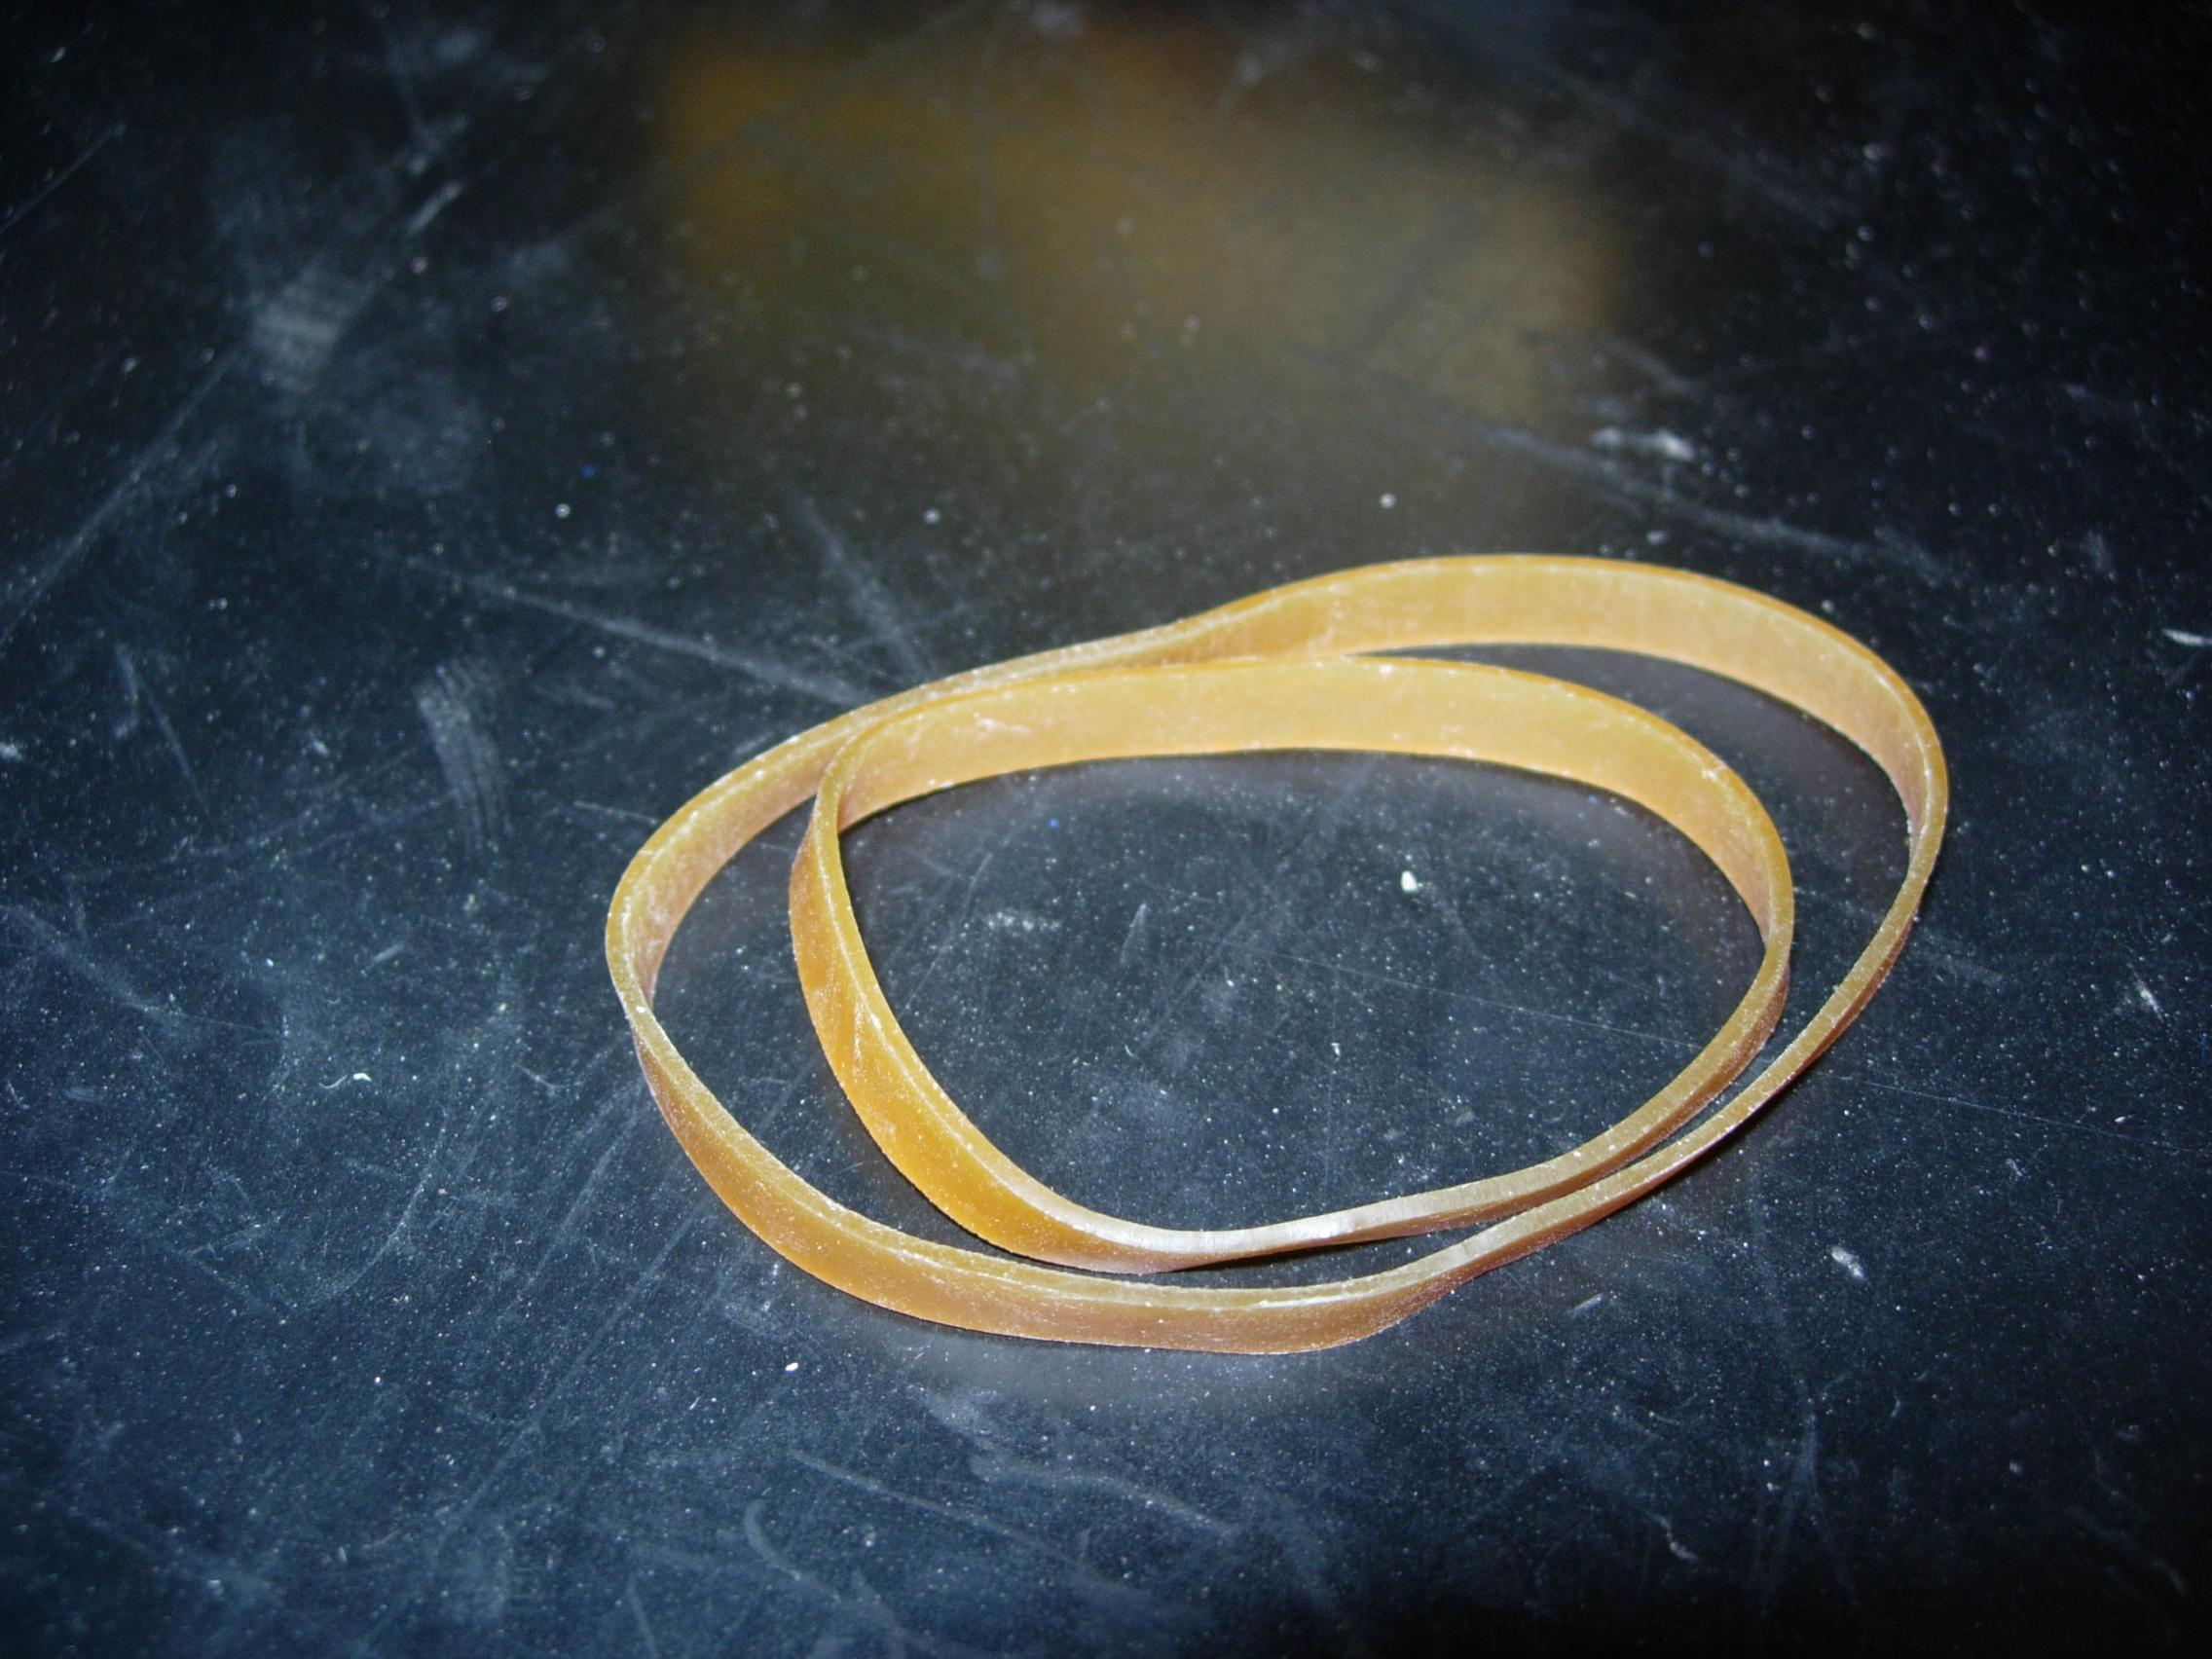
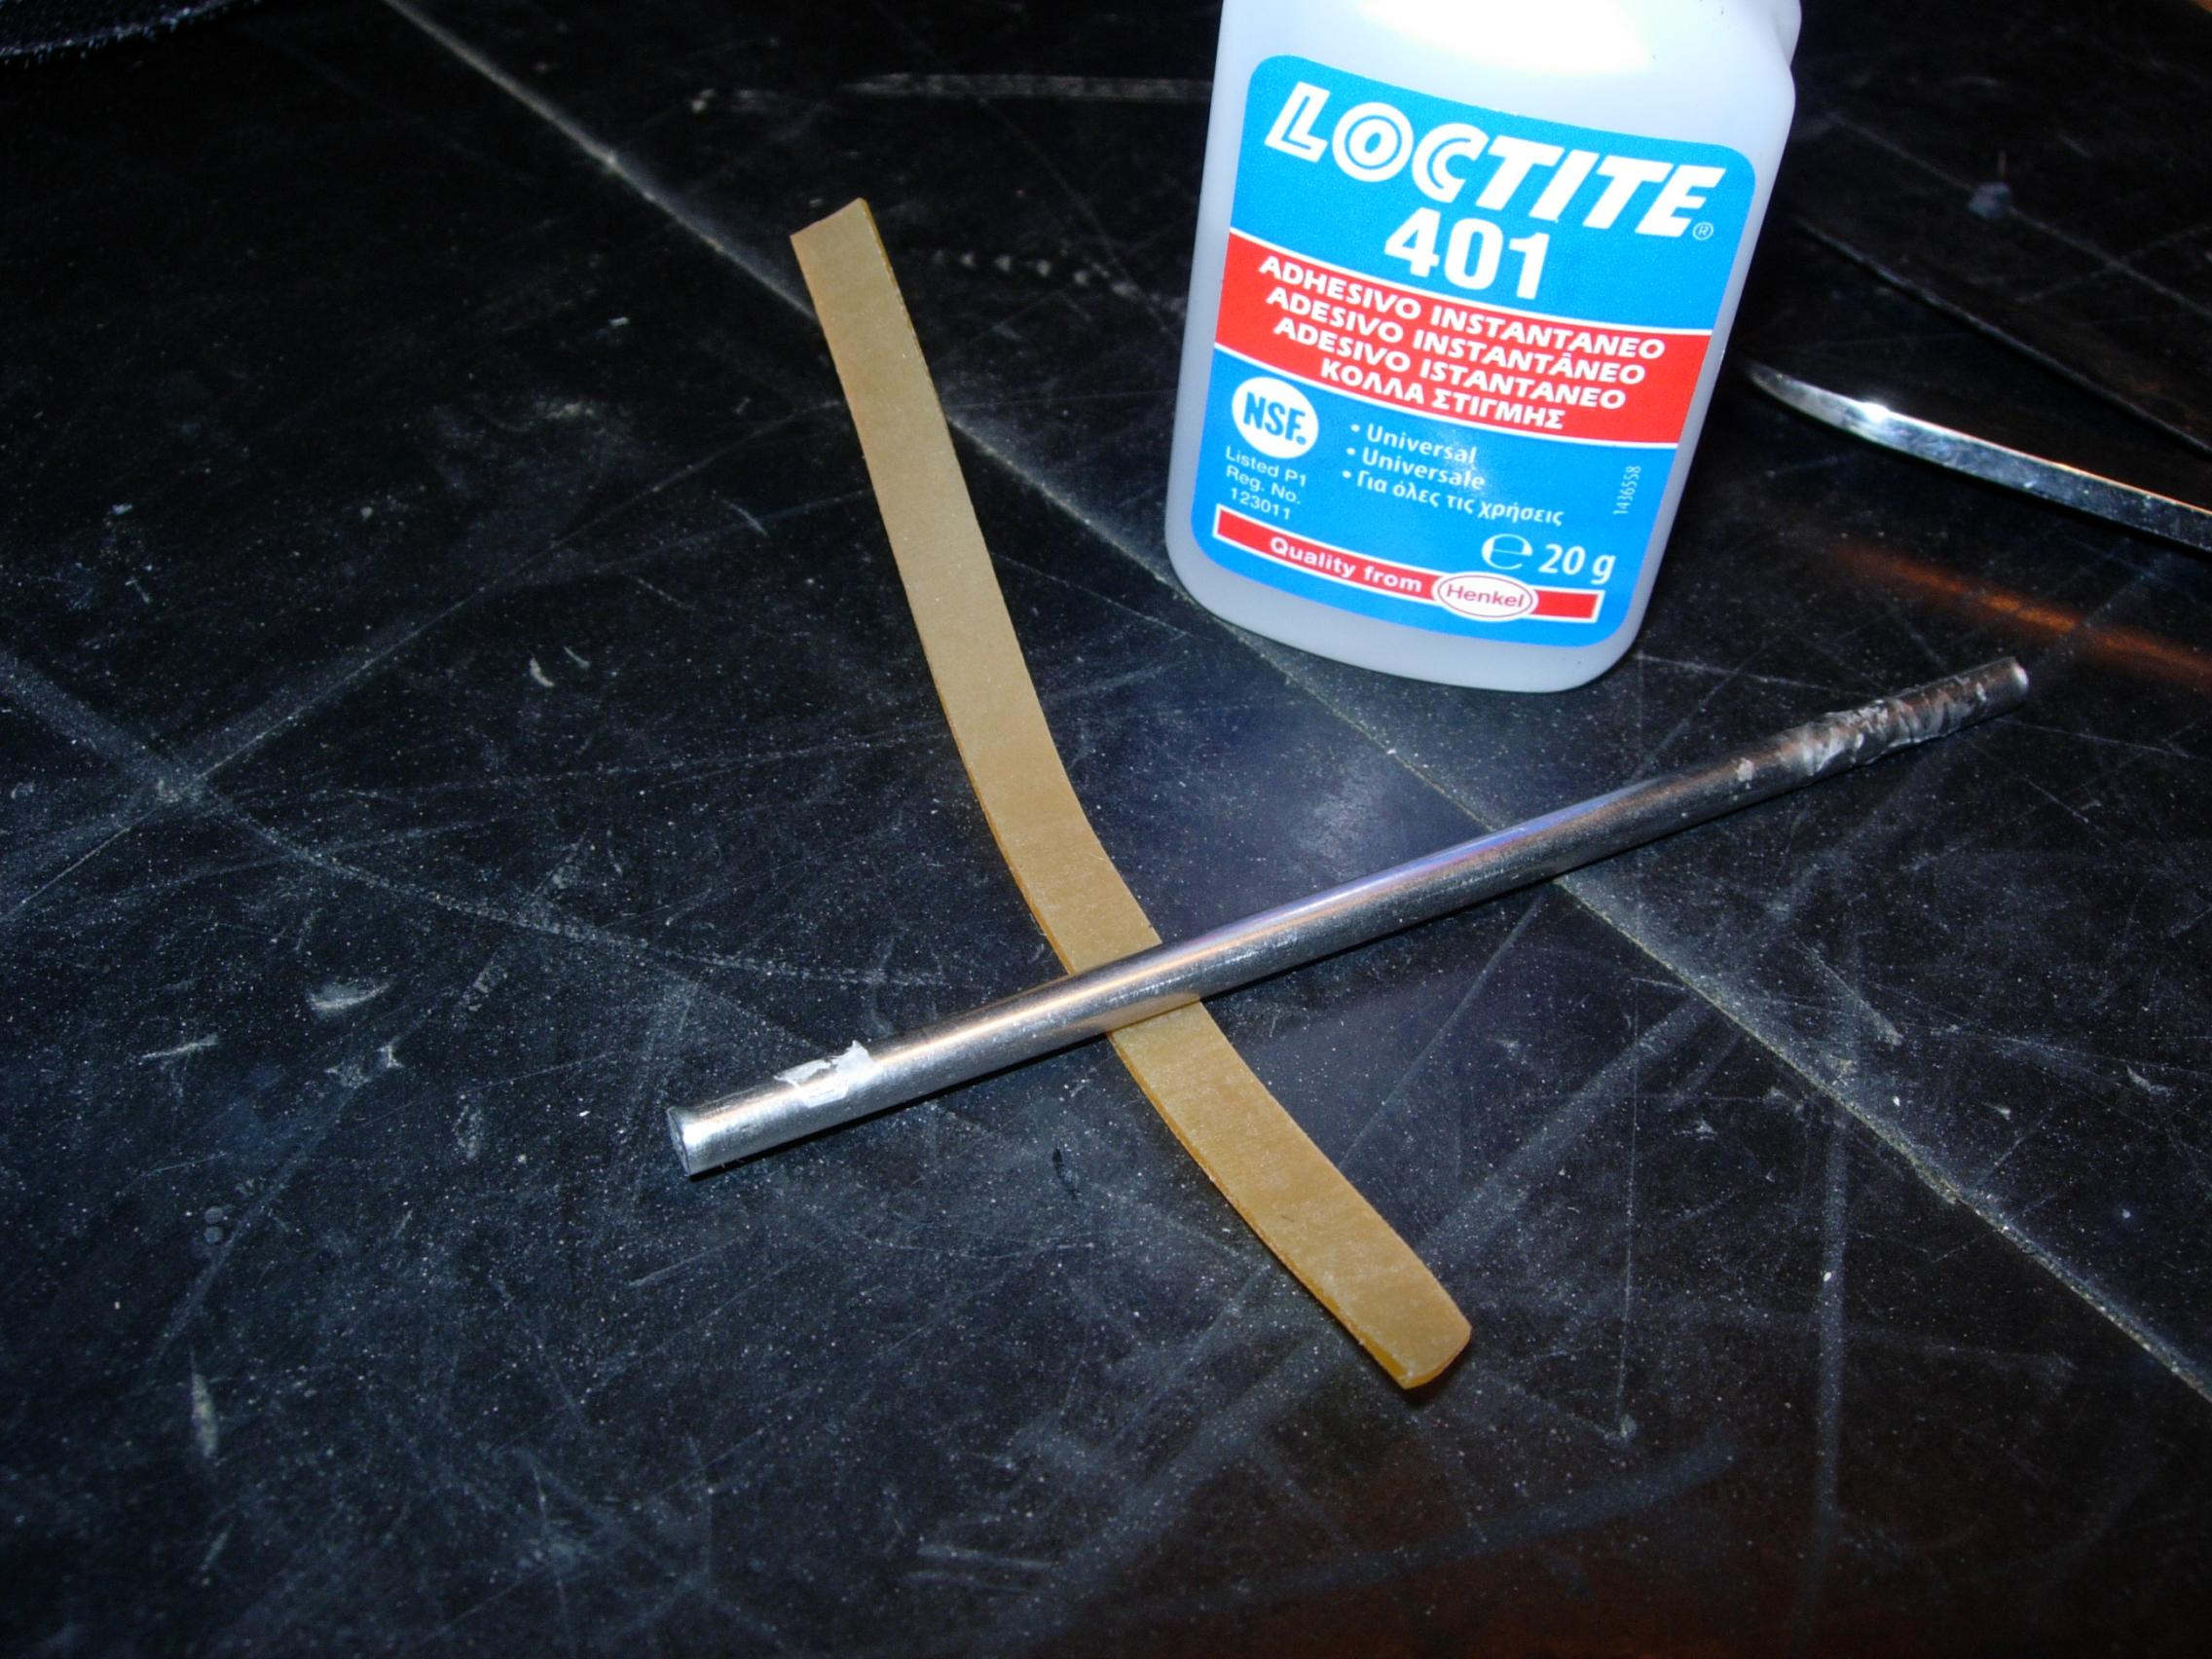
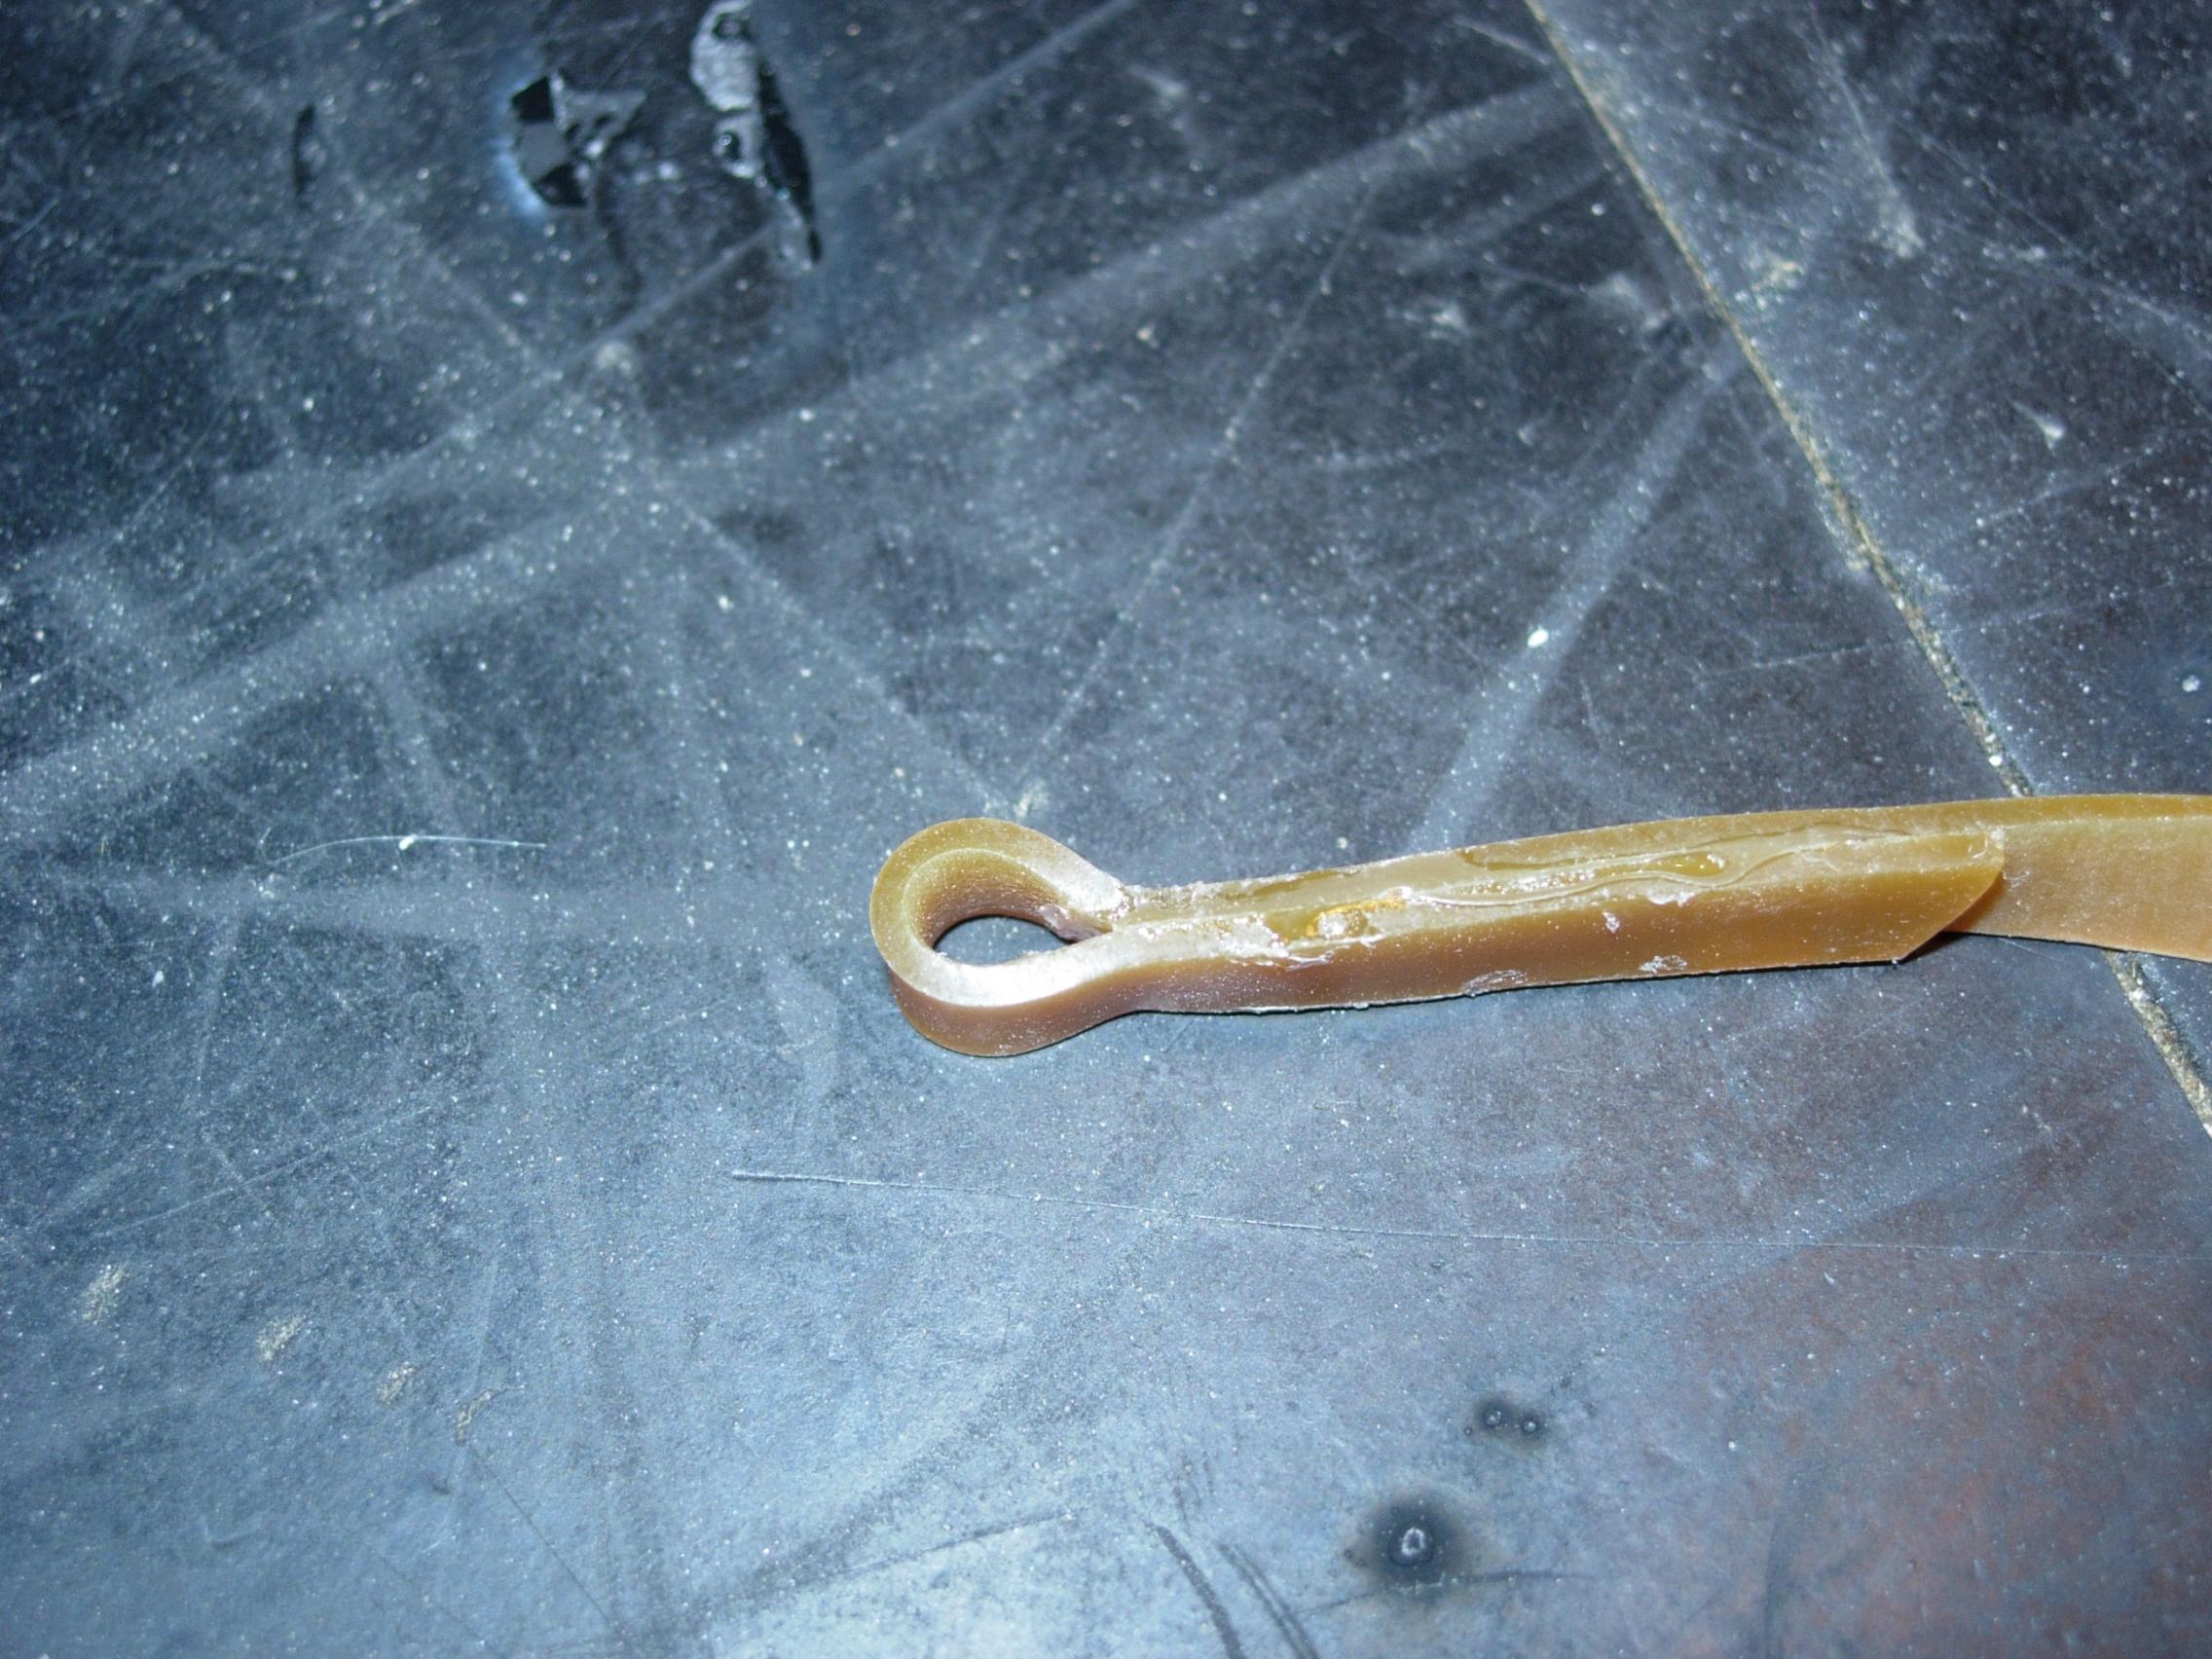
You take an elastic band of approx. 8 mm width, cut off a piece (8 cm) and make sure you have a metal rod with a diameter of approx. 4 mm. I smeared one side with Loctite 401 and then wrapped the band around the rod so that you get a loop in the middle of the elastic band. Make sure that the glue doesn't reach the stick, otherwise this too will be stuck.
Wait a few seconds and then you will have the best replacement of the rubber profile.
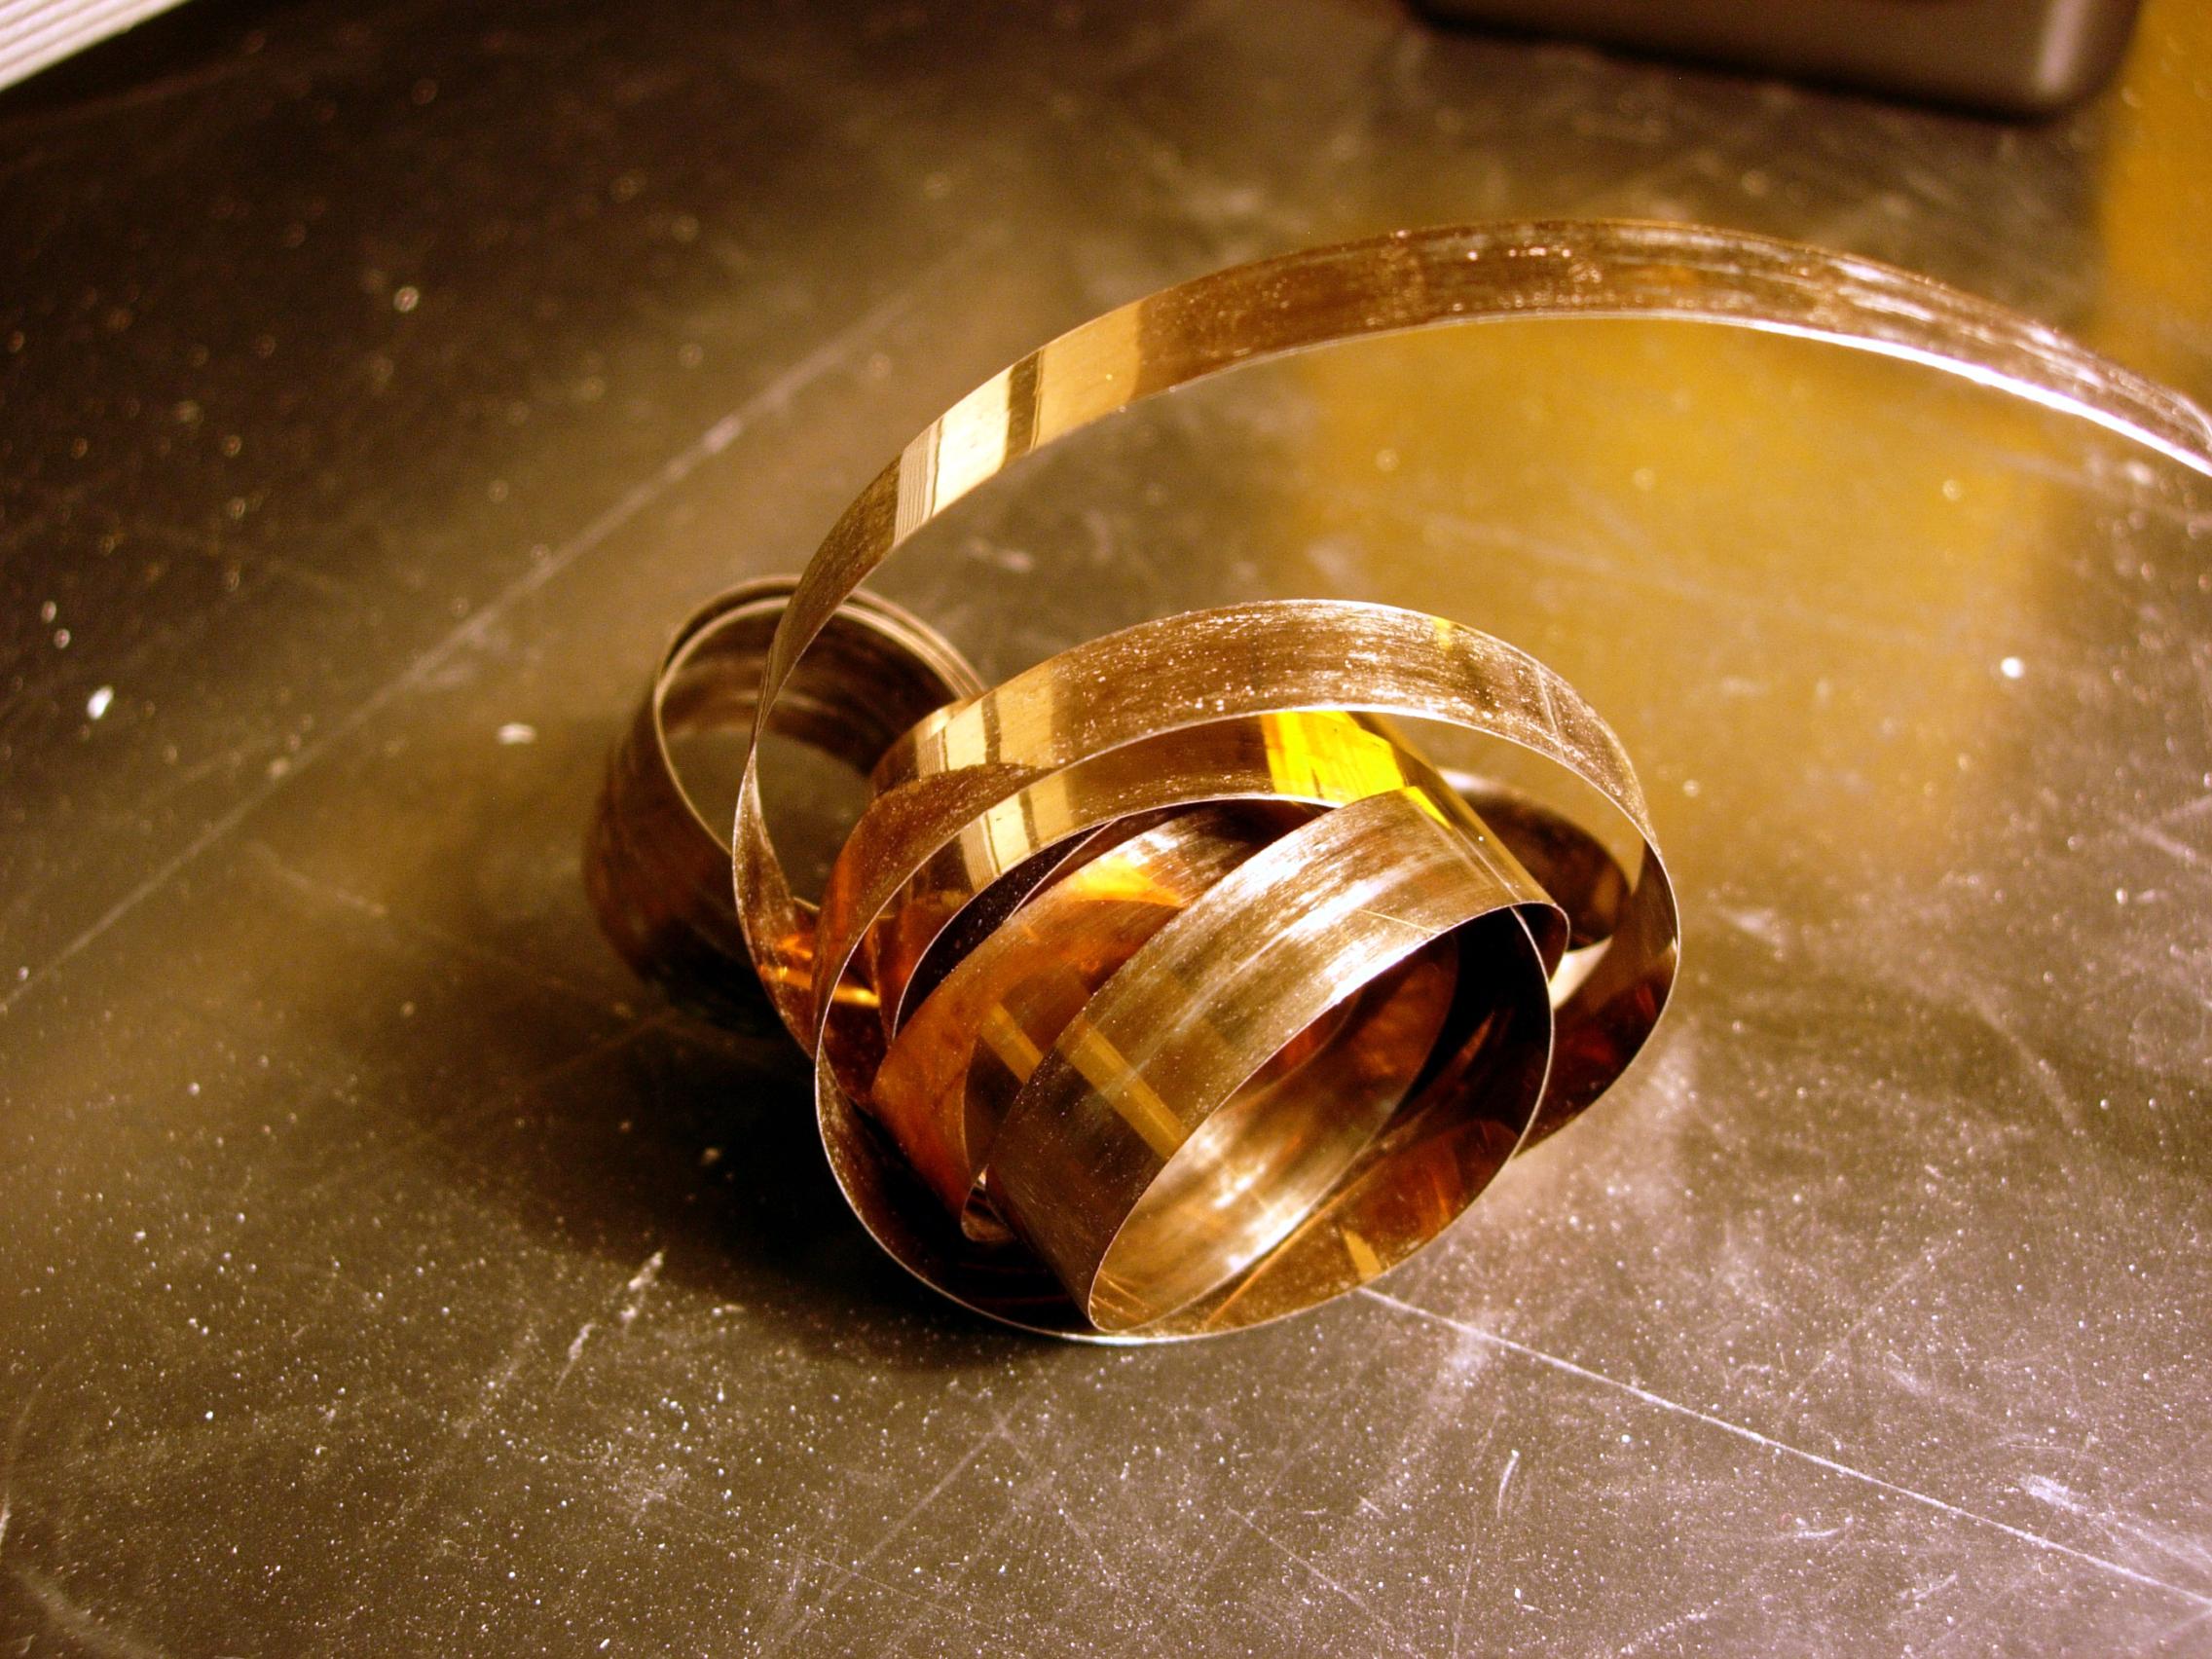
The loctite glue is glass hard after drying, so it is better to use Bisonkit or Patex. To make the springs I took an old meter tape. You demolish it carefully (take care of your eyes) and then you hold the steel spring that pulled the meter tape back into the holder.
The measurements to make a new spring are shown in the drawing above. To cut the spring I took my wife's kitchen scissors, (which can also cause a divorce!) A plate scissors is of course a better solution. Remember to make a left and right spring, the springs are not the same!
Wait a few seconds and then you will have the best replacement of the rubber profile.
The loctite glue is glass hard after drying, so it is better to use Bisonkit or Patex. To make the springs I took an old meter tape. You demolish it carefully (take care of your eyes) and then you hold the steel spring that pulled the meter tape back into the holder.
The measurements to make a new spring are shown in the drawing above. To cut the spring I took my wife's kitchen scissors, (which can also cause a divorce!) A plate scissors is of course a better solution. Remember to make a left and right spring, the springs are not the same!
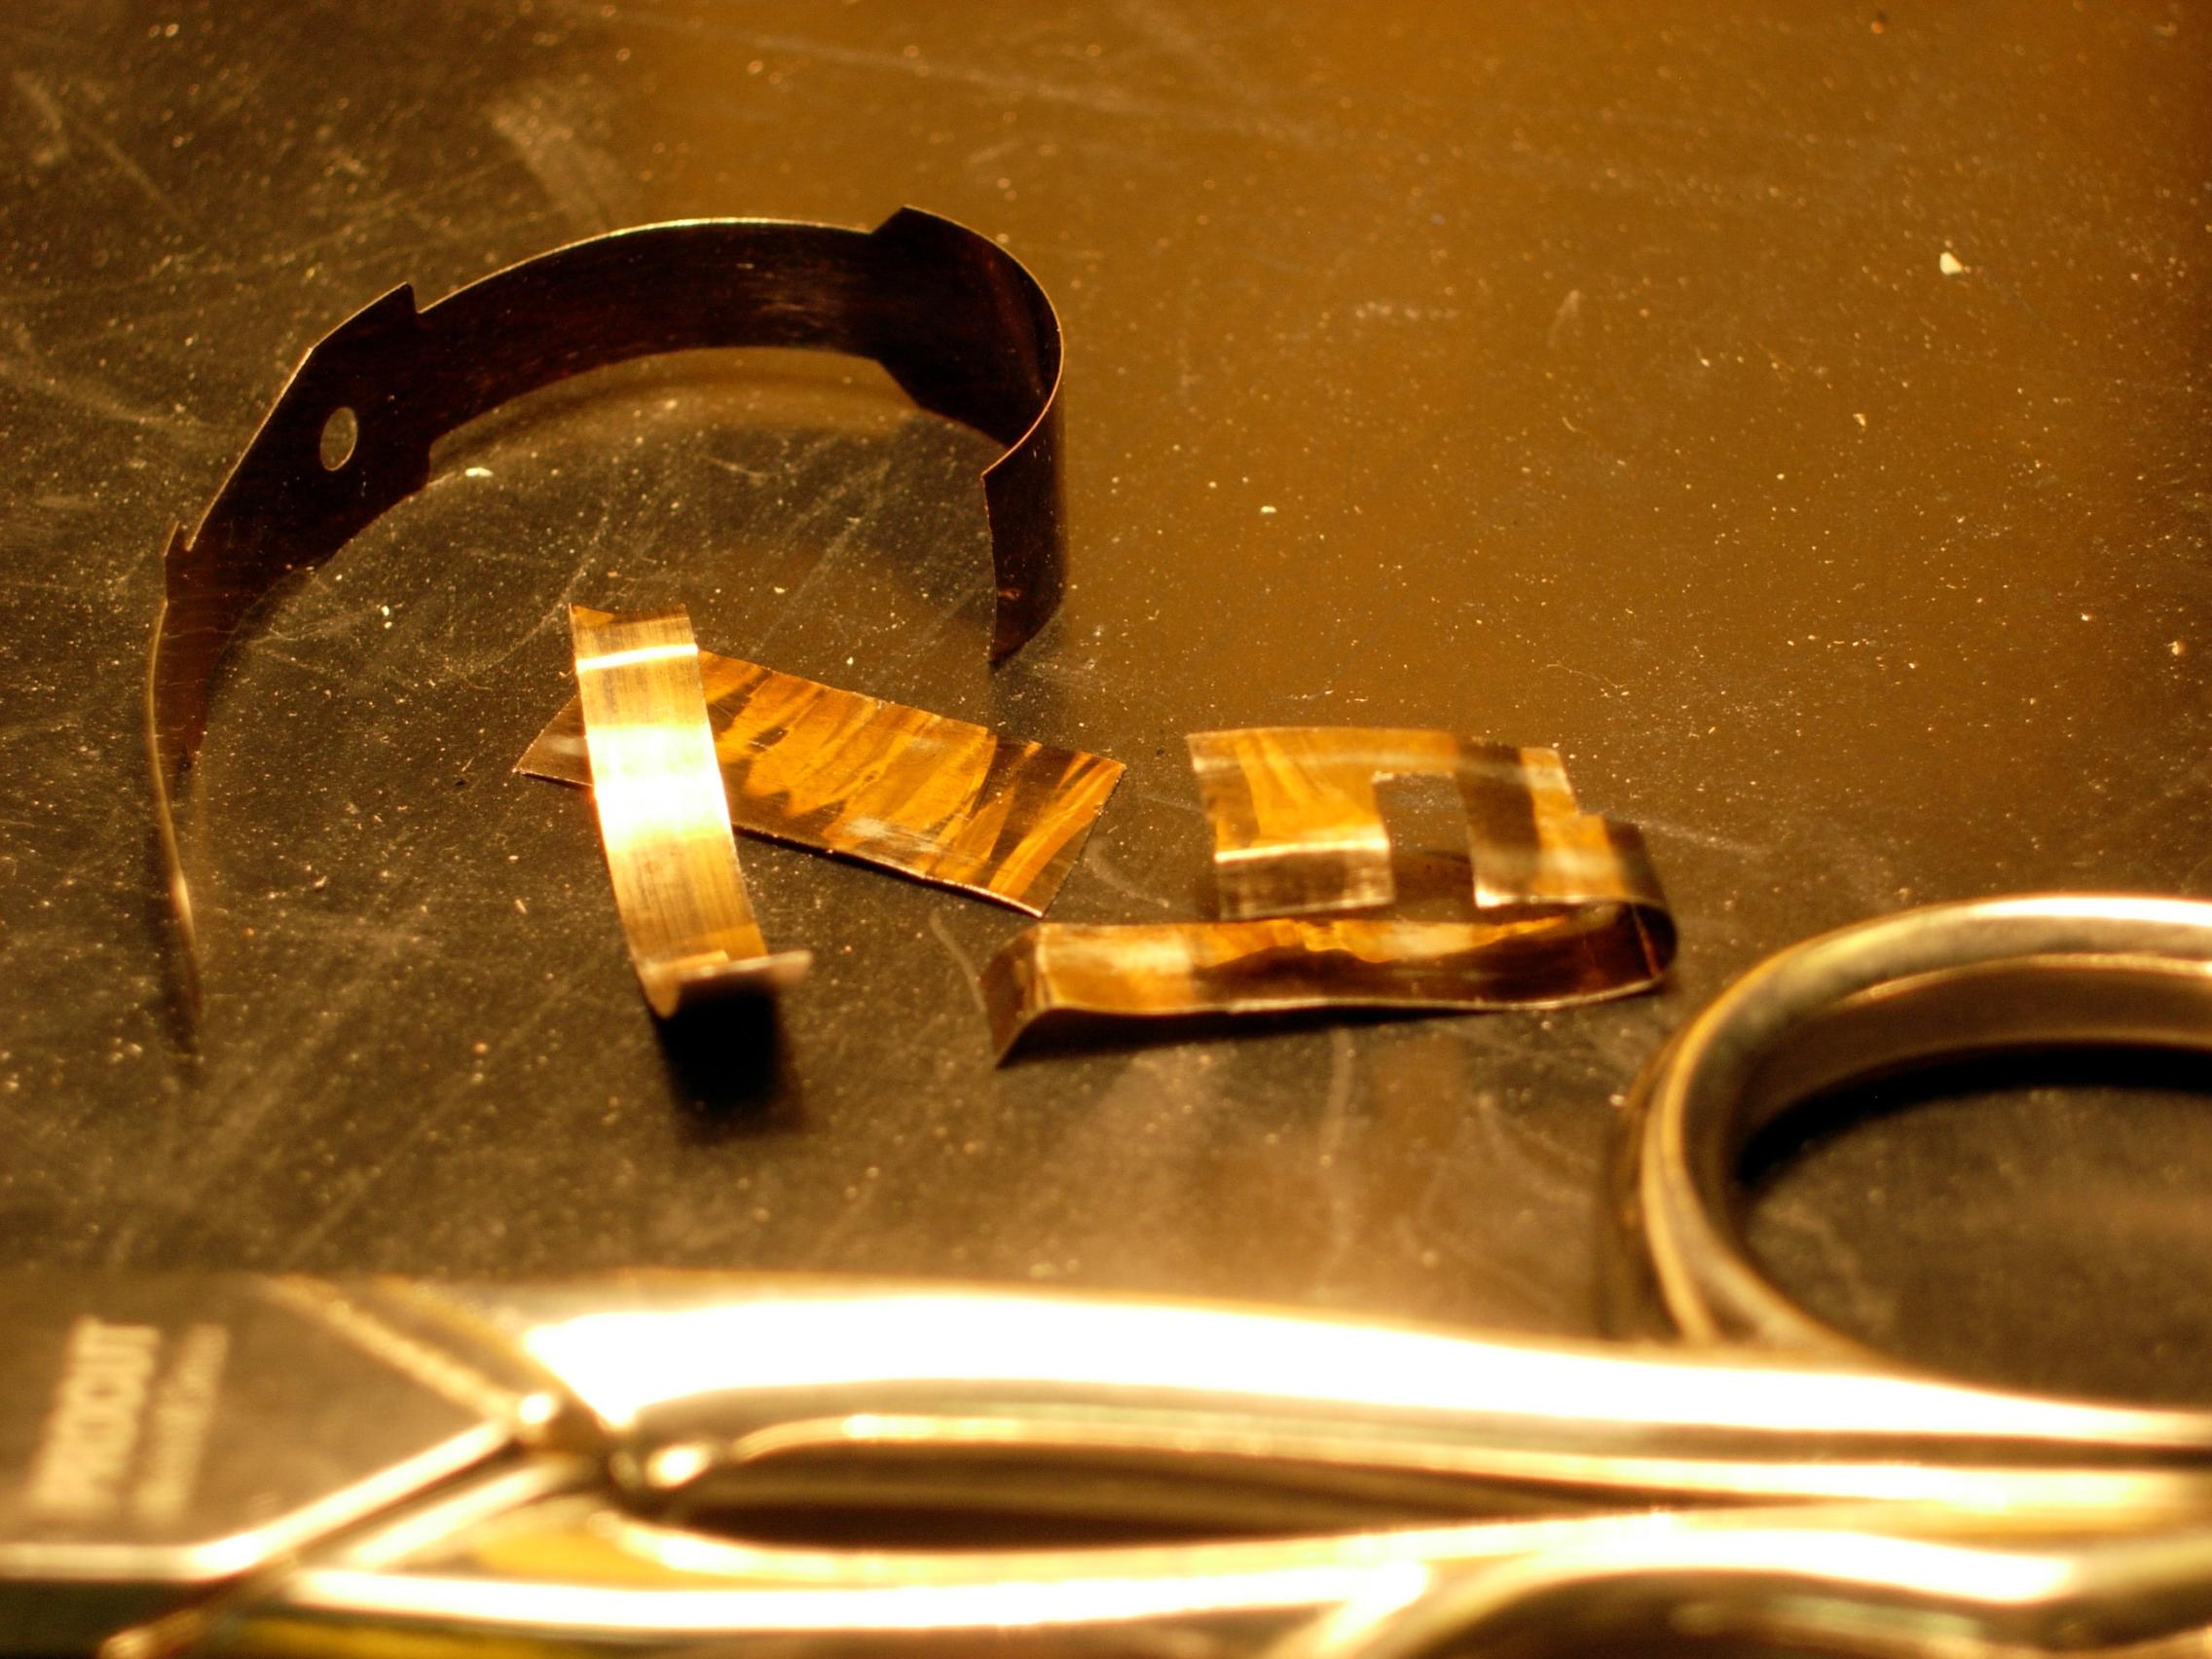
To make everything a bit easier, I made a stencil out of aluminium, which I also used to see if the end product, after bending, was right. The dotted lines on the drawing indicate where the spring should be bent. Do the bending as slowly as possible otherwise the spring will break.
Be very careful when bending the small tab that will hold the feather in place. Do not bend at 90°! An angle of 45° is sufficient.
Be very careful when bending the small tab that will hold the feather in place. Do not bend at 90°! An angle of 45° is sufficient.
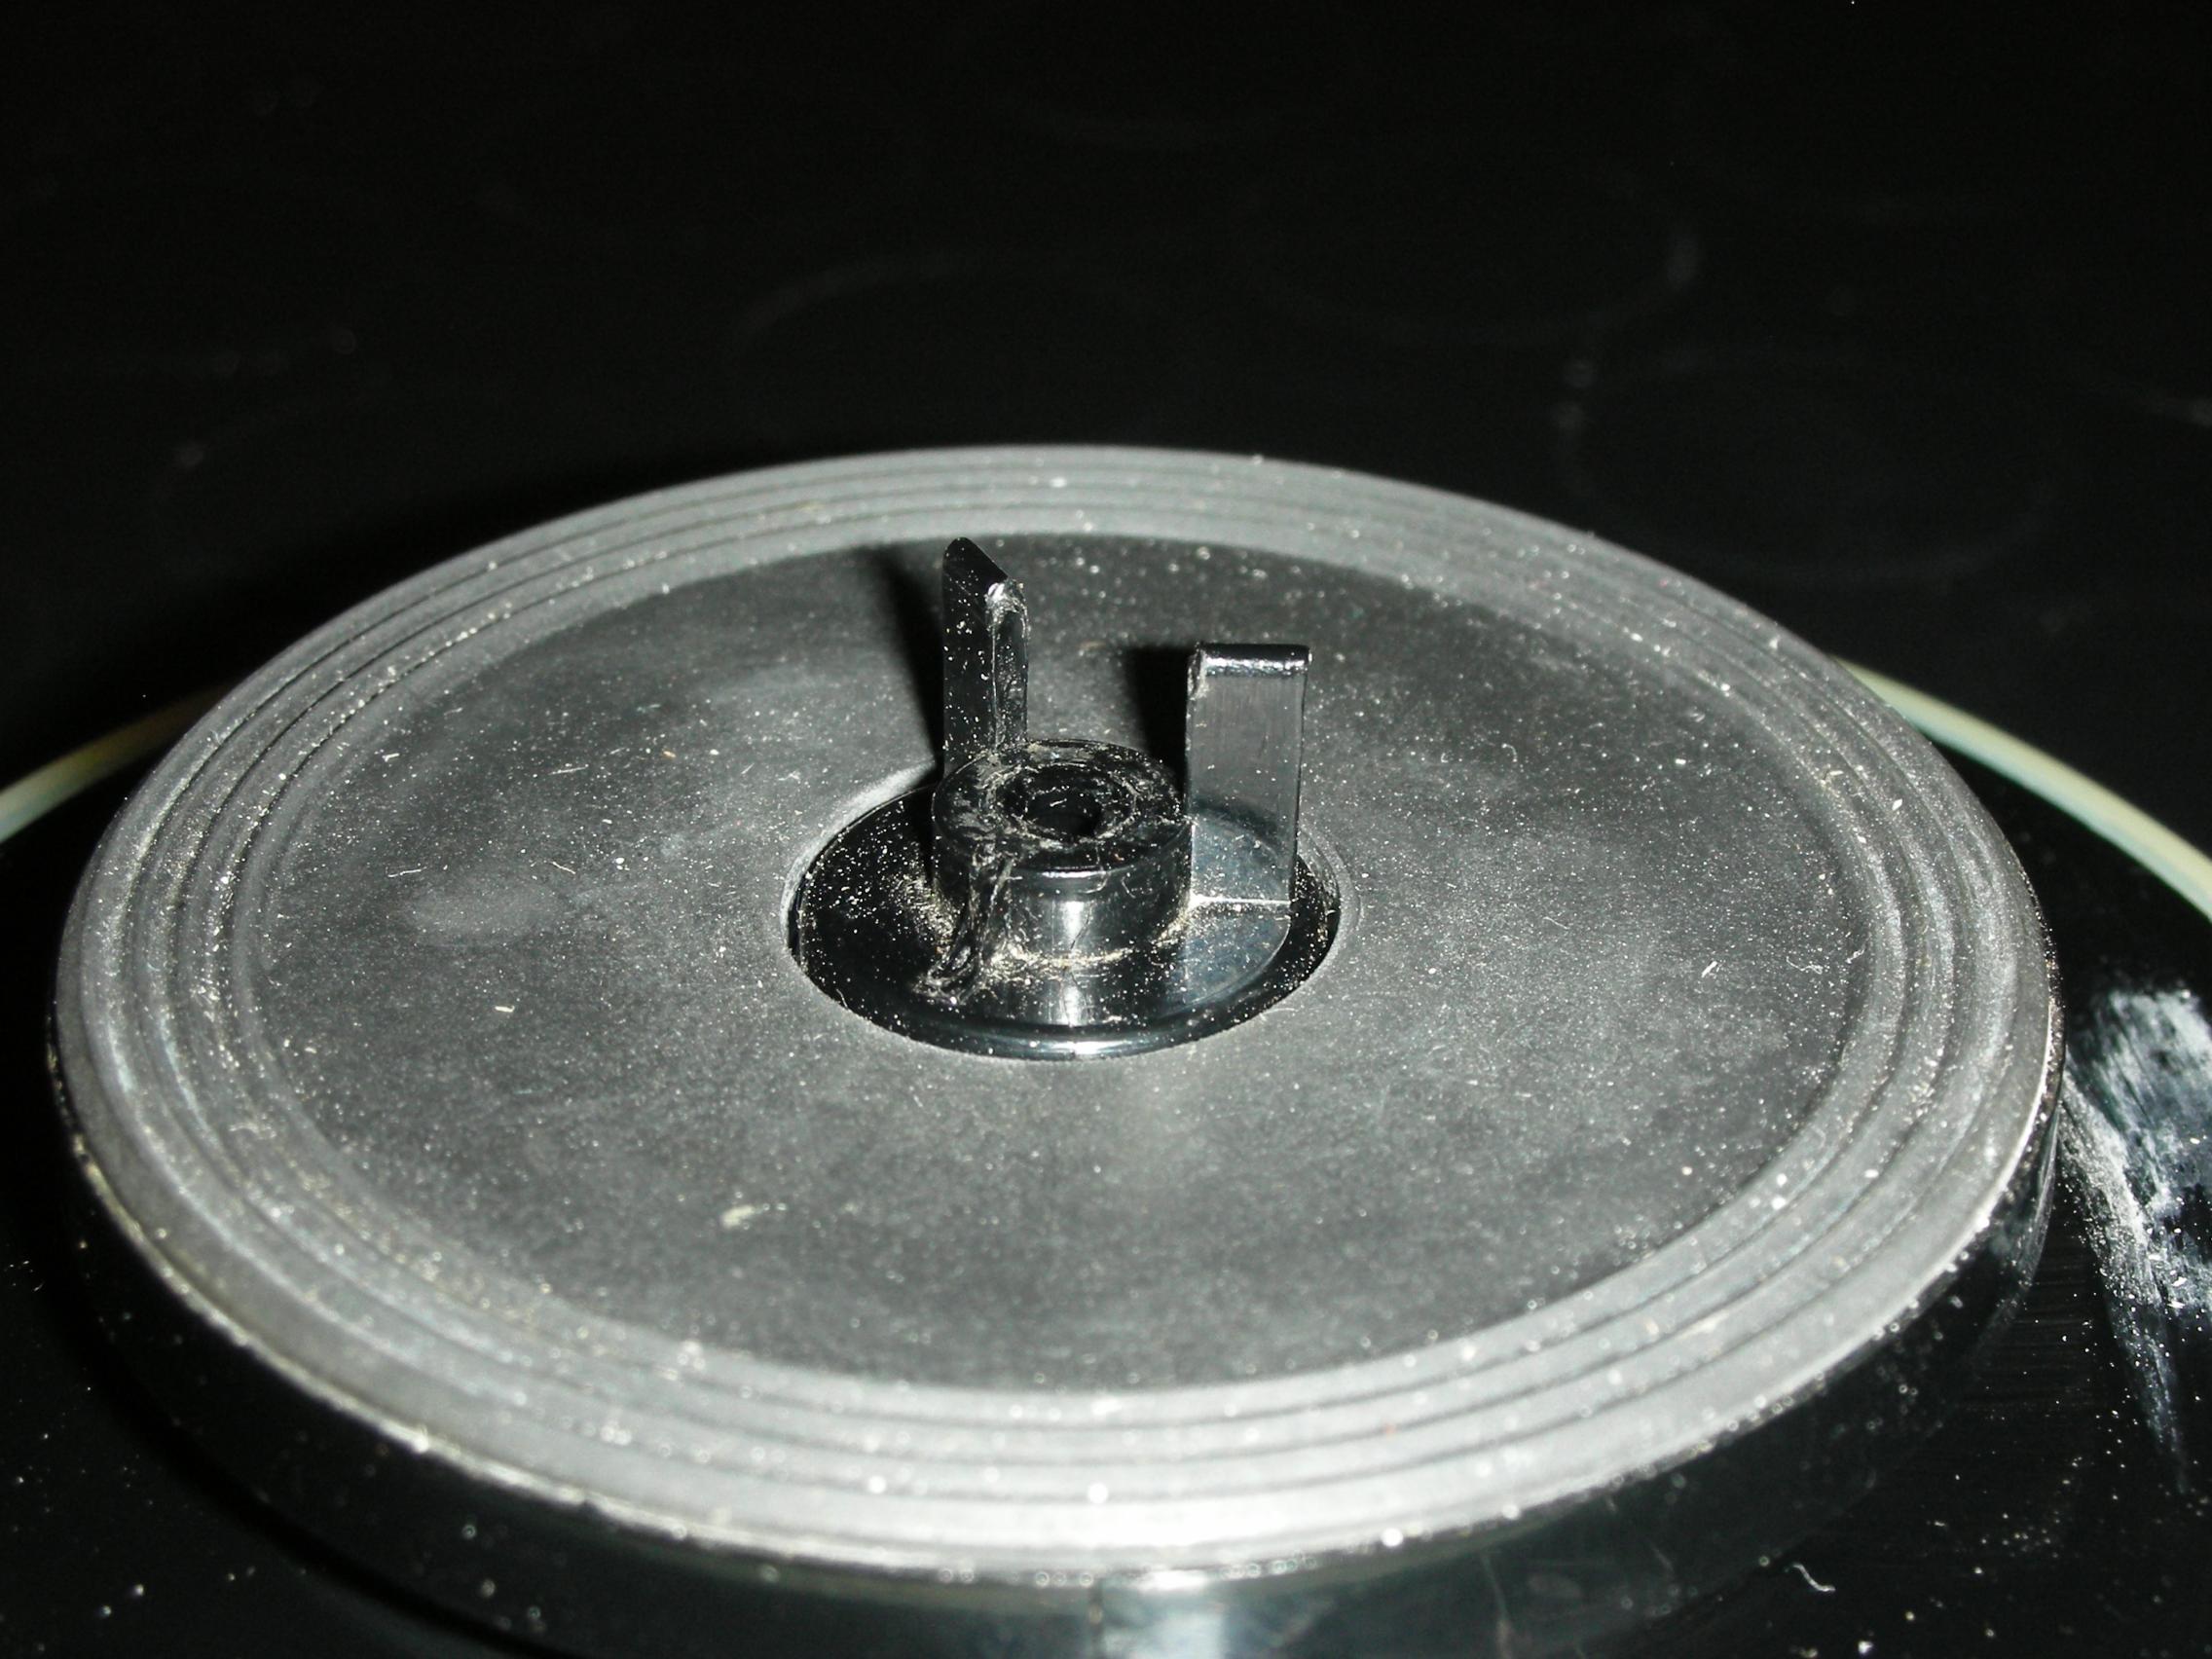
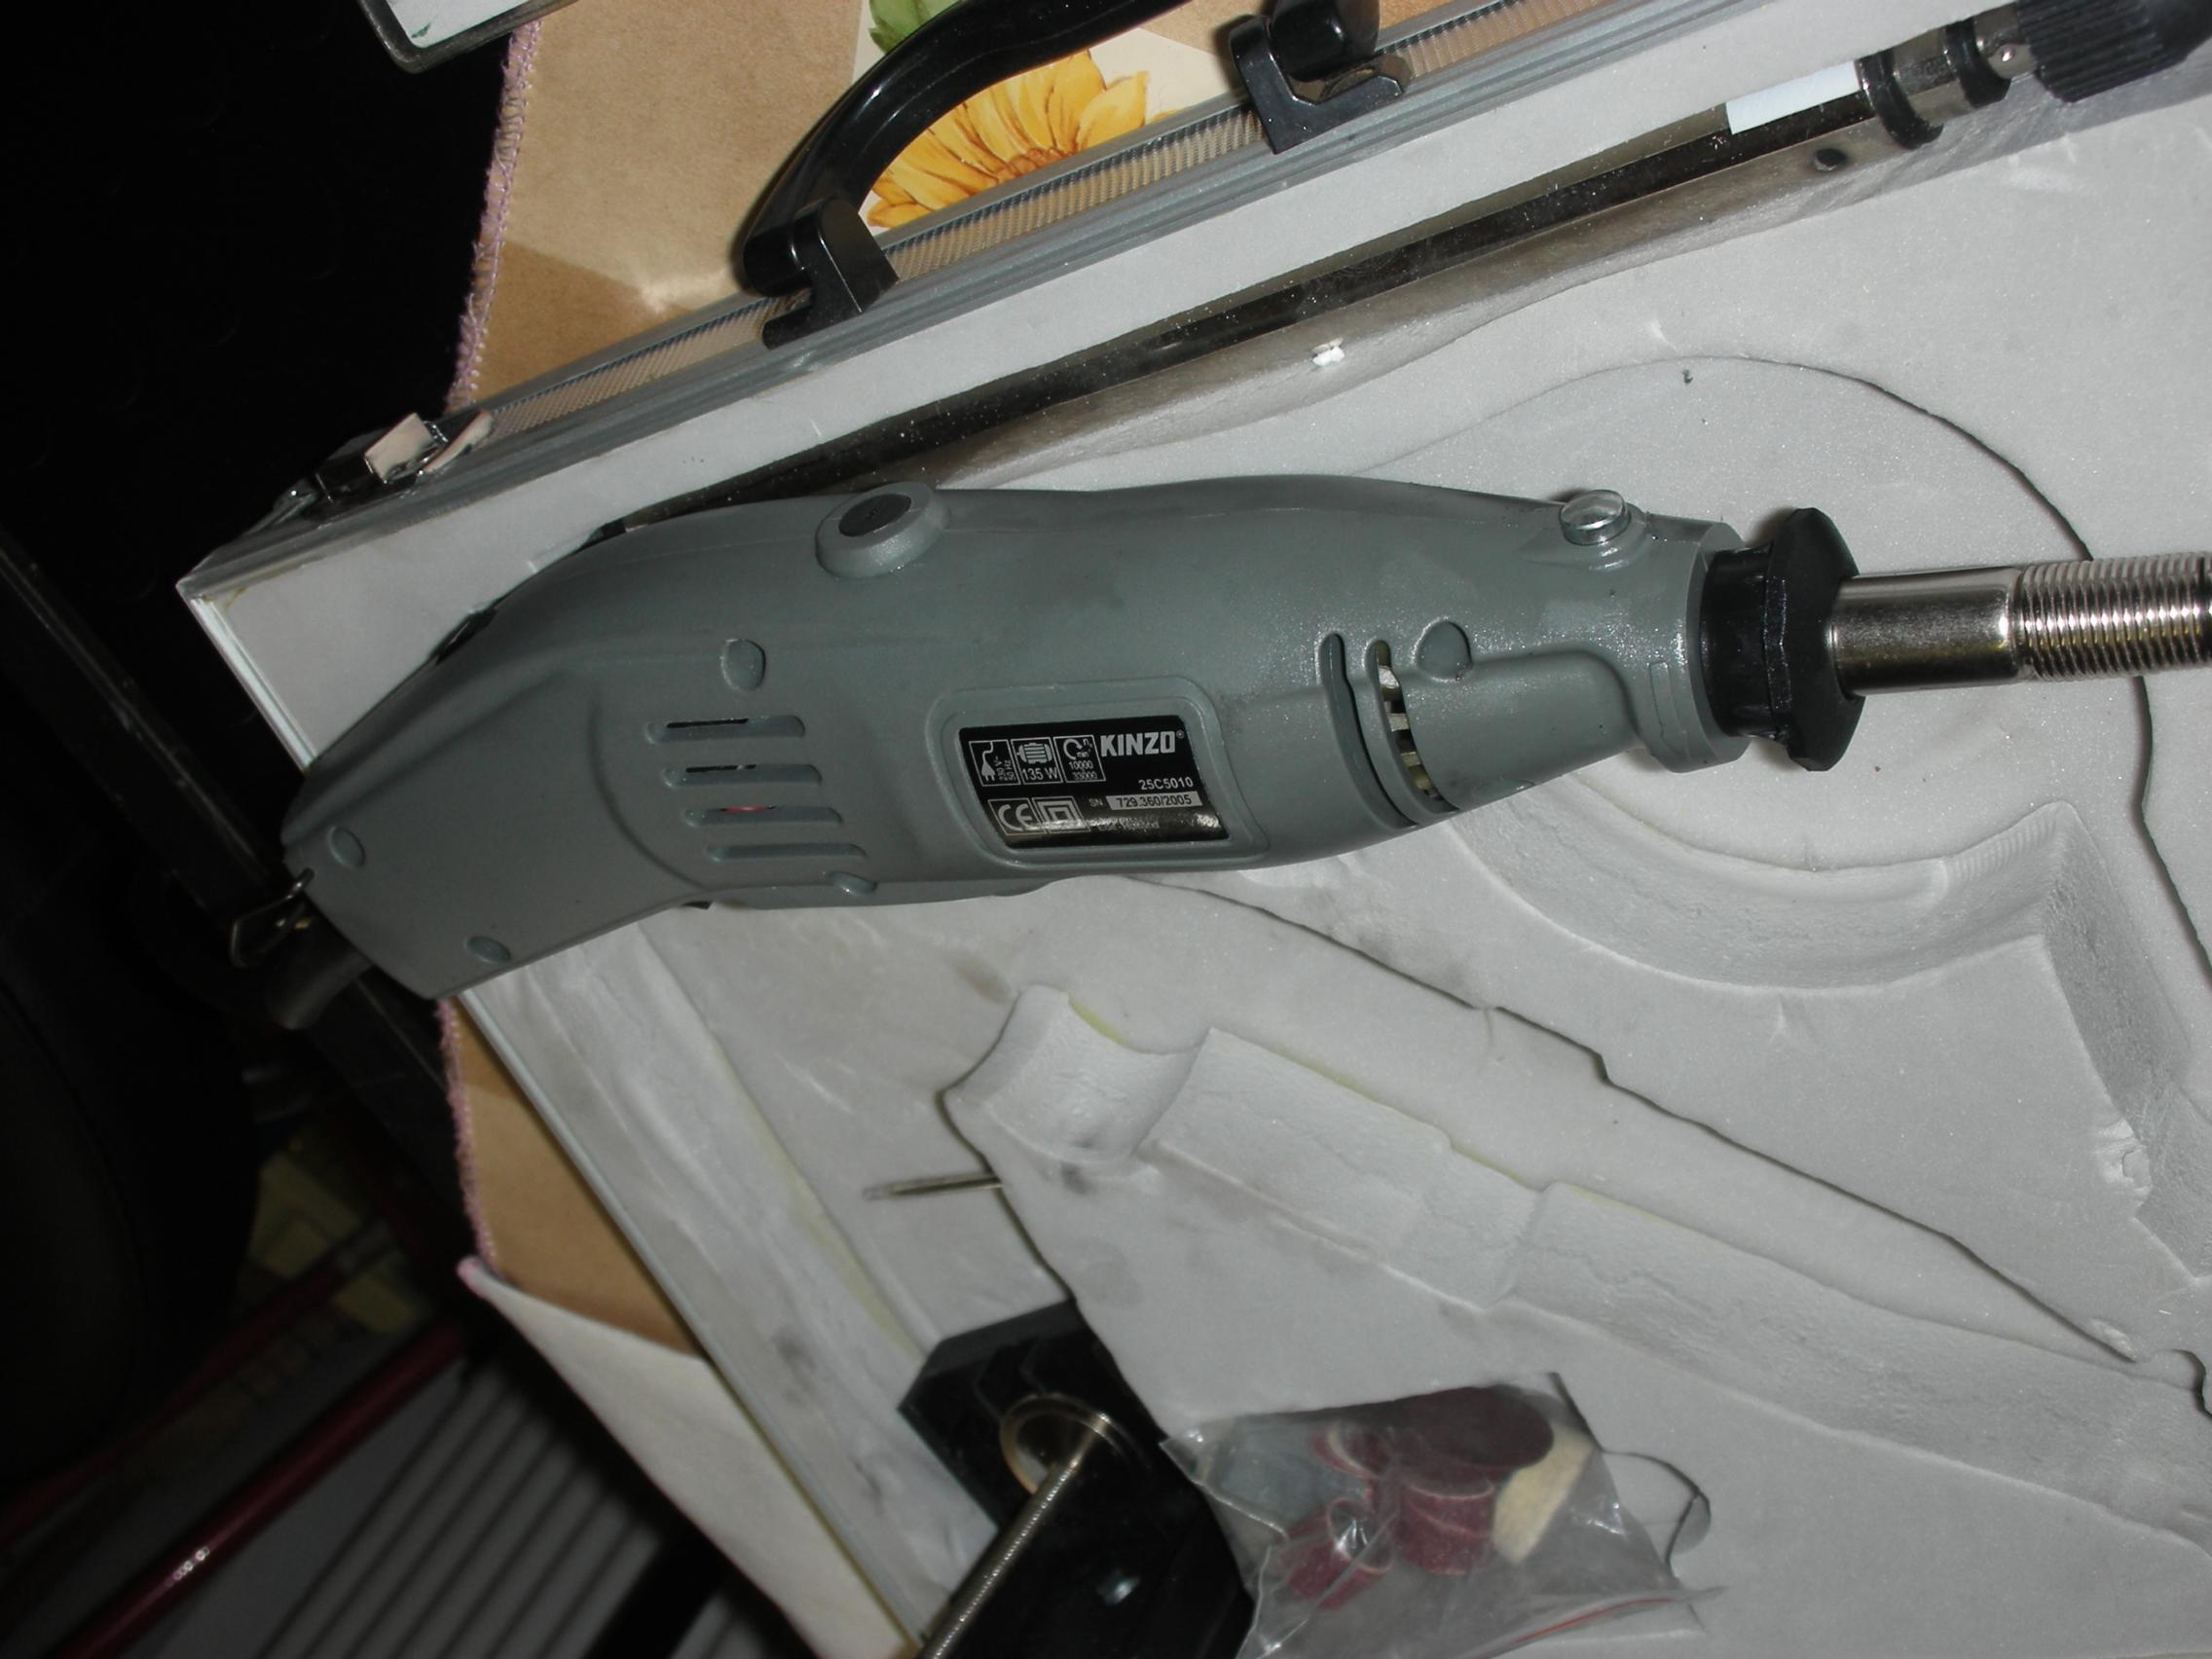
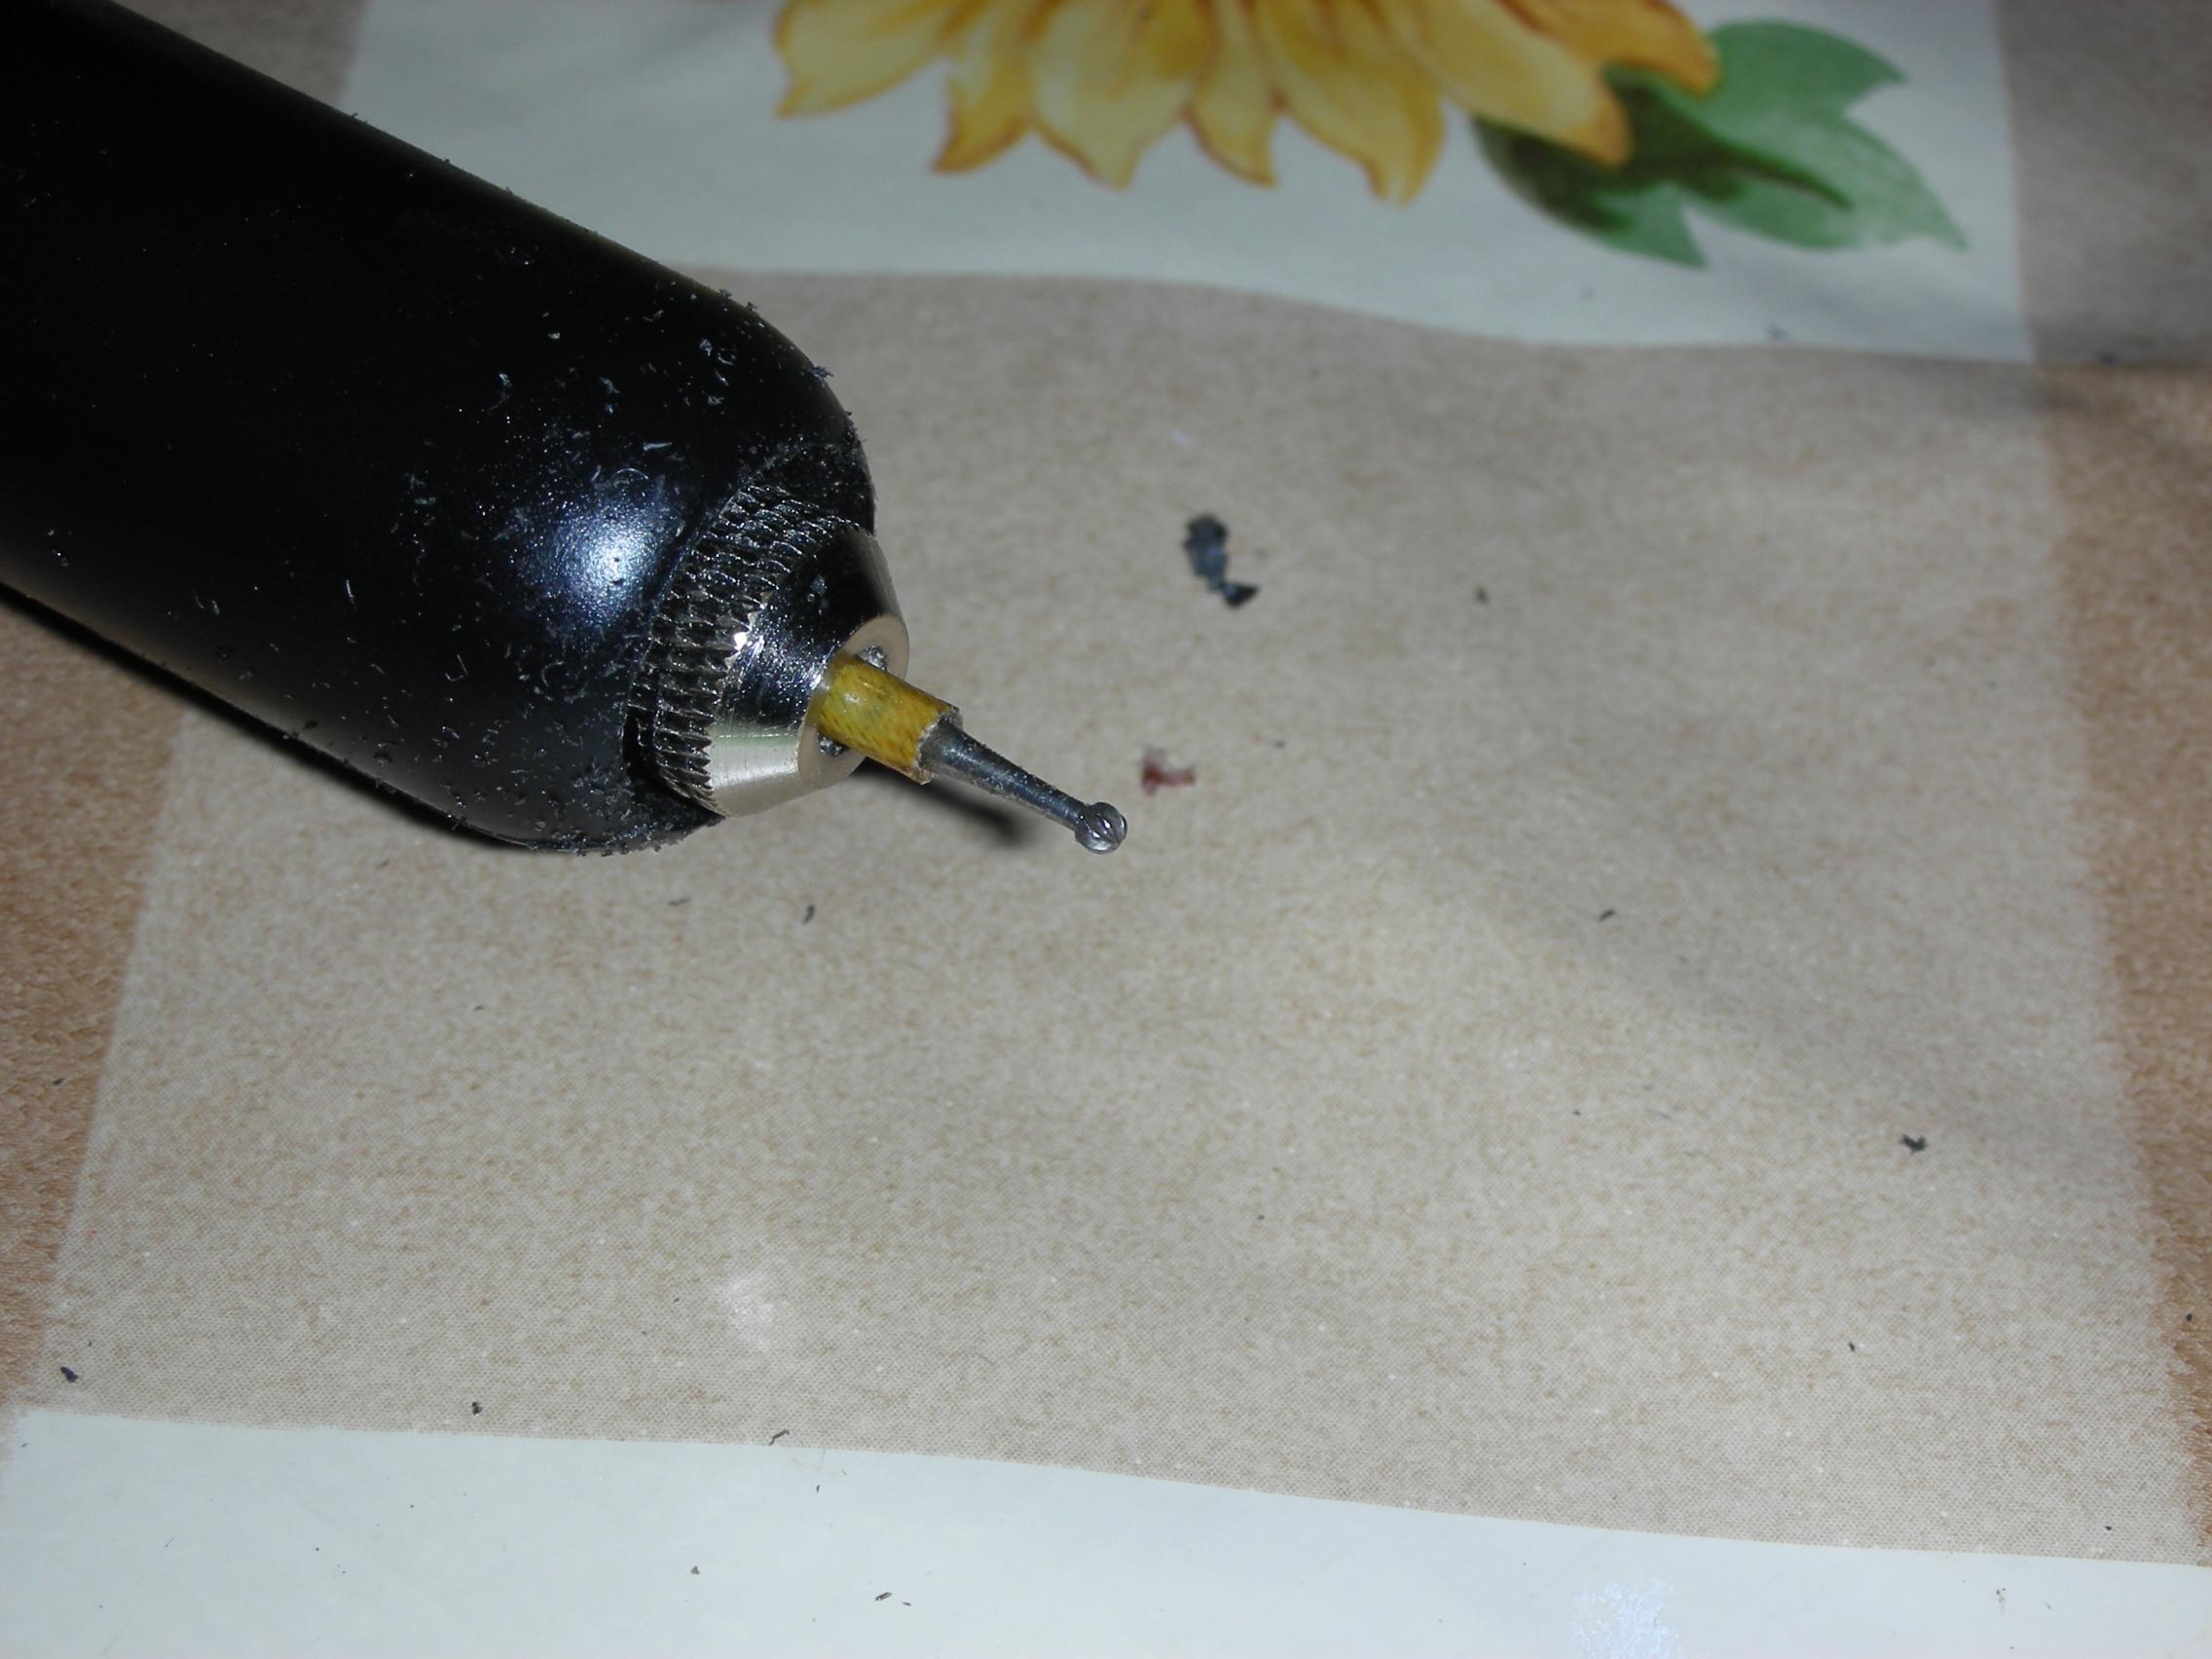
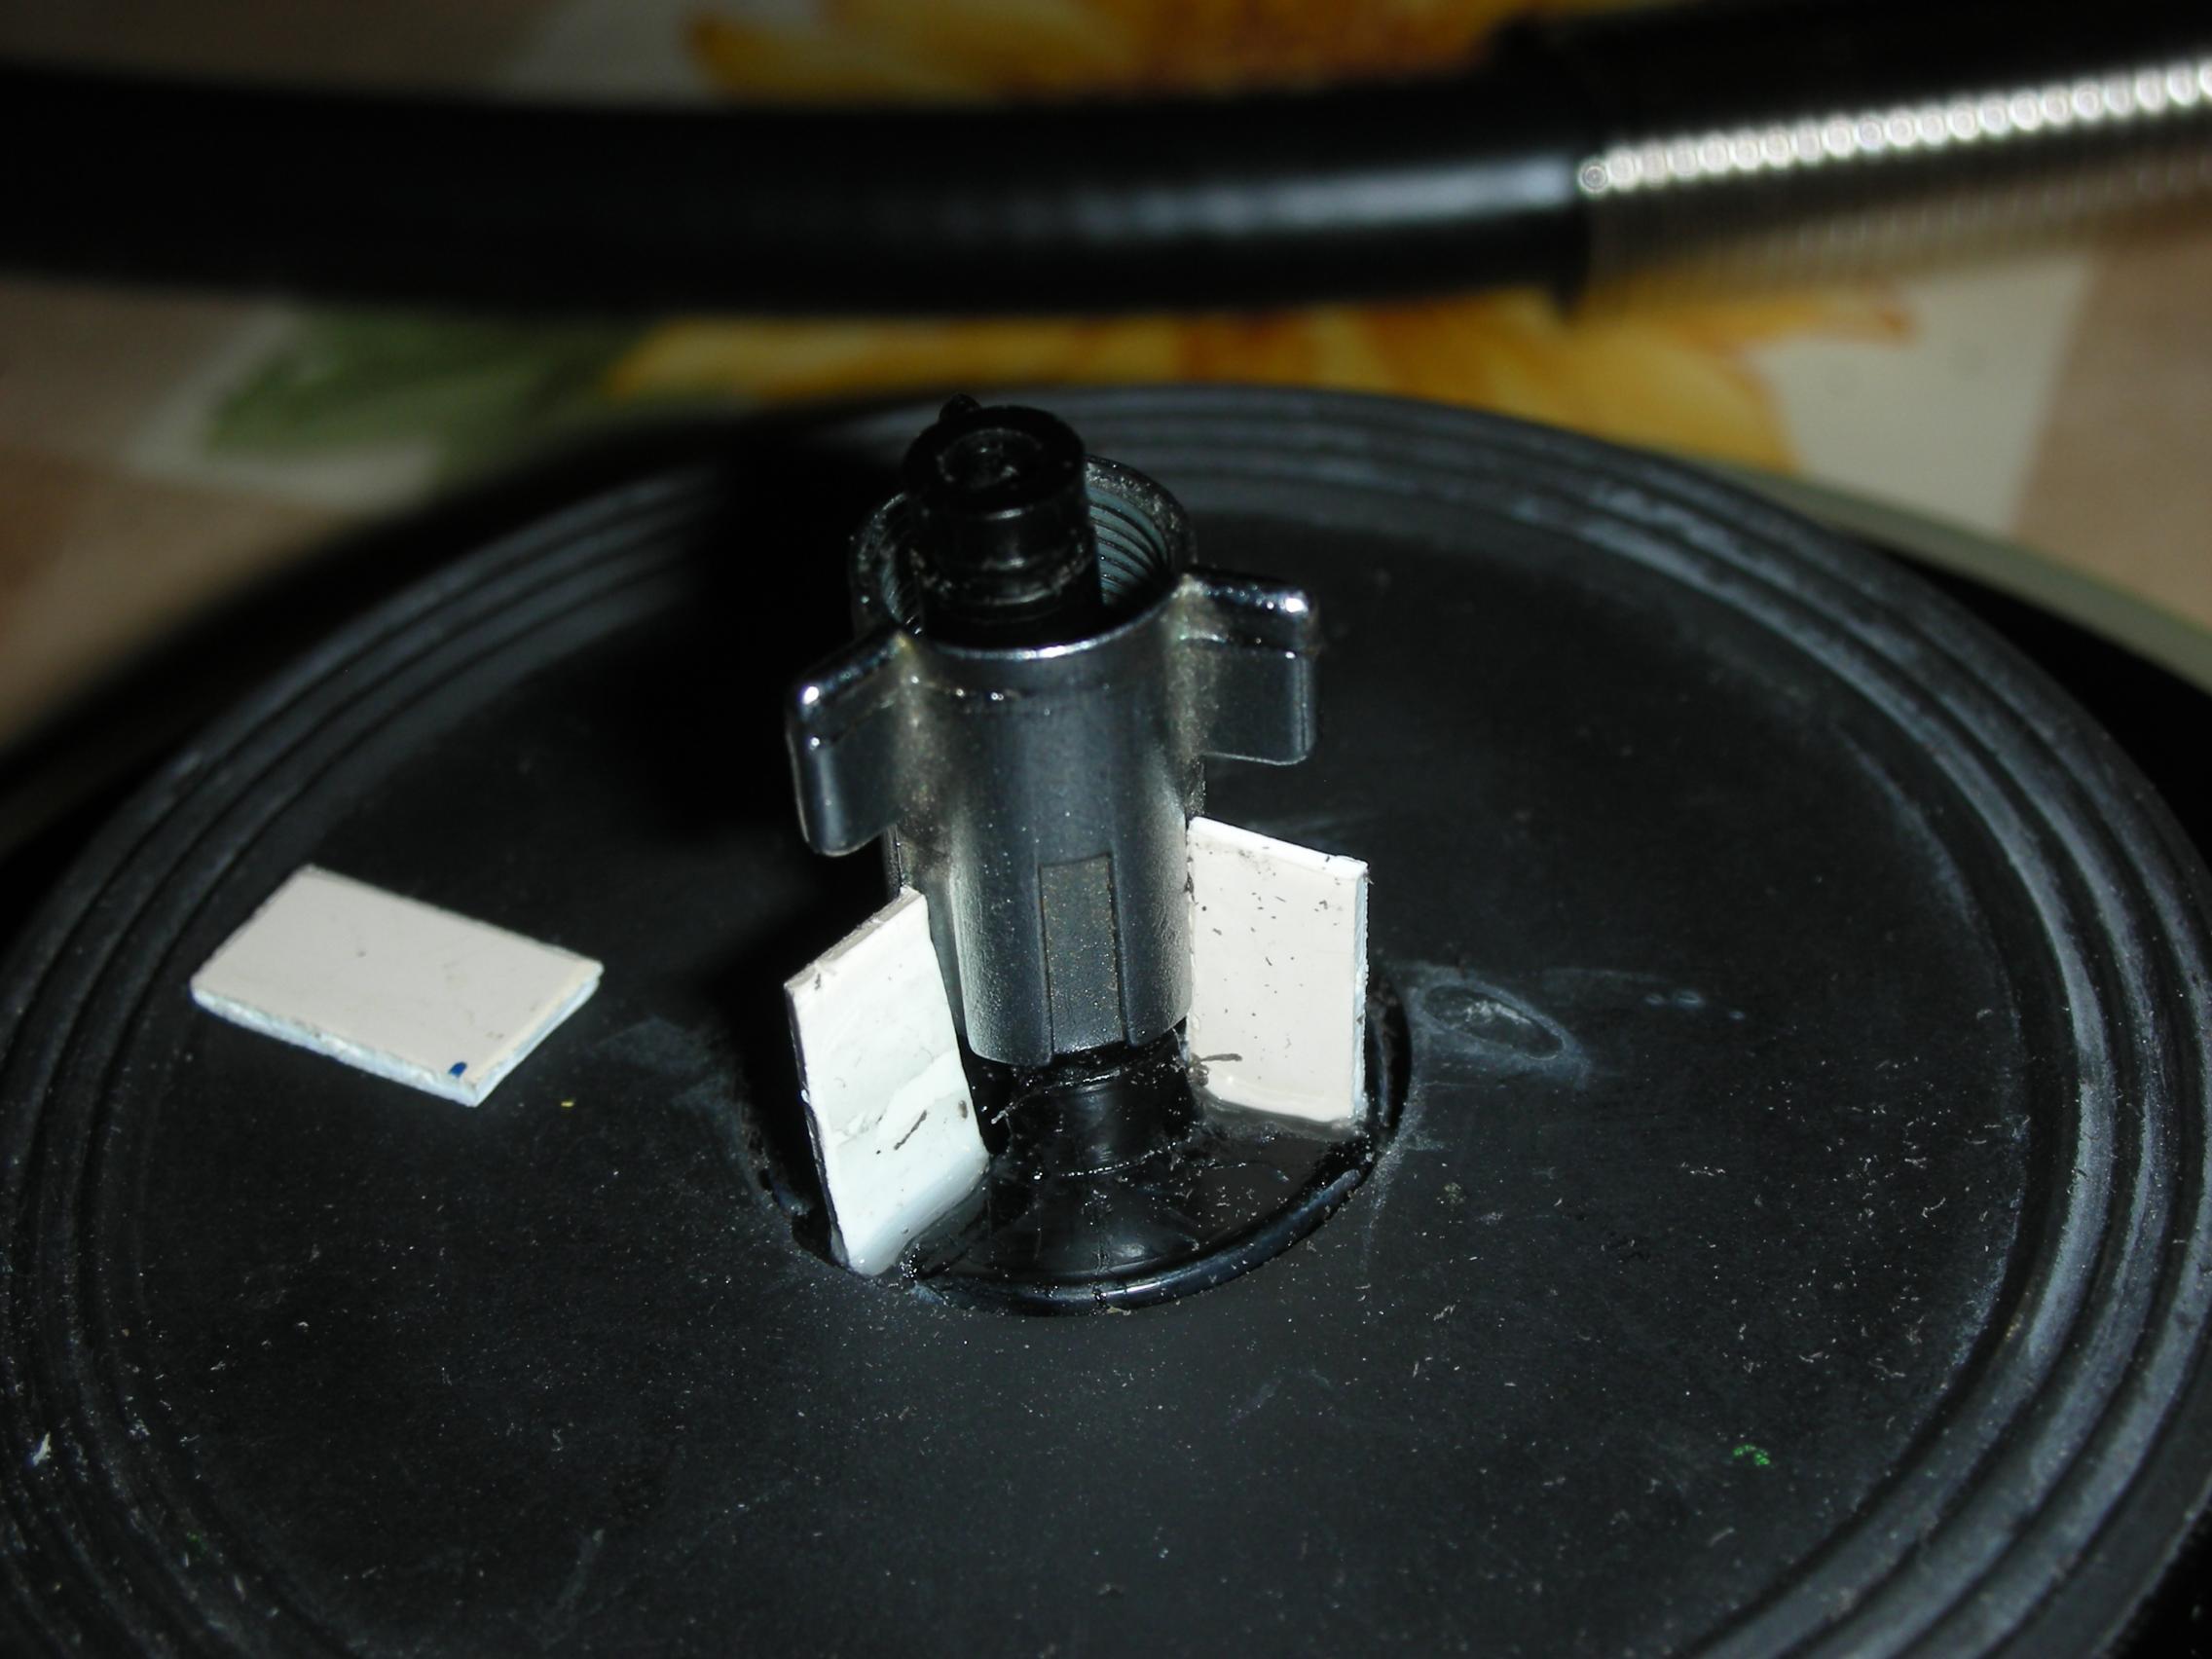
On my own tape recorder (Aristona 9137), both the coil dishes are broken, that is, the "wings" that are supposed to hold the coil in place are unfortunately broken. I swapped these saucers with the saucers of one of the three old N4407. So now I had to repair a Philips N4407. With a kind of Dremel (cheaper version) I made three slots in the place of the broken wings.
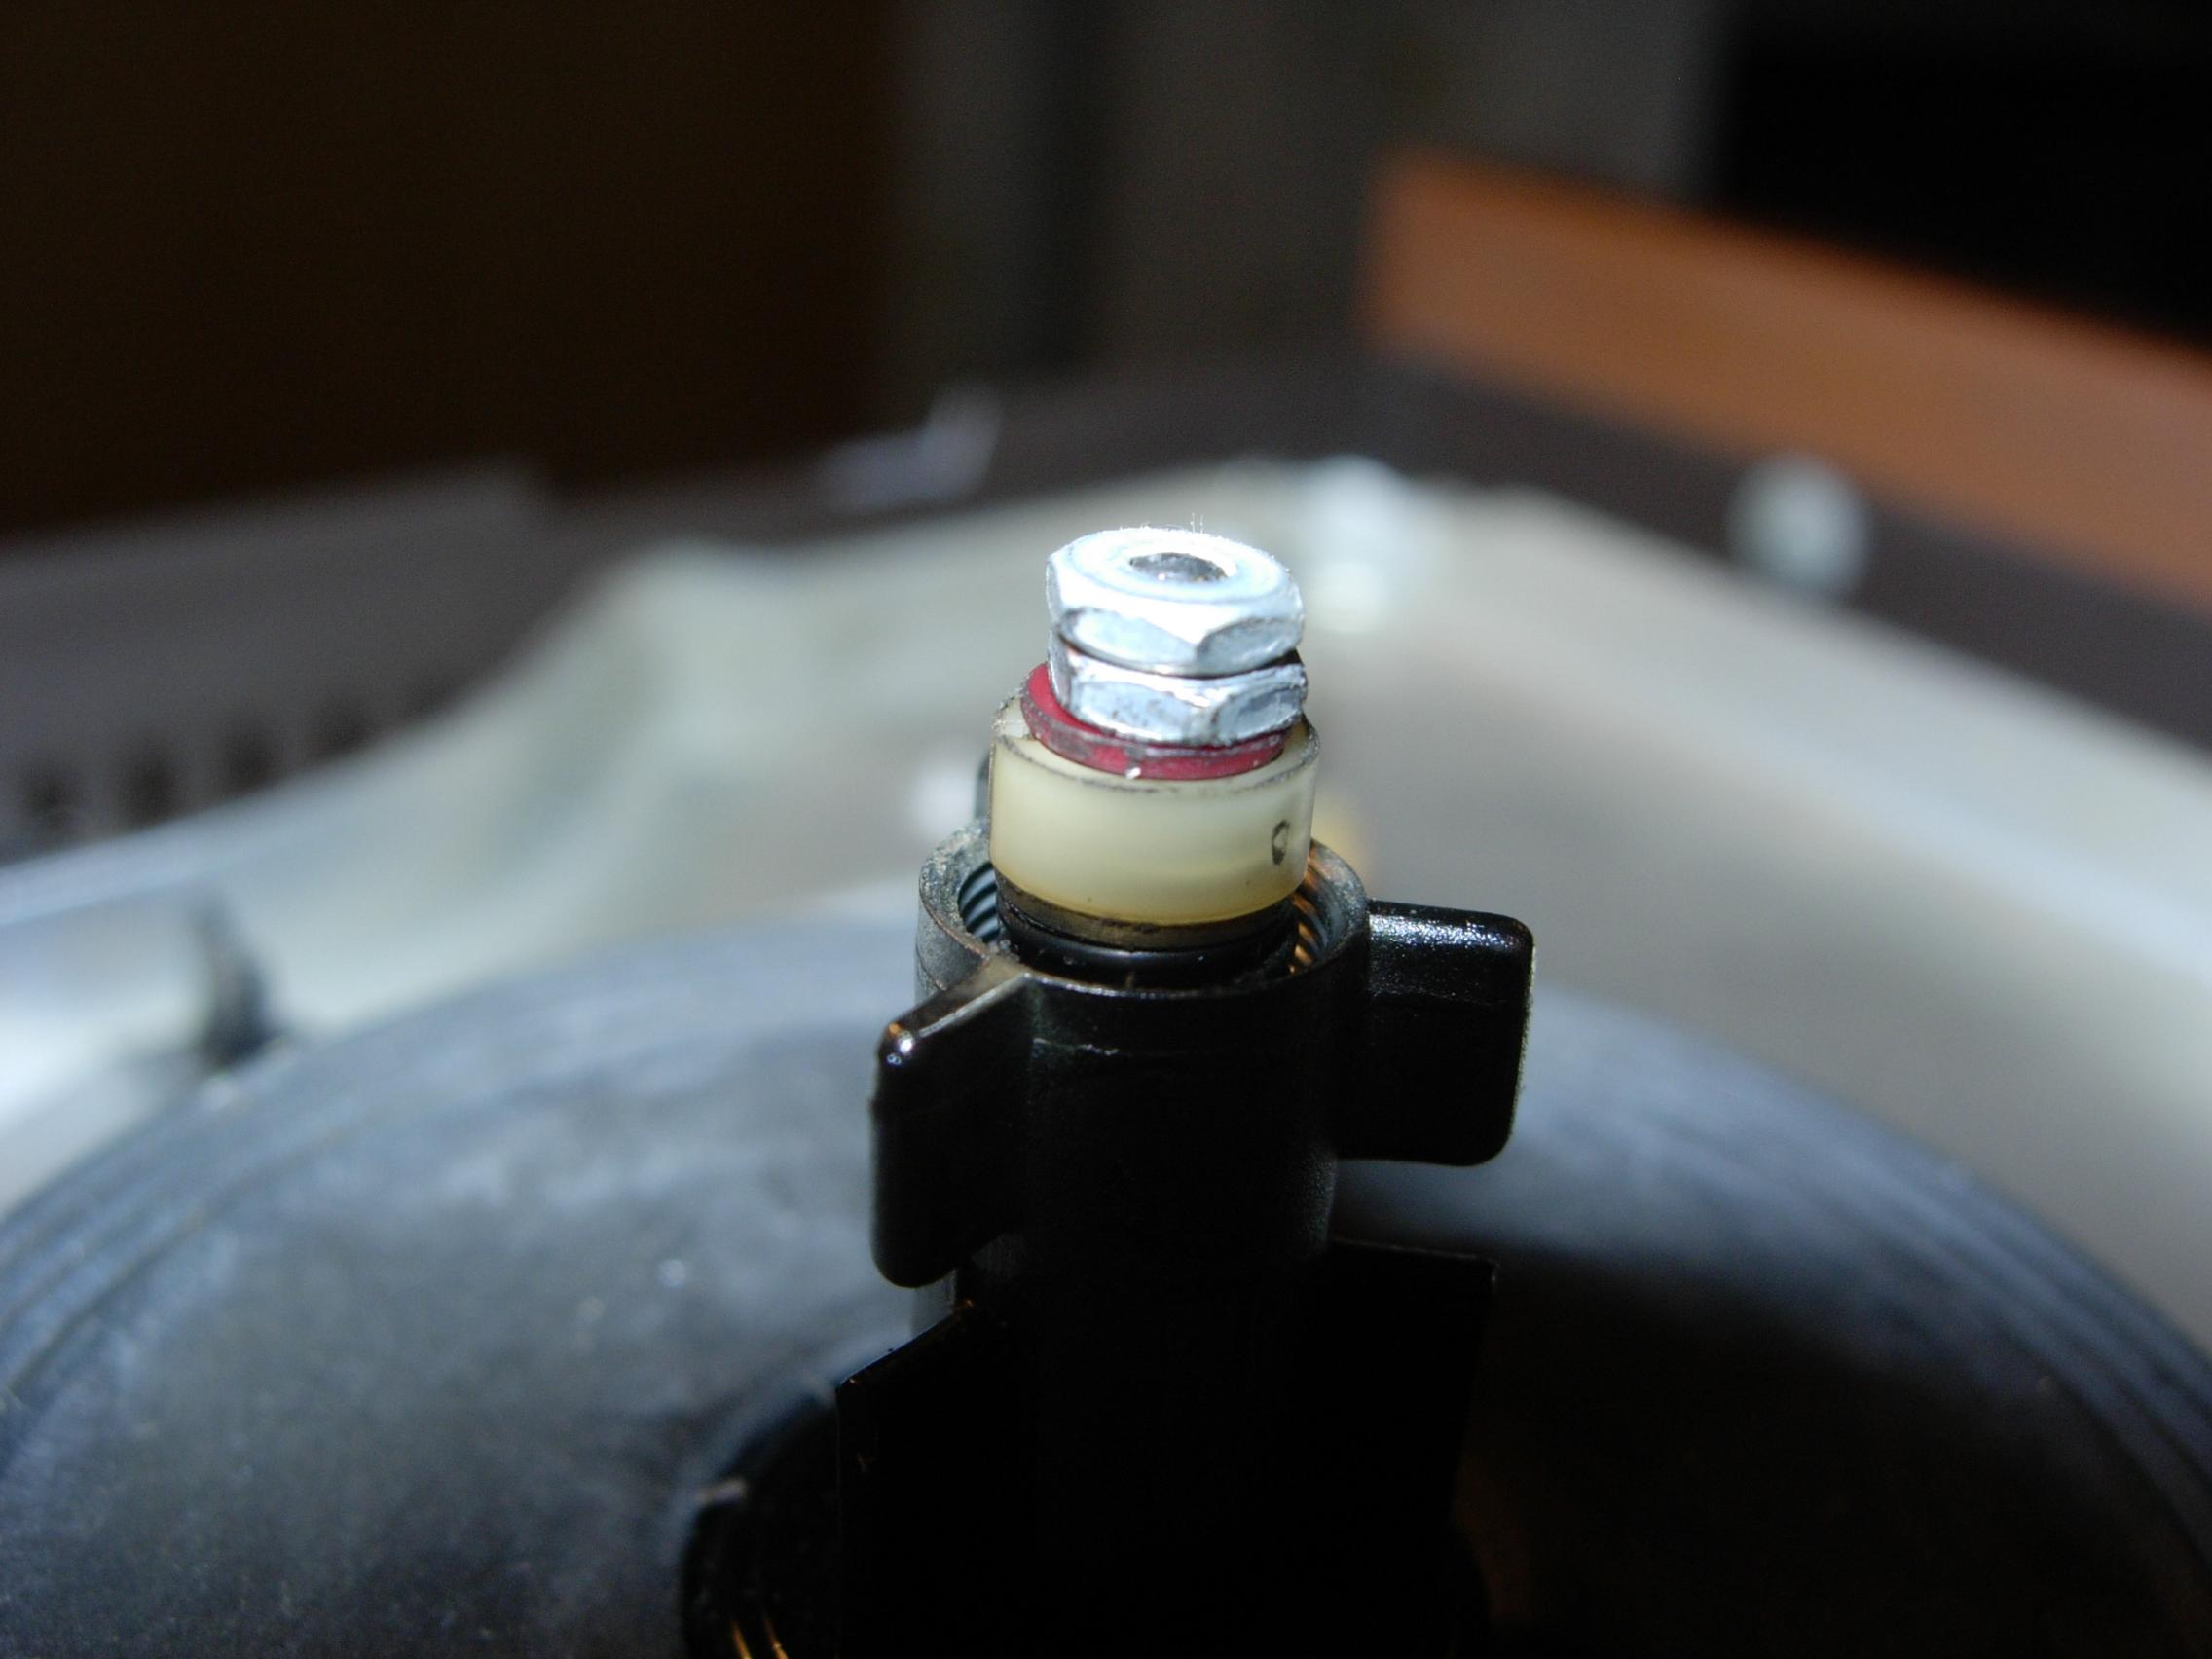

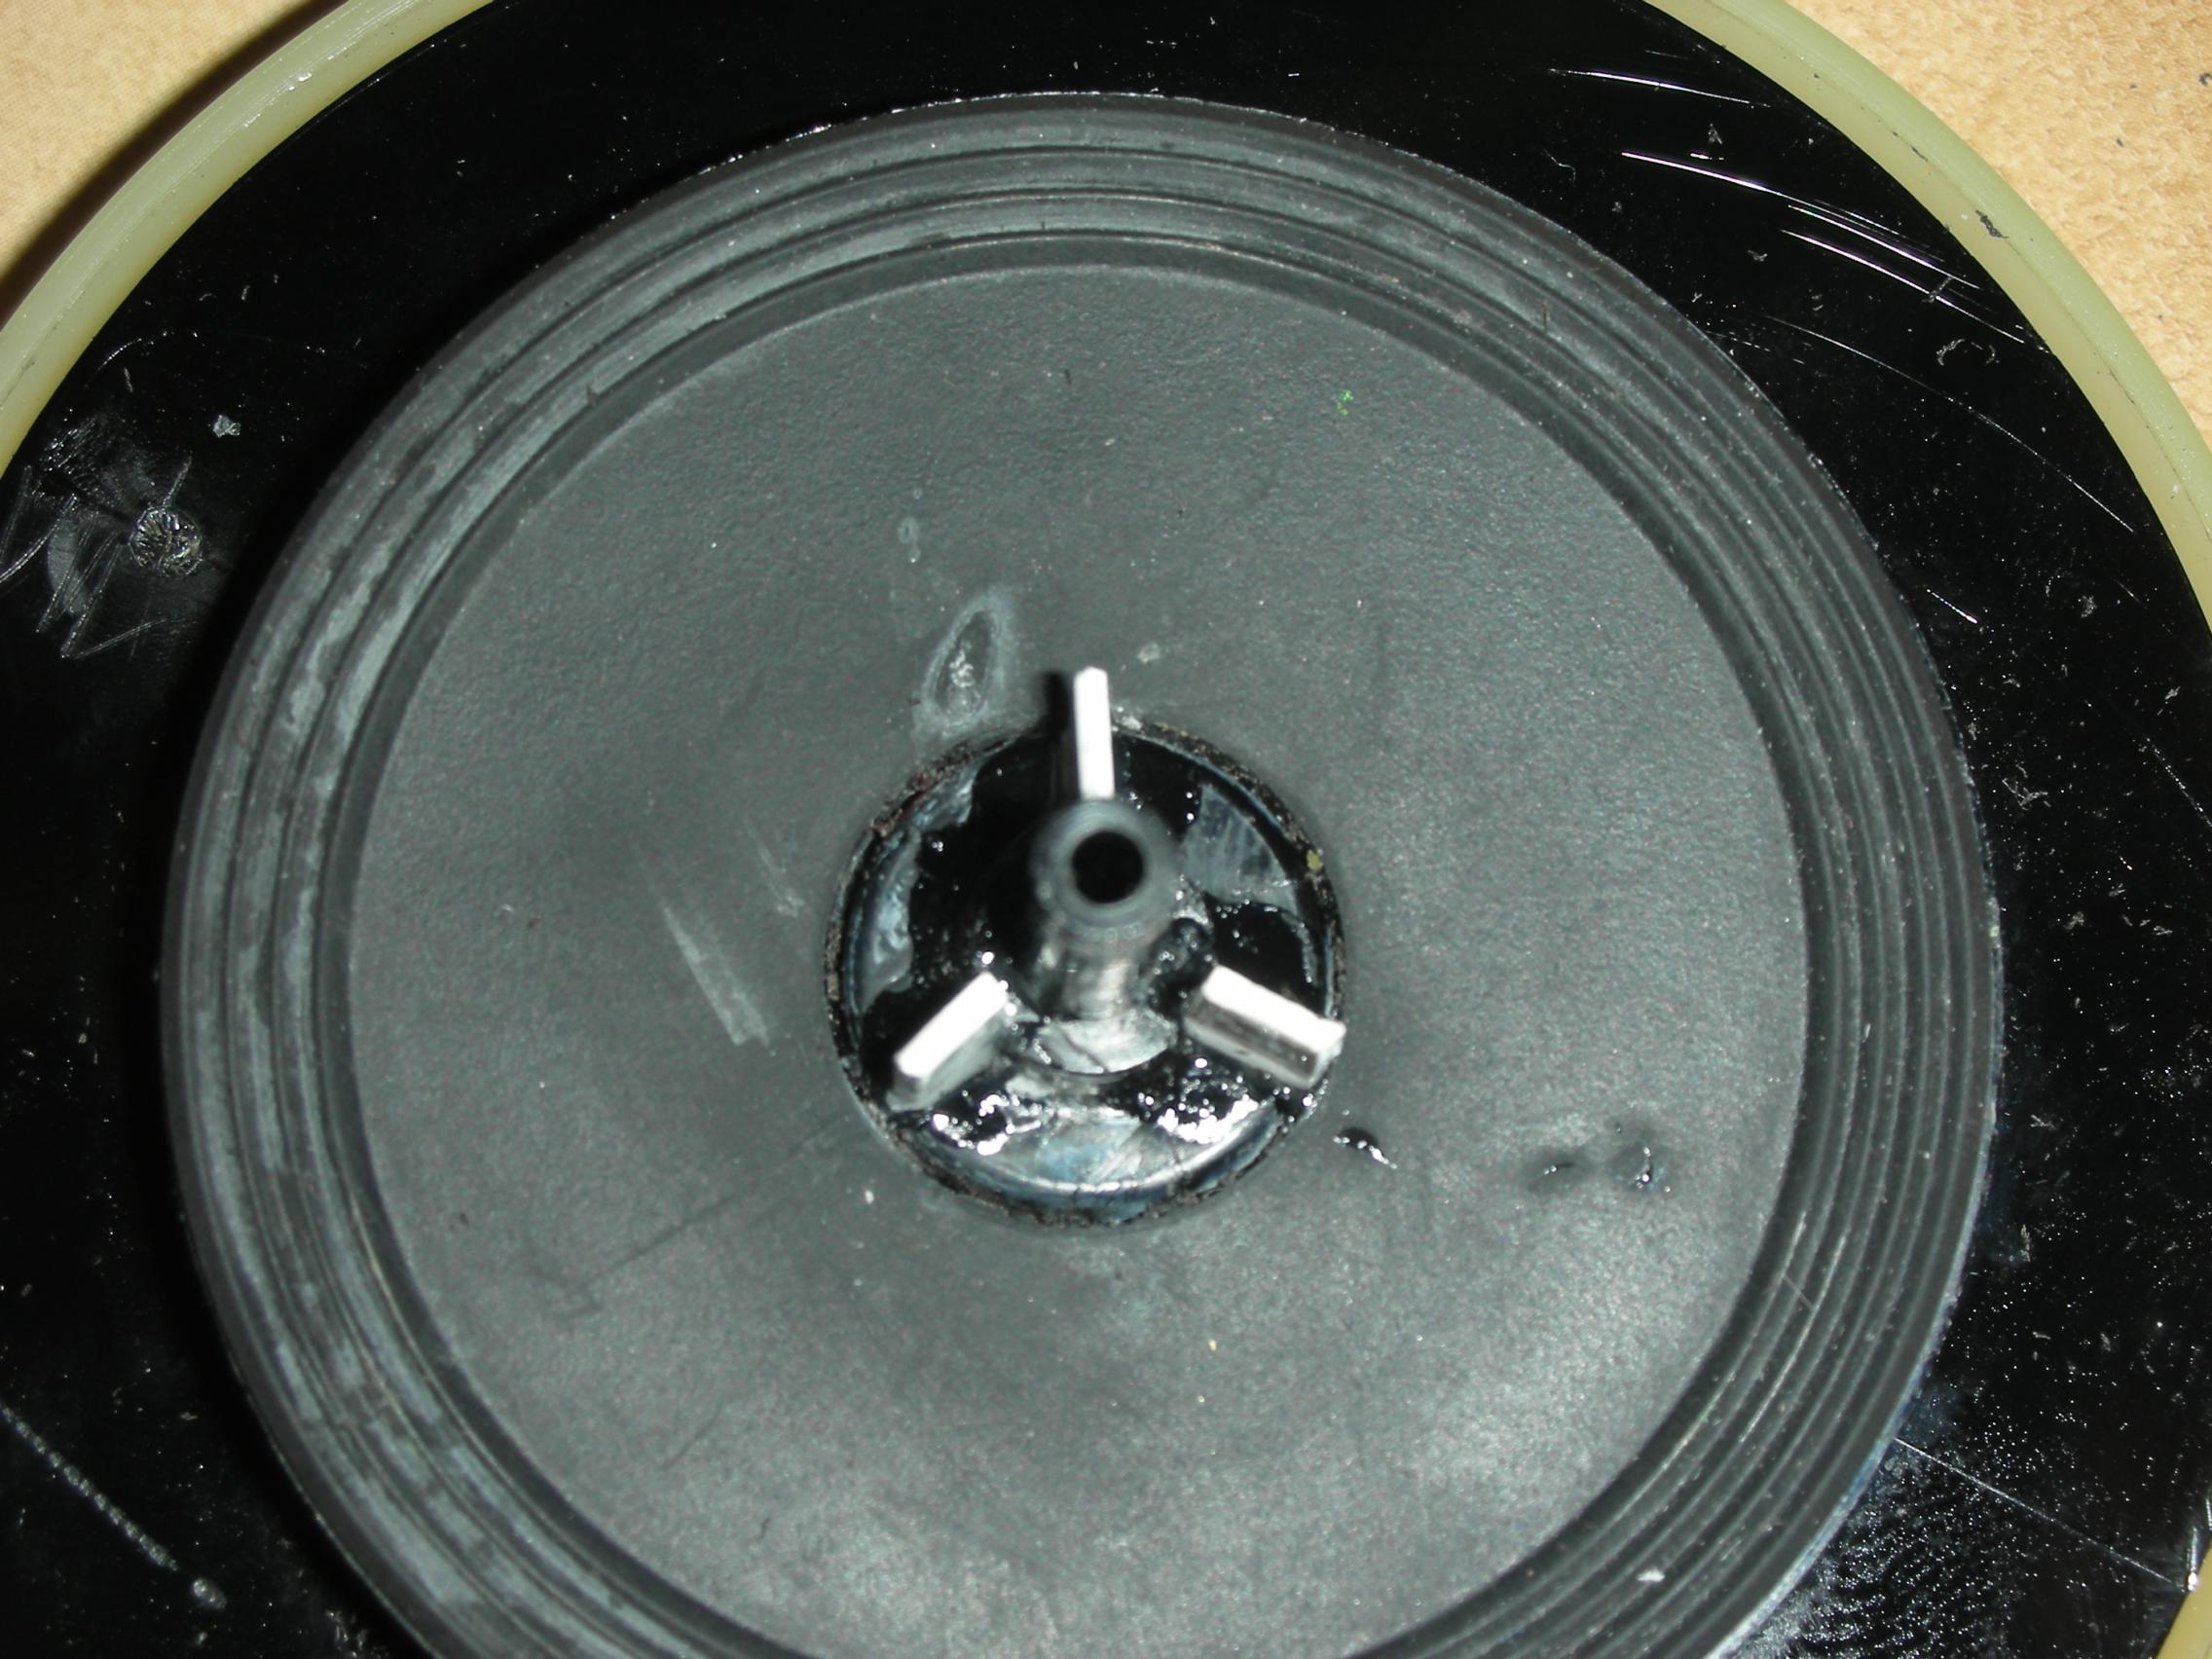
Then I cut three pieces from a somewhat "softer" type of plastic that fit exactly in the slots. With some Loctite 406 I glued everything together. That worked well. Disassembling the spool dishes is not that difficult but you have to be careful because everything is under pressure from a compression spring in the aluminium wing (the upper one). That is to say, if you loosen the last nut, keep your finger on the whole thing, because otherwise (it will happen to me) the parts will jump around your ears ;-)