------------------------------------------------------------------------------------------------------------------------------------------------------------![]()
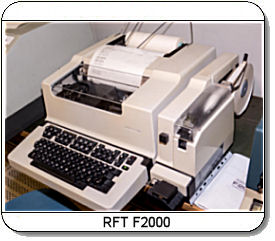
i-Telex numbers ( 380170JFK ) main connection: 380170 johannes it RFT F2000 online 24 / 7 / 365
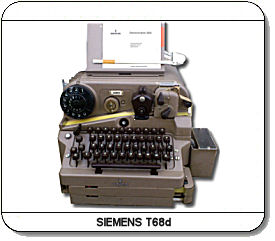
170380 johannes i Siemens T37h Daytime 245368 tls d Siemens T68d Daytime
------------------------------------------------------------------------------------------------------------------------------------------------------------
Index
I-Telex USB / RS232 Terminal Software Overview
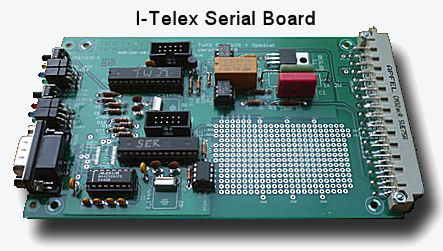
Now there was a possibility to use a PC as a simulated teleprinter. However software like Hyperterminal or PuTTY and others

I-Telex USB / RS232 Software
Please read carefully the description of the modified configuration file before installing the software if you may have an existing 10.1.6 version installed and customised.
Download Previous Release 10.1.6 Full Installation Packet a short Feedback or Evaluation will be appreciated.
Download Actual Release 10.1.9 Exe Only Just copy the file into your working JTerm directory, You will keep all the customized settings and favorites.
Task list:
Update the description and images on this page.
In progress:
Update the description and images on this page.
Unzip the files into any directory and launch the setup.exe application. The setup will guide you through the procedure step by step with a dialog-based user interface. If you run setup.exe and choose the previously used install directory, all files will be overwritten and all customized features will be set by default. To prevent that, setup will propose a new directory such as:
C:\i-Telex-USB-6.0.5 for example, you may keep it (recommended) or change the name. You may still copy the i-Telex-USB-6.0.5.exe file into your actual/existing directory and create a new shortcut.
The following setup example was pulled from a Windows 7 Ultimate Pro edition, installing the 6.0.2 version. you may experience some slight differences using another operating system. At the launch of the setup.exe, this window will appear:
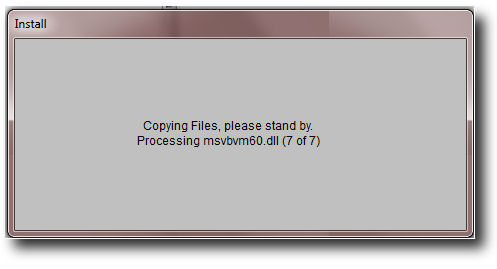
Indicating that the temporary files are copied for the install process.
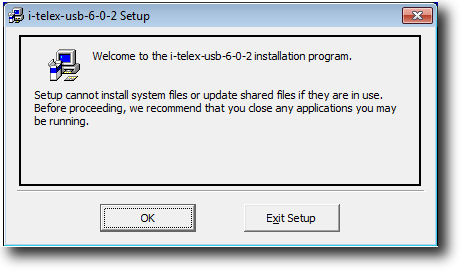
After copying all the necessary files the setup will display this dialog, warning you to close all other running applications to prevent that some system files from be written, Follow the instructions to proceed:
 .
.
Exit the setup to close the applications that are running or press OK if you already did so.
Setup will display now the following dialog, proponing the default directory for installing the software. You may change the name or click the install button to proceed with the setup in the specified directory. You may leave the setup by clicking EXIT:
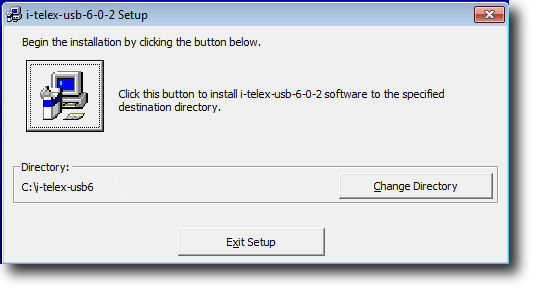
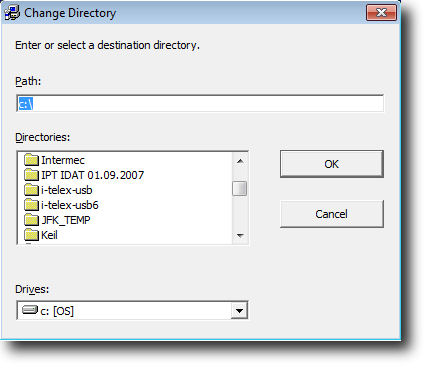
As you proceed with the install procedure by clicking on the "Change Directory" button, the setup displays the following dialog, asking you which directory you want to use for the install process.
As you proceed with the install procedure by clicking on the "Install" button, the setup displays the following dialog, asking you in what program group you want the shortcut to launch the program, you may leave the default or change it.
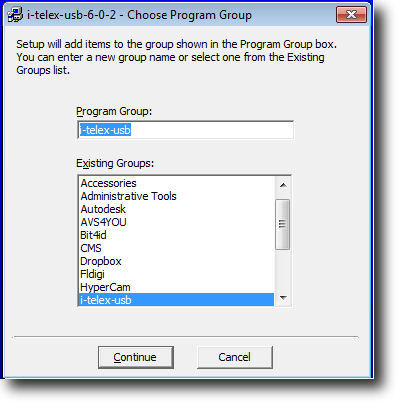
As you proceed with the install procedure by clicking on the "Continue" button, the setup displays the following window indicating the install process on its way and the files copied.
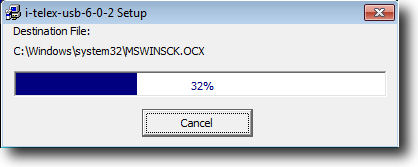
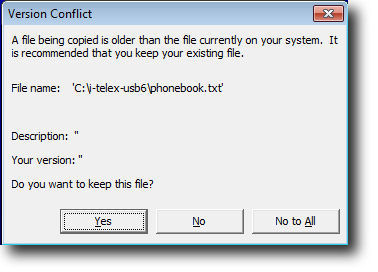
If the setup procedure encounters some conflict, the following window will be displayed, asking you if you want to keep the file (maybe a customized file like the Phonebook, Configuration, Fonts etc.) or if it should be overwritten by the setup. The may be multiple cases during installation, so be careful selecting the correct answer!!
If there occurs an error like cannot write ieframe.dll just select "ignore the error" and skip to the next point.
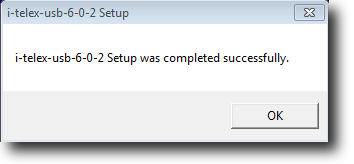
If all the files are copied and registered correctly, the setup will display the following window, indicating that the installation procedure was completed successfully. To finish the setup procedure, just click OK and enjoy the program!
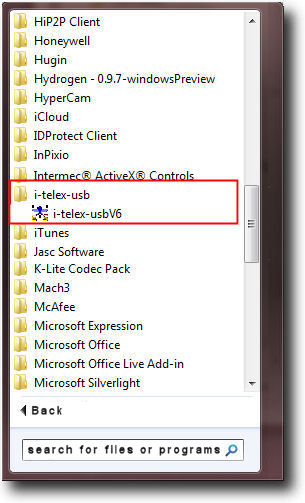
I-Telex USB / RS232 First Use of the program
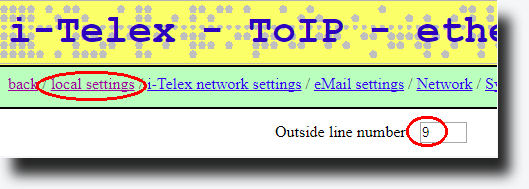
- In the example the dial-out number is 9, you change this as you have set it in the i-Telex board as a single-digit number from 0 to 9
- then save these settings and proceed to "customizing". or close the window.
I-Telex USB / RS232 Customising the program
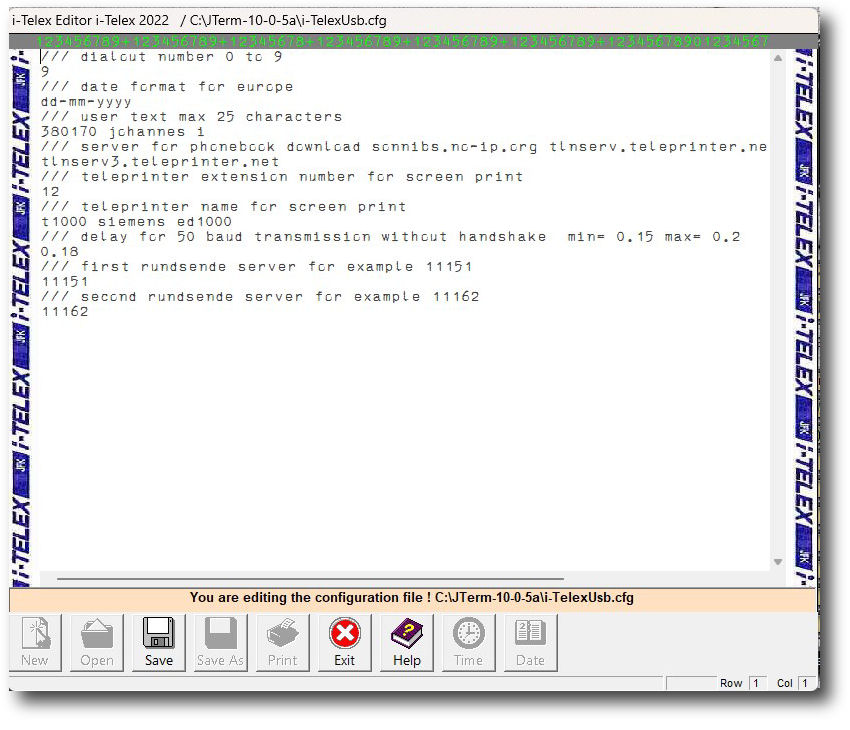
9
/// Date format for Europe
dd-mm-yyyy
/// User Text max 25 characters
380170 johannes i
/// Server for Phonebook Download sonnibs.no-ip.org tlnserv.teleprinter.net tlnserv3.teleprinter.net
tlnserv3.teleprinter.net
/// Teleprinter extension number for screen print
12
/// Teleprinter name for screen print
T1000 Siemens ED1000
/// Delay for 50 baud transmission without handshake min= 0.16 max= 0.2
0.16
/// First Rundsenden server for example 11151
11151
/// Second Rundsenden server for example 11162
11162
I-Telex USB / RS232 Communication Settings
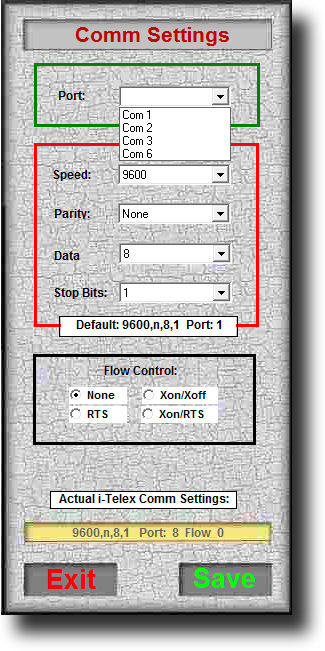
- To start set the flow control (Handshake) property to to NONE
- Then save the settings by clicking the SAVE button
- If you want to exit without any change just press EXIT
I-Telex USB / RS232 Utility Keys
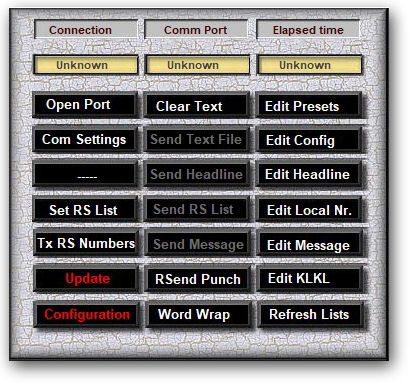
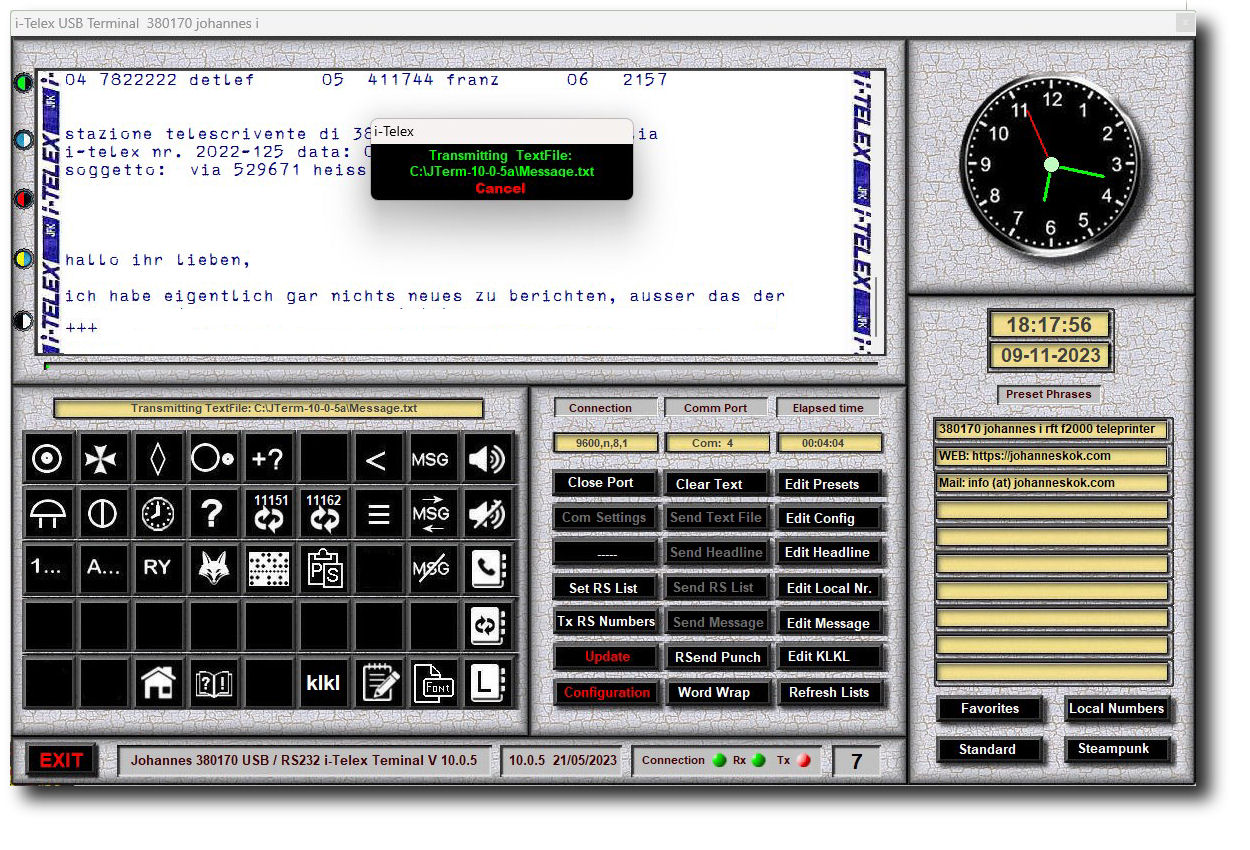
- Open Port This button opens a predefined communication port and connects to the TW39/USB or TW39 RS232 board.
- Clear Text This button clears the entire text window
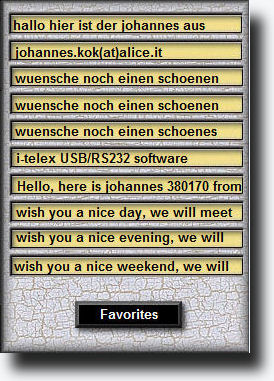
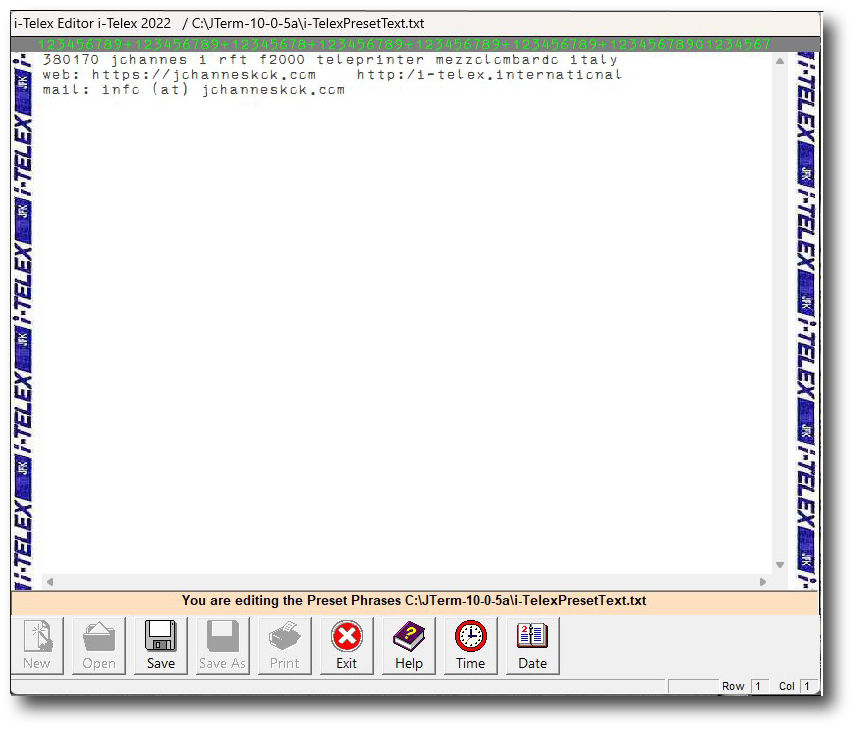
- Edit Presets This button opens the build-in editor and the preset file, You may define your most used phrases
- ComSettings This button opens the Communications Setting window to choose the proper com port and other properties.
- Send Text File This button opens a dialog window where you can select a text file to transmit to your i-Telex partner. Only if connected to a valid i-telex partner. During transmission do not attempt to open or execute other tasks, the software will shut down with an error.
- Edit Config This button opens the build-in editor and the preset file, you may change some of the settings.
- Spare ------
- Send Headline This button sends the headline in an existing connection.
- Edit Headline This button invokes the Headline editor.
- Set RS List This button sets the Rundsende Receivers list in alphabetical order ready to send.
- Send RS List This button sends the Rundsende Receivers list in alphabetical order.
- Edit Local Numbers This button allows you to edit the local teleprinter numbers and descriptions.
- Tx RS Numbers This button sends a list of Rundsende Receivers in random order.
- Send Message This button sends the prepared message in an existing connection.
- Edit Message This button invokes the editor to edit your message.
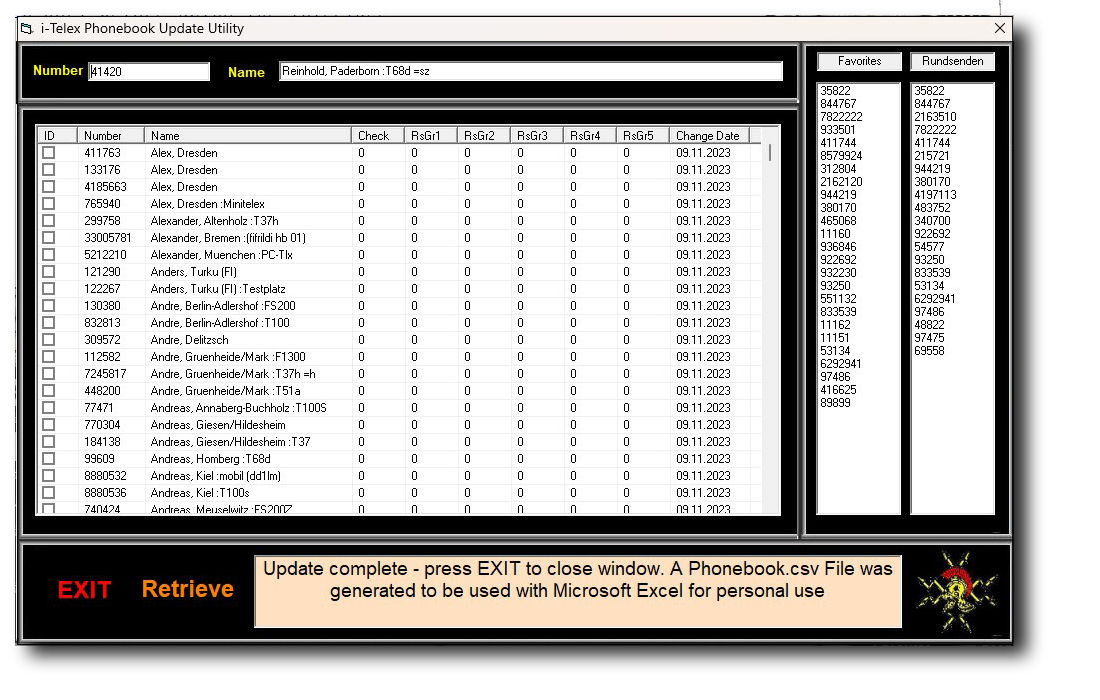
- Update This button invokes the phonebook update utility, it will download the up-to-date phonebook and preserve the Rundsende Receivers directly from the i-Telex server. Please do not abuse the use of it.
- RSend Punch This button sends a list of Rundsende Receivers to prepare a punchtape.
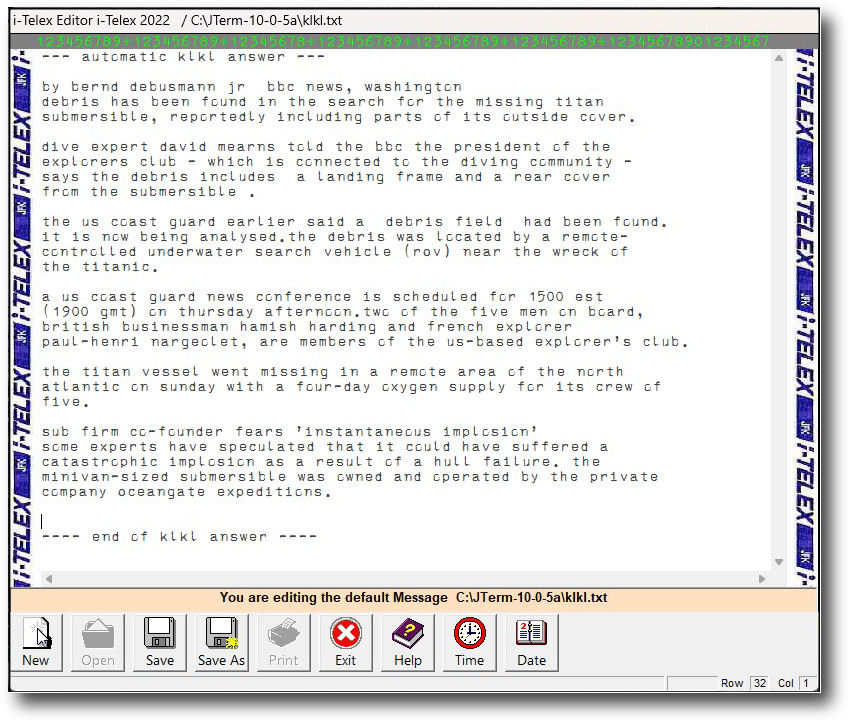
- Edit KLKL This button invokes the editor to edit your KLKL message.
- Configuration This button will work only if the comm port is open and there is no connection established. It invokes the TW39 Configuration utility so you can change the settings of the USB / RS232 board. Please read the TW39 manual first.
- Word Wrap This button converts text into a suitable teleprinter format not exceeding 68 characters (Test Only)
- Refresh This button is used to update the Favortites / Preset list after editing.
I-Telex USB / RS232 i-Telex Keys
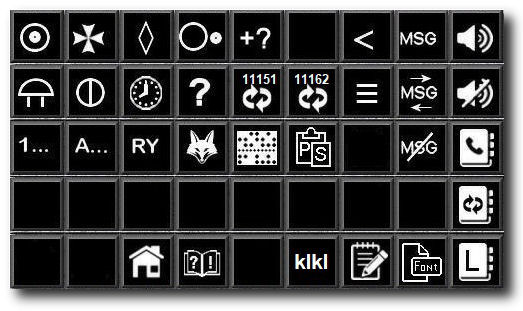
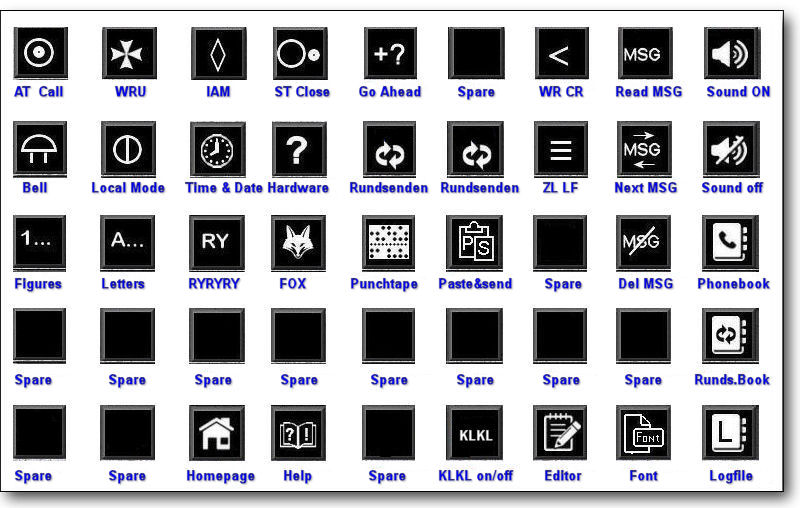
 Connect invokes the Manual Dial Mode, and the text window will display. "Wählen" (Dial) Now you must dial the Outgoing number followed by the number of your desired i-Telex partner. in this case 938017.
 WRU who are you, triggering the i-Telex partner Answerback device responding in this case to: 380170 johannes I
.
 Here Is sends your Answerback device ID p.e 123456 telex nl.
 Disconnect will close the existing i-Telex connection with your partner and the terminal program is on standby.
 Bell This key will ring the Bell (%) on your partner's teleprinter.
 Local Mode This will set the terminal to local mode, You can write delete, etc., but nothing will be sent. This option is only active at terminal stand-by. To end the Local Mode just press Disconnect.
 Time & Date This will print the local time and date to your i-Telex partner.
 Status This key will display the actual i-Telex hardware status in the text window.
 Figures send the 1... command to your i-Telex partner to set his teleprinter to receive figures correctly.
 Letters send the A... command to your i-Telex partner to set his teleprinter to receive letters correctly.
 RY sends a row of RY 's to your i-Telex partner, useful for testing teleprinter equipment.
 FOX sends the usual test sequence " the quick brown fox jumps over.... " to your i-Telex partner.
 CR Carriage Return (WR) sends CR command only to your i-Telex partner. (Esc+M)
 LF LineFeed (ZL) sends LF command only to your i-Telex partner. (Esc+J)
 Read Messages will display any messages present in the Memory. Dialog-based, it will ask you if the message
shall be deleted or to display the next message. To delete the displayed message just press the Delete Message button.
 Next Message will display the next message present in the Memory. Dialog-based, it will ask you if the message shall be deleted or to display the next message. For the next message, just press again. To delete the displayed message just press the Delete Message button.
 Delete Message This key will delete the present displayed message. To see the next message just press the Next Messages button again.
 Sound On This key turns on system sound from the program.
 Sound Off This key turns off the system sound from the program.
 Phonebook This key invokes the i-Telex Phonebook window. To use the phonebook properly see the Phonebook section.
 RS Receivers Phonebook This key invokes the i-Telex Rundsenden Phonebook. To use this phonebook properly see the Rundsenden section.
 Paste & Send alias Copy and Paste is implemented but not as usual, the text captured into the clipboard by the right mouse click is read into the program first, to use this function properly read the Paste & Send section.
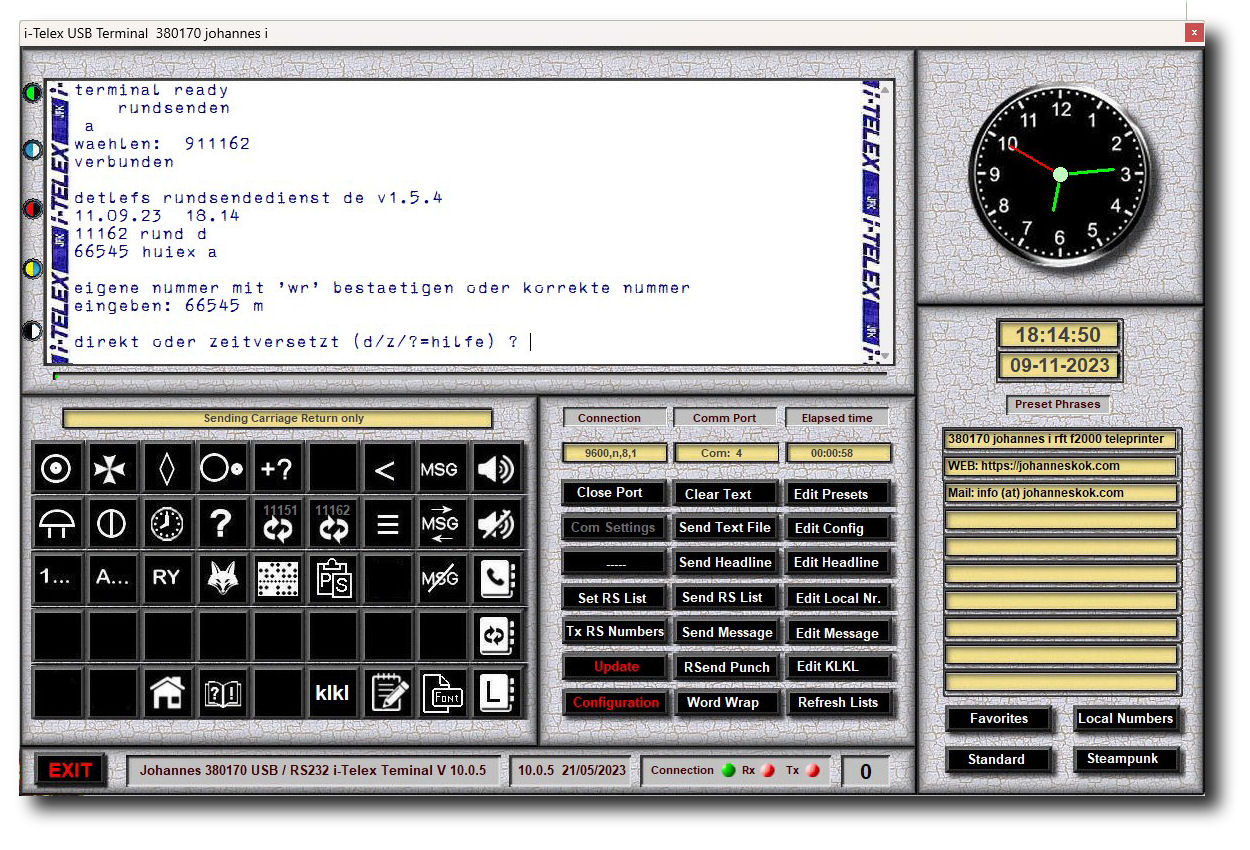
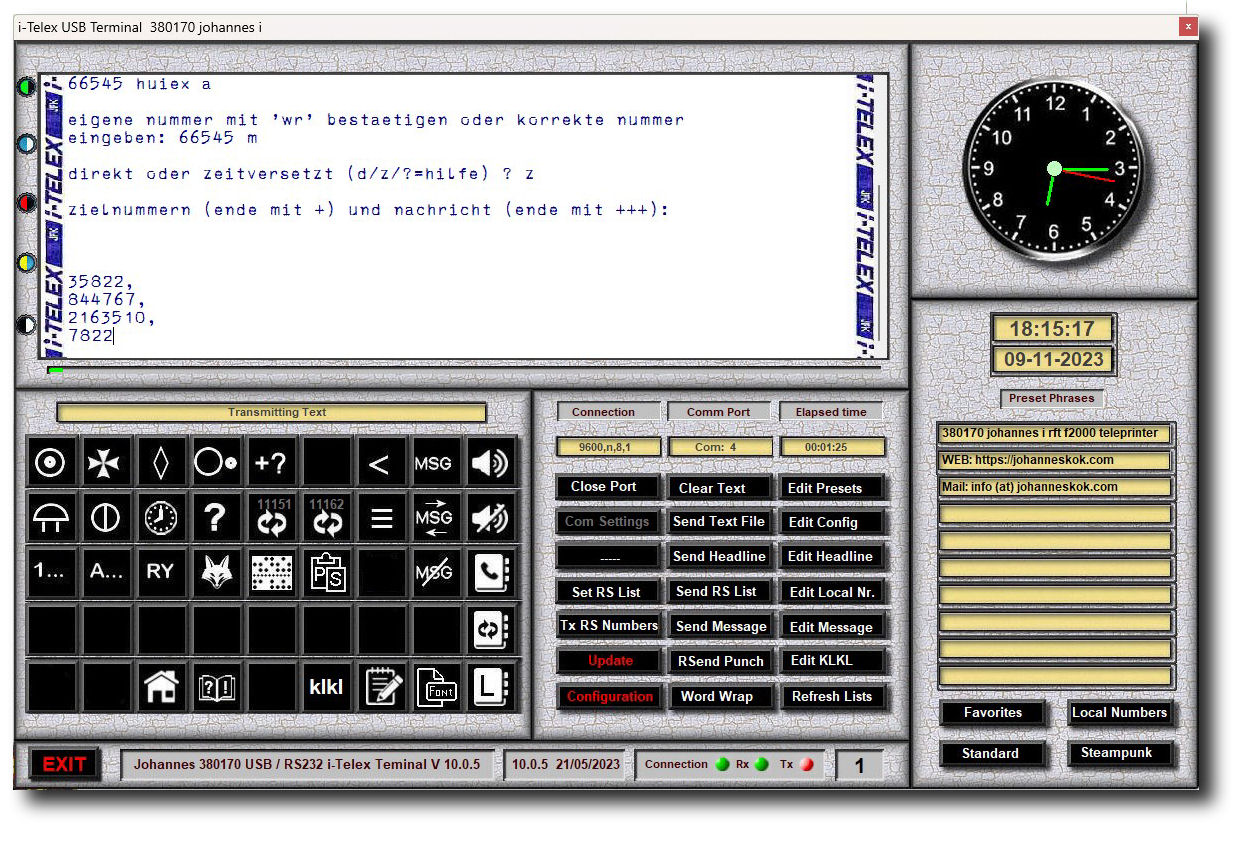
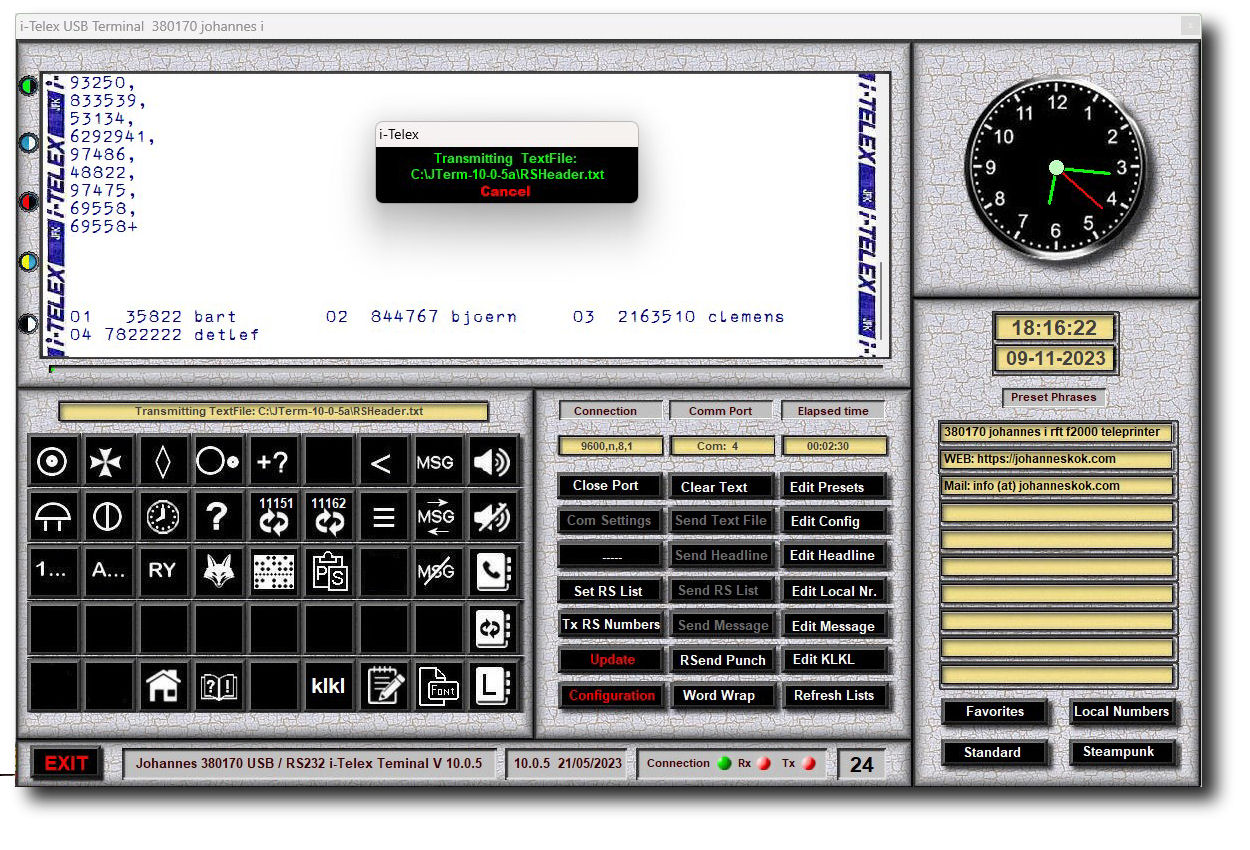
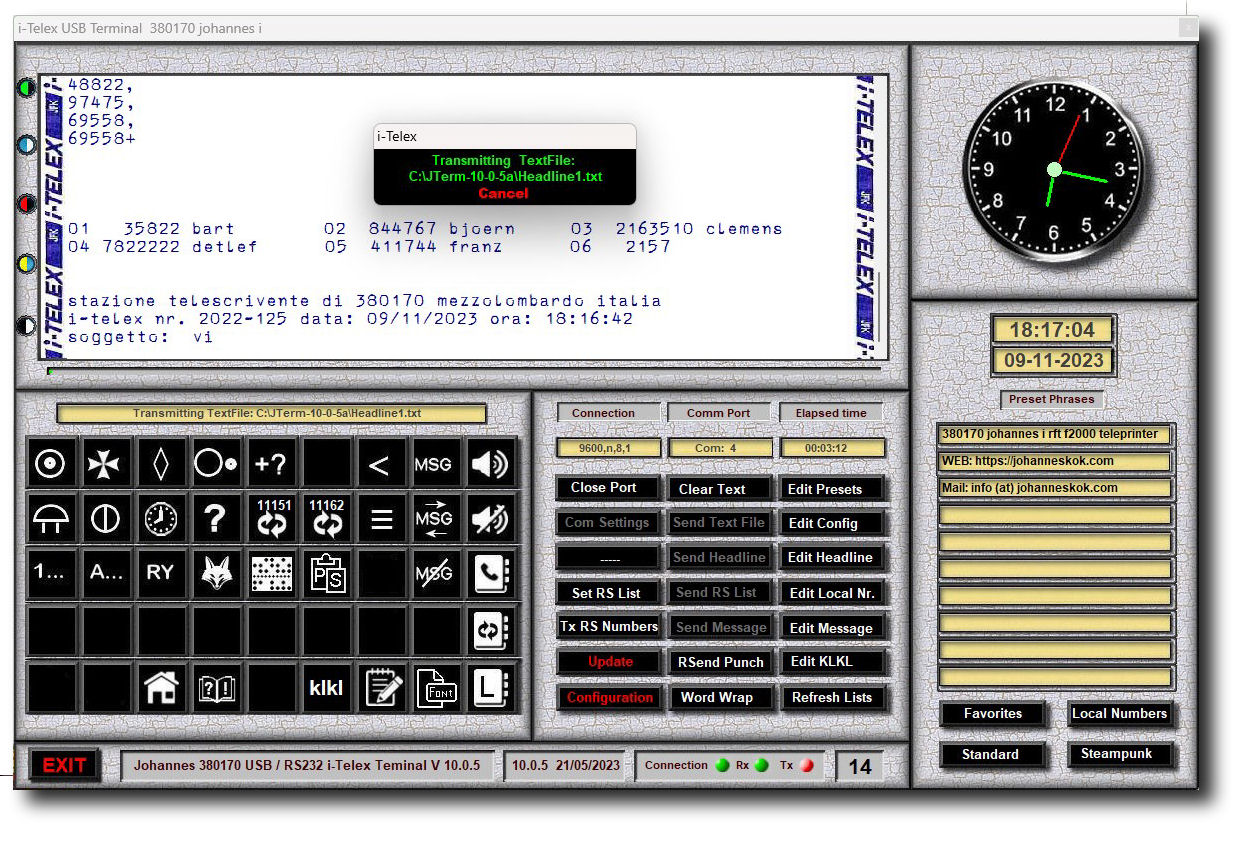
 Rundsenden This button invokes the Rundsenden Service at an existing connection, the procedure is dialog-based and there is a help function once connected, just follow the instructions. After confirming your own number and type of Rundsenden (direct or time shift) the program will proceed automatically to transmit the receiver's numbers list. After that, you will be prompted to send whatever you want. Close the dialog with +++ as you are done.
 Rundsenden This button invokes the Rundsenden Service at an existing connection, the procedure is dialog-based and there is a help function once connected, just follow the instructions. After confirming your own number and type of Rundsenden (direct or time shift) the program will proceed automatically to transmit the receiver's numbers list. After that, you will be prompted to send whatever you want. Close the dialog with +++ as you are done.
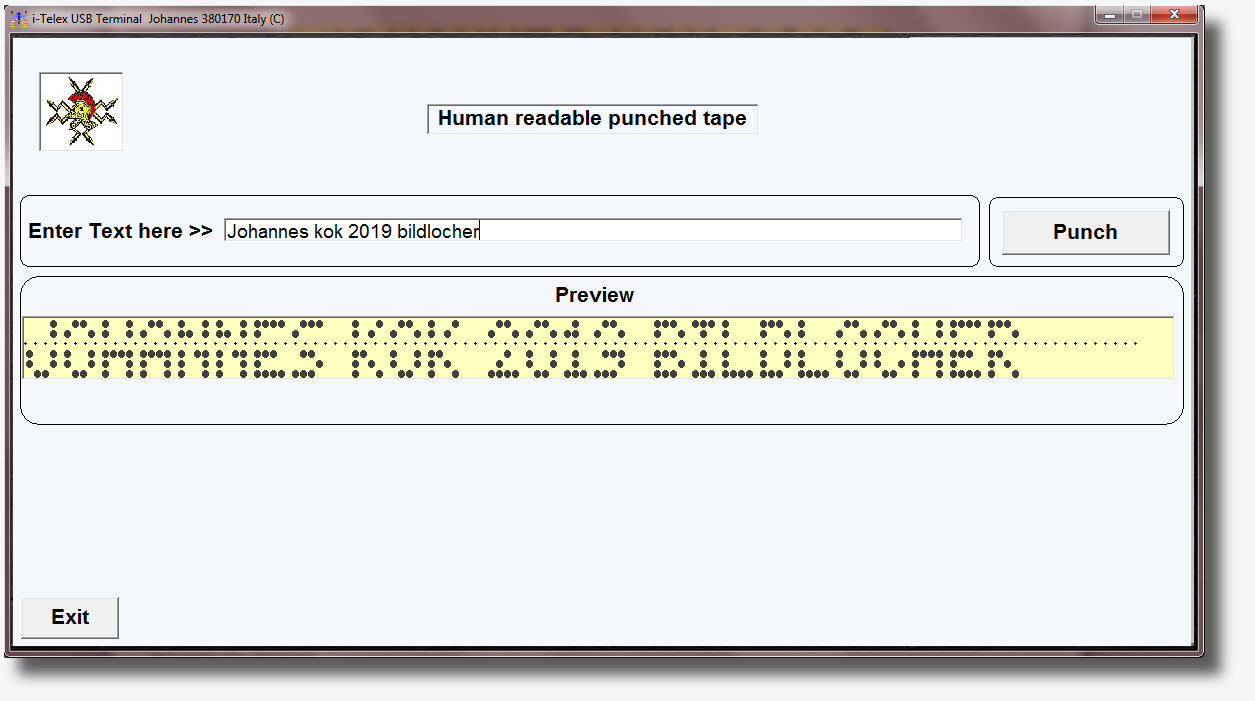
 Punchtape This button invokes the Punchtape Editor, With this feature you can make and send human-readable punched tapes.
 Fonts This button opens a dialog window where you can change the font type size and color of the text window. It will propose the standard stg 100 f.e.tiff font, just click OK and restore Default. Customer-made changes will be saved, and at program start-up, the font will be set to the customized font. Using another font as the default you may see some strange behavior of the Character count device, it is only aesthetical and does not compromise the functionality.
 Homepage This key invokes your predefined web browser and opens the JTerm Homepage to be consulted.
 Help This key displays a JTerm Help File (RFT Format in the current window to be consulted, more on the JTerm's Homepage.
 LogfilesThis key displays and save the program's log files for debugging purpose only ( not available for the user)
I-Telex USB / RS232 Paste & Send
Procedure:
- The "Paste-Send" key is ONLY active for existing connections!
- With an existing connection simply mark and copy any text you like. Even a received message on the screen.
- Then click on the "Paste-Send" button.
- If necessary, interrupt with Cancel.
- The converted text is displayed in the text window as a preview before sending.
- If proven that the text is correct, it can be sent by clicking on the "Paste-Send" button again.
- If necessary, interrupt with Cancel.
- During transmission do not attempt to open or execute other tasks, the software will shut down with an error.
The clipboard text is transmitted by word wrap, every 68th character the program will insert automatically a CR + LF to prevent overshooting at the partner's teleprinter. No check is performed (for now) on a single line of text so there may be some excess of CR LF in the printed text.
(TOP)
I-Telex USB / RS232 Hardcopy
(TOP)
-
I-Telex USB / RS232 Change Program Skin and Look
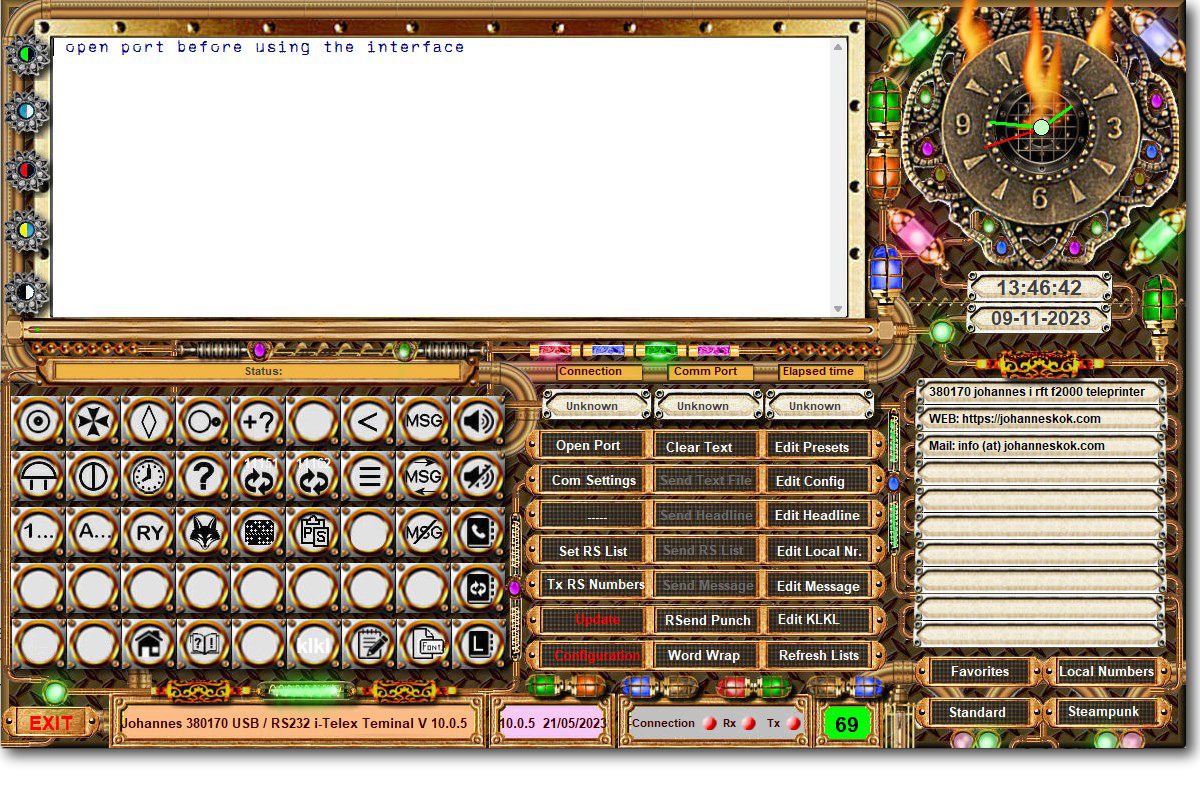
The new 10.0.4 Release of the program gives you the possibility to change the "skin" or better the overall look of the program.You can change now from "Standard look" to "Steampunk look with one click on the Steampunk or Standard button.
(TOP)
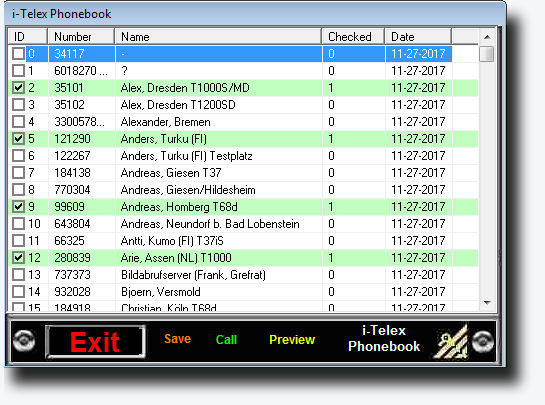
I-Telex USB / RS232 Phonebook

- Direct Call: Just click on the desired number or name and press call, the program will call automatically the number with the dial-out prefix (9)
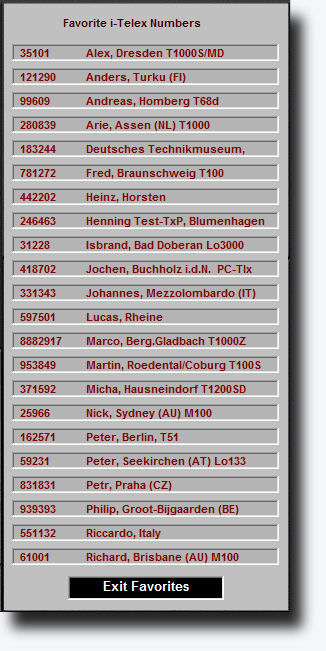
- Set favorite: You can define up to 22 favorite i-Telex numbers that consequently will be displayed on the Favourite Window. Just click on the left-hand checkbox and the entry turns green as proof you set this number as favorite, to undo this just click the left-hand checkbox again.
- Preview: This button restores the default display order if you may have changed the sorting in Name or Number.
I-Telex Rundsenden ( distribute a text message to multiple receivers with one click )
I-Telex USB / RS232 Rundsenden Phonebook
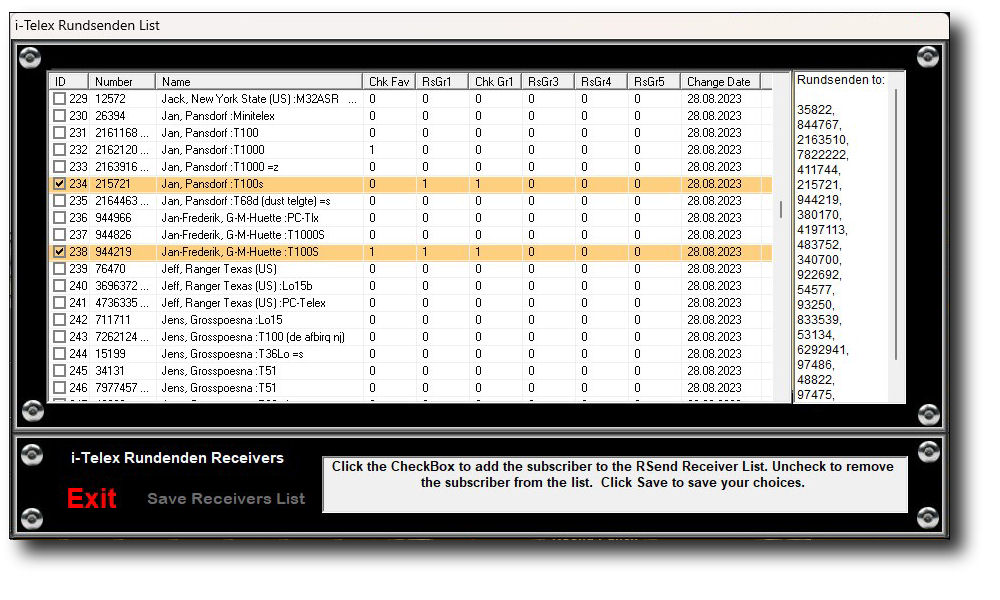
- Set Rundsende Receiver: You can define up to 30 favorite i-Telex numbers that consequently will be saved as RS-Receiver list and RS Receiver numbers click on the left-hand checkbox and the entry turns green as proof you set this number as favorite, to undo this just click the left-hand checkbox again.
- Exit: This button exits the Rundsende phonebook without saving anything.
- Save: This button saves the chosen receivers and sets the Receivers-List which will be displayed here afterward, so you can check if all seems correct as you wanted.
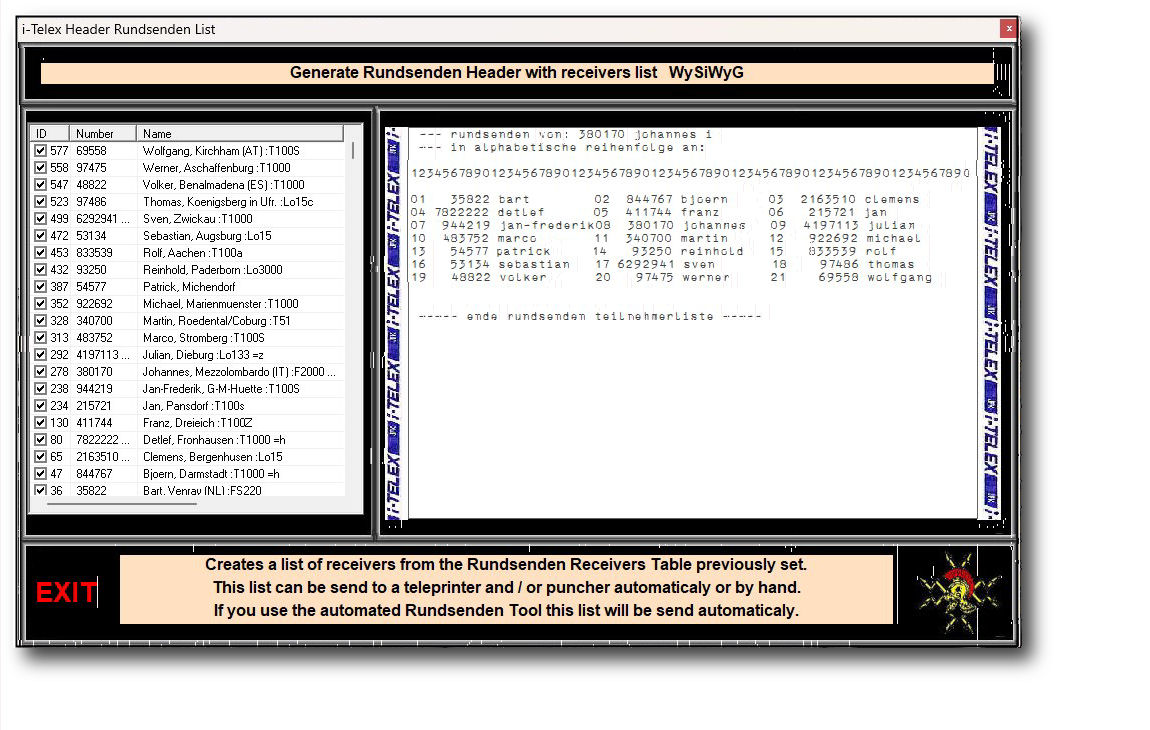
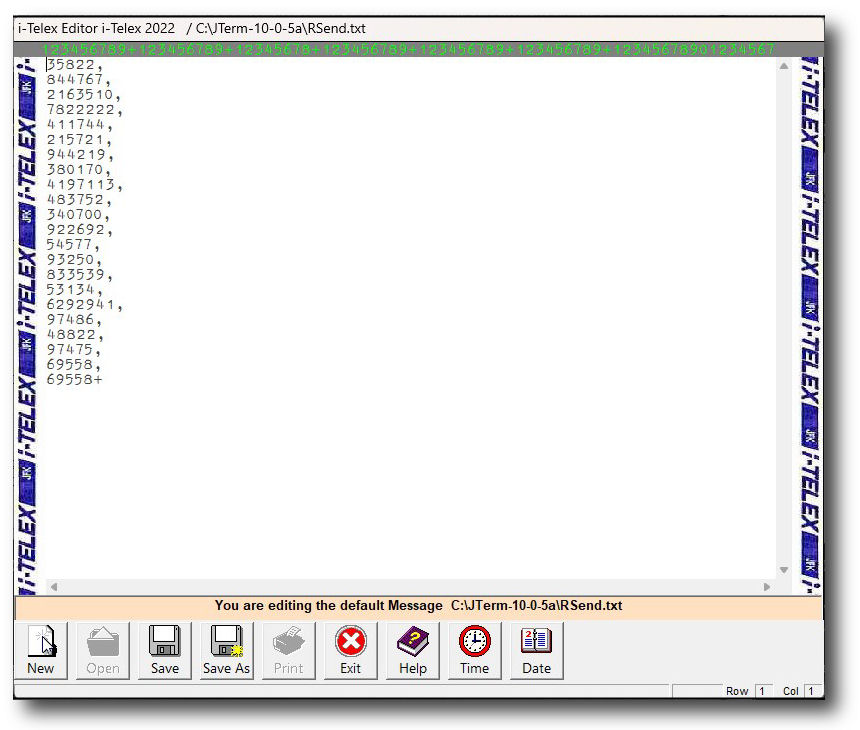
- Now the Receivers List is displayed as the picture above shows. When you exit now a new window opens, which displays the Receivers-Numbers as you can see in the picture below, You can exit this display and all the changed data will be saved.
- Do not change this list, it is for display and control only.
I-Telex USB / RS232 Phonebook update utility
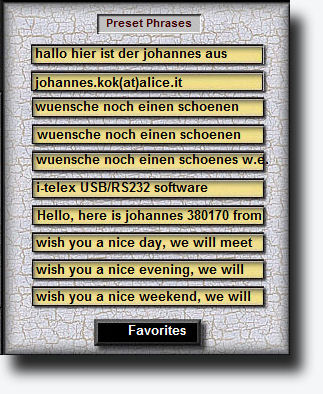
I-Telex USB / RS232 Preset Common Phrases
I-Telex USB / RS232 Favourite i-Telex numbers
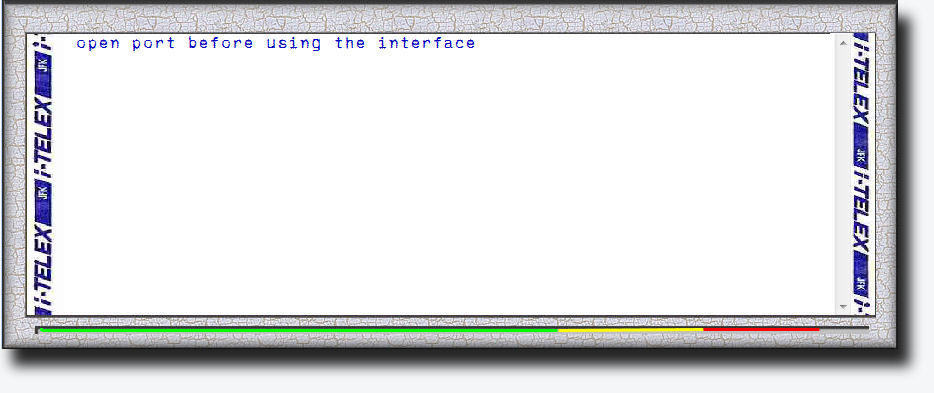
I-Telex USB / RS232 Text Window
- Character count from 1 to 55 (default) will color the ruler green.
- Character count over 55 (default) will turn the ruler yellow.
- Character count over 65 (default) will ring the bell once and color the ruler red.
- Character count at 68 (default) will insert automatically CR + LF and reset the ruler and counter.
I-Telex USB / RS232 Human Readable Punch Tape

I-Telex USB / RS232 Automatic Response with KLKL
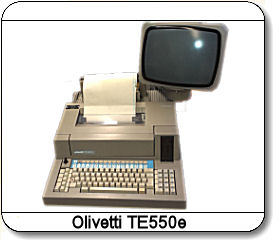
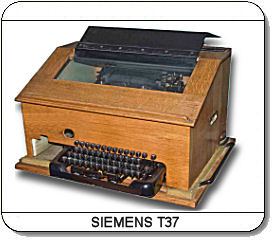
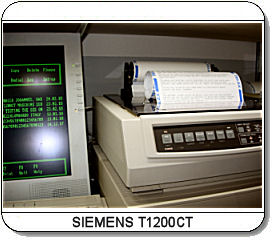
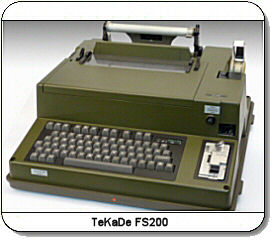
I-Telex USB / RS232 Equipment in use
I-Telex USB / RS232 Feedback


